10 Basic Steps to Install Landscape Fabric
Damp earth releases a sharp, geosmin-heavy scent when the shovel blade shears through the topsoil, exposing the dark rhizosphere where microbial activity is highest. Maintaining the turgor pressure of your ornamental or edible crops requires a stable environment free from aggressive weed competition that steals vital moisture and nutrients. Mastering the steps to install landscape fabric ensures a physical barrier against opportunistic seeds while allowing for the necessary gas exchange and water infiltration essential for root respiration. This process is not merely about aesthetics; it is a technical intervention designed to stabilize soil moisture levels and prevent the leaching of mobile nutrients like nitrates. By suppressing unwanted vegetative growth, you direct the plant's energy toward biomass production and reproductive success rather than competition for limited resources. Proper installation requires a baseline understanding of soil mechanics and hydraulic conductivity to ensure the substrate remains aerobic and productive under the synthetic layer.
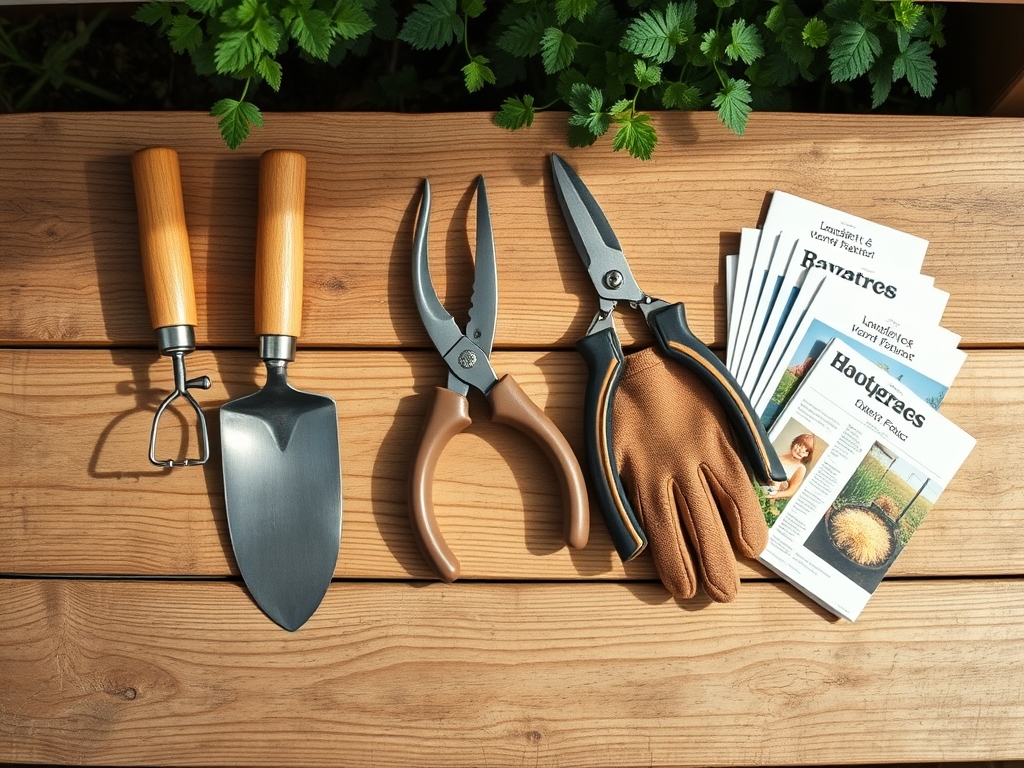
Materials:
The success of this installation depends on the physical state of your substrate. Aim for a **friable loam** with a **Soil Cation Exchange Capacity (CEC)** between **15 and 25 meq/100g**. This ensures the soil can hold onto essential cations like Potassium (K+) and Magnesium (Mg2+). Before laying the fabric, amend the soil based on a laboratory soil test to achieve a **pH of 6.2 to 6.8** for most temperate species.
If the soil is deficient, incorporate a granular fertilizer with an NPK ratio of 10-10-10 for general establishment or 5-10-10 if you are prioritizing root development over foliar surges. You will need a non-woven needle-punched polypropylene fabric; this material offers superior permeability compared to woven variants. Gather 6-inch professional-grade steel sod staples, a sharp utility knife for precise incisions, and a heavy-duty rake to level the grade. Avoid organic mulches with high carbon-to-nitrogen ratios, such as fresh wood chips, as they can cause nitrogen immobilization at the soil surface.
Timing:
Timing is dictated by the thermal properties of the soil and the local Hardiness Zone. In Zones 5 through 7, the ideal window opens when soil temperatures consistently reach 50 degrees Fahrenheit. Installing the fabric during the transition from the dormant period to the vegetative stage allows you to suppress the first flush of winter annual weeds.
Observe the "Biological Clock" of your specific cultivars. For many perennials, this is the phase where the plant shifts from utilizing stored carbohydrates in the roots to active photosynthesis and auxin-driven apical growth. Installing the barrier before the spring equinox prevents weed seedlings from establishing a taproot, which can be difficult to remove once the fabric is pinned. Avoid installation during periods of high soil saturation to prevent compaction, which reduces the pore space necessary for oxygen to reach the root zone.
Phases:

Sowing and Site Preparation
Clear all existing vegetation and debris. Use a hard rake to create a smooth, level surface. Any protrusions will create air pockets that can lead to localized "hot spots" or fabric tearing. Ensure the grade slopes away from structures at a 2 percent minimum to facilitate drainage.
Pro-Tip: Proper leveling prevents the "perching" of the water table. This is critical because mycorrhizal symbiosis requires an aerobic environment; excessive moisture trapped in depressions can lead to anaerobic conditions that kill beneficial fungi.
Transplanting and Incision
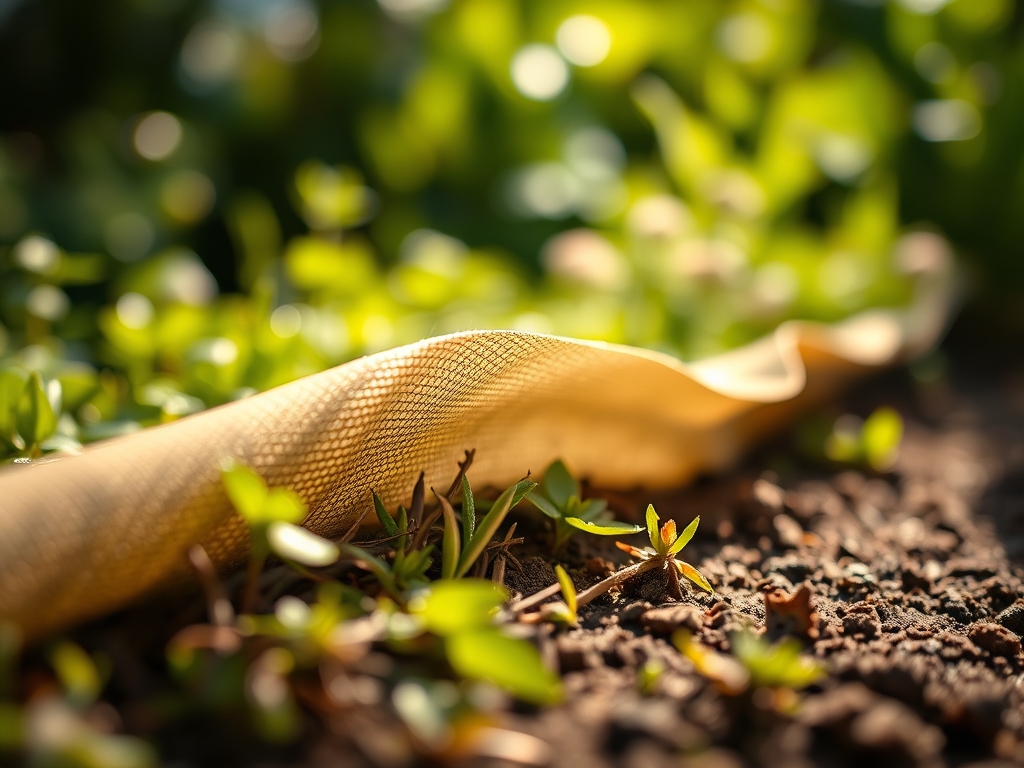
Roll the fabric over the prepared area, overlapping seams by at least 12 inches. Use a utility knife to cut an "X" or a "C" shape where each plant will be placed. Fold the flaps back and excavate a hole twice the width of the root ball.
Pro-Tip: Minimize the size of the incision to limit light penetration. This prevents phototropism in weed seeds buried just below the surface, ensuring they remain dormant due to a lack of light-triggered germination signals.
Establishing and Pinning
Secure the fabric with staples every 12 inches along the seams and every 24 inches in the center. Ensure the fabric is taut but not stretched to the point of structural failure. Cover immediately with 2 to 3 inches of inorganic mulch or UV-stabilized organic matter.
Pro-Tip: Covering the fabric immediately is vital for preventing photo-degradation. UV radiation breaks down the polymer chains in the fabric, reducing its tensile strength and lifespan significantly within weeks of exposure.
The Clinic:
Physiological disorders often manifest when the soil-air-water balance is disrupted by improper fabric installation.
- Symptom: Iron Chlorosis. Interveinal yellowing on new growth.
- Solution: Check soil pH. High alkalinity often locks up iron. If the fabric is preventing proper acidification through organic matter decomposition, apply chelated iron.
- Symptom: Root Rot (Phytophthora). Wilting despite moist soil and darkened, mushy roots.
- Solution: Improve drainage. Ensure the fabric is a high-permeability non-woven type and that the soil beneath is not compacted.
- Symptom: Nitrogen Deficiency. General paling of older leaves (chlorosis) and stunted growth.
- Fix-It: Apply a water-soluble 20-20-20 fertilizer directly to the base of the plant through the fabric incision to bypass any potential nutrient tie-up in the mulch layer.
Maintenance:
A successful landscape requires data-driven monitoring. Use a soil moisture meter to ensure the root zone receives 1.5 inches of water per week at the drip line. Check the fabric integrity annually; use a hori-hori knife to remove any "volunteer" weeds that have germinated in the mulch layer above the fabric before their roots penetrate the barrier.
Prune your specimens using bypass pruners to maintain airflow and light penetration, which reduces the risk of fungal pathogens in the lower canopy. If you notice the mulch thinning, replenish it to maintain a consistent depth of 3 inches. This depth is the threshold for effective thermal insulation and moisture retention in the top 6 inches of the soil profile.
The Yield:
For those growing cut flowers or woody ornamentals, harvest during the "cool of the day" when turgor pressure is at its peak. This usually occurs between 5:00 AM and 8:00 AM. Use sharp, sanitized shears to make a clean cut at a 45-degree angle to maximize the surface area for water uptake.
Post-harvest, immediately submerge the stems in 110-degree Fahrenheit water containing a floral preservative. This "hardening off" process forces air bubbles out of the xylem and ensures the vascular system remains patent for maximum hydration. Store the harvest in a dark, cool environment at 35 to 40 degrees Fahrenheit to slow the rate of senescence and respiration.
FAQ:
Can I use landscape fabric in vegetable beds?
It is generally discouraged for annual crops. The fabric interferes with the frequent soil disturbance and amendment cycles required for high-yield vegetable production. Use it primarily for permanent perennial installations where soil stability is the priority.
Does landscape fabric stop all weeds?
No. While it prevents most soil-borne seeds from emerging, "wind-blown" seeds can germinate in the mulch layer on top of the fabric. Regular maintenance is required to prevent these roots from puncturing the synthetic barrier.
How long does professional-grade fabric last?
High-quality, non-woven polypropylene buried under 3 inches of mulch can remain functional for 10 to 20 years. Longevity is entirely dependent on UV protection and the avoidance of mechanical damage during routine gardening tasks.
Will the fabric suffocate my soil?
Only if you use low-quality plastic or woven materials with poor porosity. Professional needle-punched fabrics allow for oxygen and carbon dioxide exchange, maintaining a healthy aerobic environment for the soil microbiome and root systems.