10 Pro Tips How to Choose Eco Friendly Pots
The smell of decomposing leaf mold provides a baseline for the season; it is a sharp, fungal aroma that signals the reactivation of the soil food web. When you grasp a handful of well-aged compost, the texture should be friable and dark, indicating a high cation exchange capacity. This structural integrity is the foundation for container gardening. Learning how to choose eco friendly pots is not merely an aesthetic choice; it is a decision that dictates the gas exchange and thermal regulation of the rhizosphere. Plastic containers often leach bisphenols into the growing medium, whereas porous, biodegradable, or recycled materials support a healthier microbial community. By selecting vessels that breathe, you ensure that the delicate root hairs are not suffocated by anaerobic conditions. Every choice in the potting shed ripples through the plant's physiological development, from the first cotyledon to the final harvest.
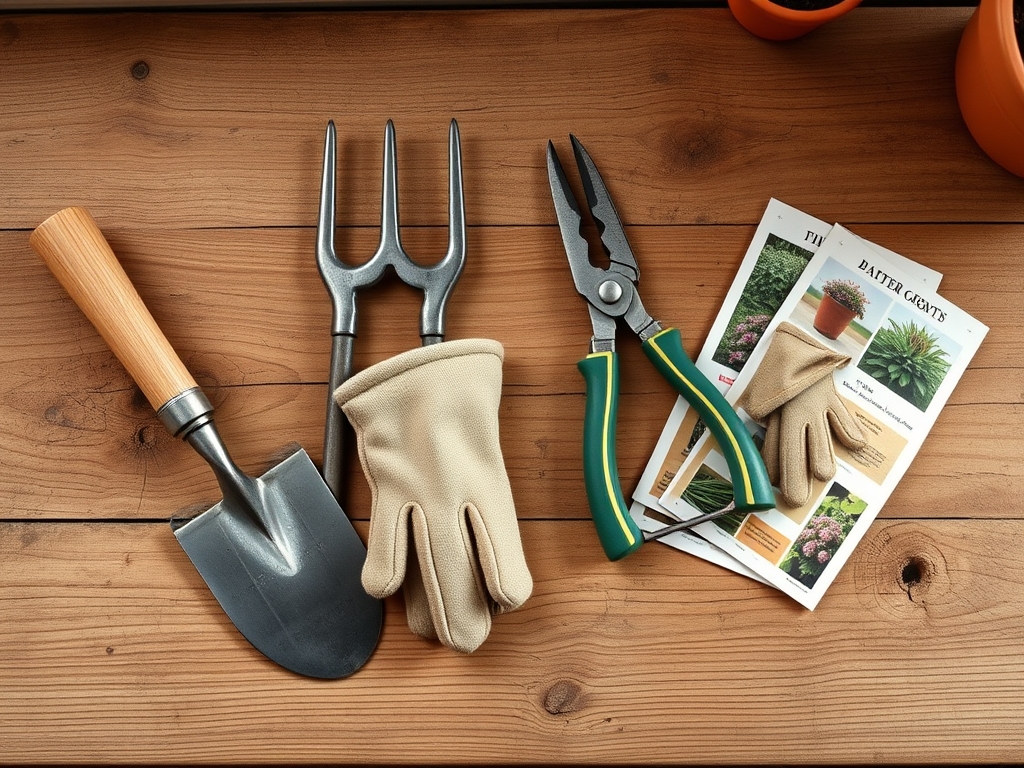
The Gathers:
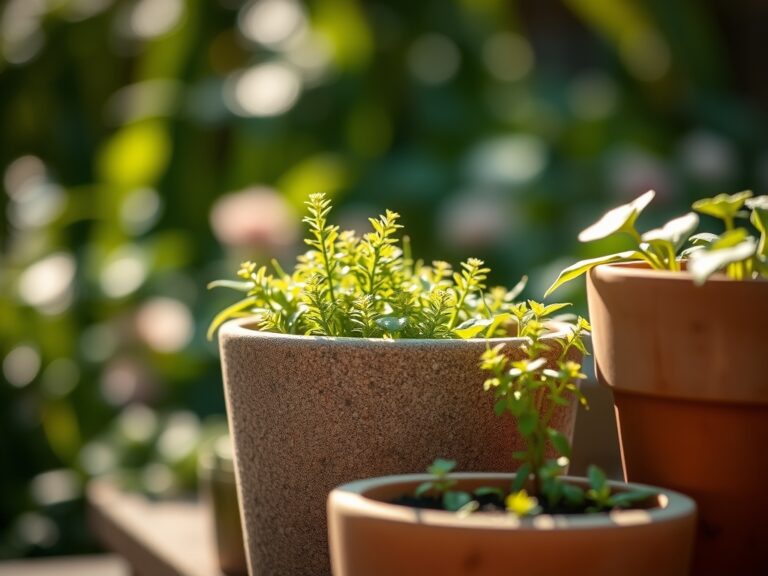
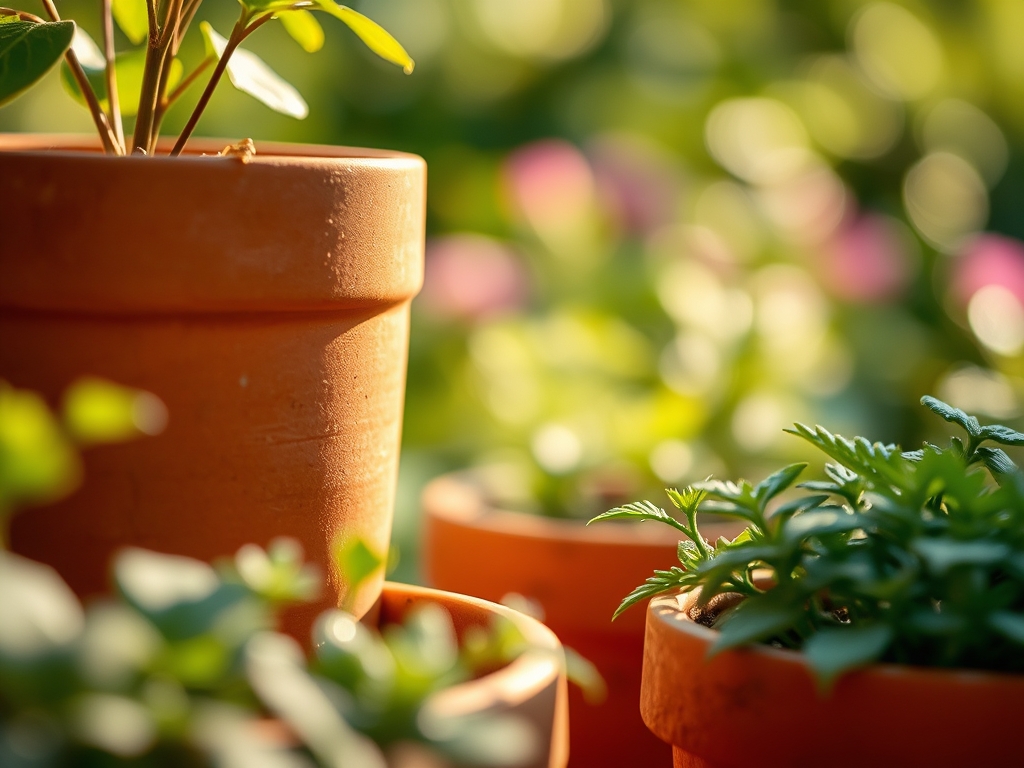
Material selection requires an understanding of chemical stability and moisture retention. When considering how to choose eco friendly pots, prioritize substances like unglazed terracotta, rice hulls, or compressed coconut coir. Terracotta is an ancient standard; its porous walls allow for the evaporation of excess moisture, preventing root rot. However, this high evaporation rate can lead to the accumulation of mineral salts. To counteract this, use a balanced organic meal with an NPK ratio of 4-4-4. This ensures a steady supply of nitrogen, phosphorus, and potassium without spiking the electrical conductivity of the soil.
For acid-loving species like blueberries or azaleas, which require a pH between 4.5 and 5.5, avoid lime-based concrete pots that can leach alkaline minerals into the substrate. Instead, utilize pots made from recycled wood or natural fibers. These materials naturally support the colonization of mycorrhizal fungi, which extend the reach of the root system to scavenge for phosphorus. If you are growing heavy feeders like brassicas, integrate a slow-release organic fertilizer into the potting mix before filling your eco-friendly containers. The goal is to create a closed-loop system where the pot eventually returns to the earth without leaving microplastic residues.
The Window:
Successful container gardening is governed by the frost-date window and the specific Hardiness Zone of your region. In Zones 5 through 7, the "Gardener's Flow" begins in the late winter inside a cold frame or under grow lights. Timing the transplant is critical; moving a seedling too early into a cold, non-insulated pot can lead to transplant shock and a permanent loss of vigor.
Monitor the soil temperature using a soil moisture meter that also measures thermal levels. Most Mediterranean herbs require a consistent soil temperature of 65 degrees Fahrenheit to thrive. As the vernal equinox passes, the increase in day length triggers phototropism, where the plant grows toward the light source. If using heavy, sustainable pots like stone or thick ceramic, place them on rolling casters. This allows you to follow the sun's trajectory throughout the season, maximizing the photosynthetic rate before the heat of mid-summer induces senescence in cool-weather crops.
The Phases:
Sowing
The initial phase requires a sterile, fine-textured seed-starting mix. Use a dibber to create uniform holes, ensuring seeds are planted at a depth of three times their diameter.
Pro-Tip: Inoculate your seeds with beneficial bacteria such as Bacillus subtilis. This biological control agent colonizes the developing roots, creating a physical barrier against soil-borne pathogens like Pythium.
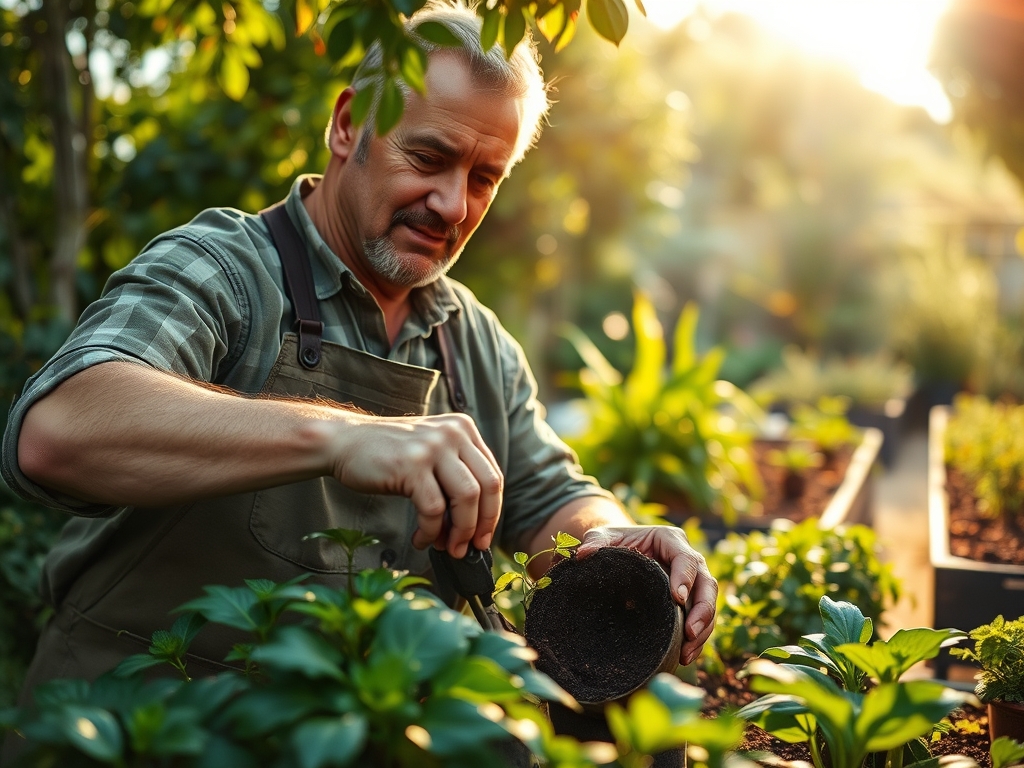
Transplanting
When the first set of true leaves appears, it is time to move the seedlings. Use a hori-hori knife to gently loosen the root ball, taking care not to damage the delicate root hairs.
Pro-Tip: Pay attention to auxin distribution. When transplanting, avoid compressing the soil too tightly around the stem. Over-compaction reduces oxygen availability, which inhibits the flow of auxins—the hormones responsible for root elongation and apical dominance.
Establishing
Once the plant is in its permanent eco-friendly home, focus on structural development. Use bypass pruners to remove any damaged foliage at a 45-degree angle, which encourages rapid callousing and prevents moisture from pooling on the wound.
Pro-Tip: Maintain high turgor pressure by watering early in the morning. This ensures the cells are fully hydrated before the midday sun increases the transpiration rate, preventing the plant from wilting and losing its structural integrity.
The Clinic:
Troubleshooting
Symptom: Interveinal chlorosis (yellowing between leaf veins) on new growth.
Solution: This usually indicates an iron deficiency often caused by a pH imbalance. Test the substrate; if it is above 7.0, apply a chelated iron drench and transition to a more acidic organic mulch.
Symptom: Stunted growth with dark purple undersides on leaves.
Solution: This is a classic sign of phosphorus deficiency, frequently exacerbated by cold soil temperatures which lock out nutrient uptake. Move the pot to a warmer location or use a black fabric "grow bag" made from recycled PET to increase solar heat absorption.
Symptom: Blossom end rot on tomatoes or peppers.
Solution: This is caused by a localized calcium deficiency within the fruit, often due to inconsistent watering. Ensure the root zone receives 1.5 inches of water per week, applied deeply to encourage downward root growth rather than shallow surface roots.
Maintenance
Precision is the hallmark of the master horticulturist. Do not rely on visual cues alone; use a soil moisture meter to check the moisture levels at a depth of 4 inches. For containers, the evaporation rate is significantly higher than in-ground beds. During peak summer, a 10-gallon eco-friendly pot may require a full gallon of water every 24 hours to maintain the metabolic functions of the plant.
The Fix-It
- Root Bound Plants: If roots are circling the interior of the pot, use a hori-hori knife to make four vertical incisions around the root ball. This severs the "memory" of the circle and encourages outward growth.
- Salt Accumulation: If a white crust forms on the rim of your terracotta, flush the pot with a volume of water equal to twice the volume of the container to leach out excess mineral salts.
- Pest Incursion: For fungus gnats, which thrive in damp potting soil, apply a layer of coarse sand to the surface. This creates an abrasive barrier that prevents the adults from laying eggs in the organic matter.
The Wrap-Up:
As the season progresses, the synergy between your plant and its sustainable vessel becomes evident. The transition from the vigorous growth of spring to the heavy production of late summer is a rewarding cycle of biological precision. By understanding how to choose eco friendly pots, you have provided a stable environment for the complex interactions of the rhizosphere. The work you do now at the potting bench ensures a resilient garden that can withstand the fluctuations of the climate. Prepare your harvest baskets and sharpen your shears; the peak of the season is approaching, and your plants are primed for a spectacular display of botanical strength.
The Potting Bench:
What is the best material for eco-friendly pots?
Unfinished terracotta and stone are excellent for durability and breathability. For temporary use, rice hulls or wood fiber pots are superior because they are biodegradable and can be planted directly into the ground to prevent transplant shock.
Do eco-friendly pots affect soil pH?
Certain materials like concrete or unaged wood can shift pH levels. Concrete leaches lime, raising alkalinity; fresh wood may temporarily tie up nitrogen and lower pH. Always monitor your substrate with a digital pH probe for accuracy.
How do I clean sustainable containers?
Scrub pots with a stiff brush and a solution of one part white vinegar to four parts water. This removes mineral deposits and pathogens without introducing harsh synthetic chemicals into your garden ecosystem or the local groundwater.
Can I reuse biodegradable pots?
Biodegradable pots made of coir or peat are designed for single-use as they break down when exposed to moisture and soil microbes. However, thick bamboo or recycled plastic pots can last for several seasons with proper cleaning and storage.