5 Easy Ways How to Do Summer Plant Transitions
Crushing a handful of friable loam reveals the metallic scent of geosmin; this indicates a healthy microbial community ready for the seasonal shift. When the air temperature consistently exceeds 85 degrees Fahrenheit, the cellular turgor of cool-season crops like spinach and radishes begins to fail. Understanding how to do summer plant transitions requires a calculated shift from vegetative growth to heat-tolerant resilience. You must manage the rhizosphere to prevent heat stress before the first sign of leaf wilt appears.
Effective transitions involve monitoring the transpiration rate of your specific cultivars. As the sun angle increases, the photoperiod triggers senescence in spring annuals while signaling heat-loving species to accelerate metabolic processes. Success is not found in luck; it is found in the precise calibration of soil moisture and nutrient availability. By following these five rigorous steps, you ensure that your garden bed remains productive through the peak solar intensity of July and August.
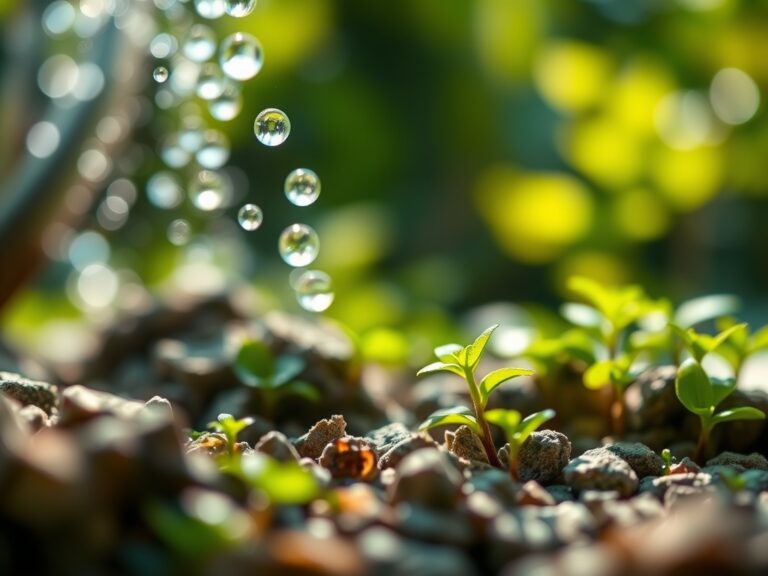
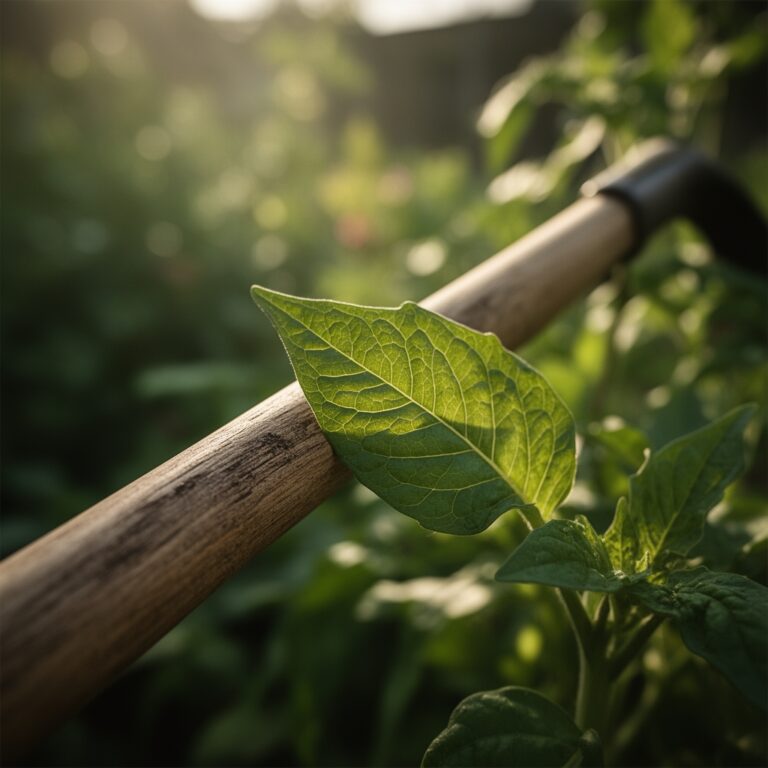
Materials:
![]()
Substrate quality determines the Cation Exchange Capacity (CEC), which dictates how well your soil retains essential nutrients during heavy summer irrigation. For a successful transition, you require a growing medium with a pH between 6.2 and 6.8.
- High-CEC Compost: Incorporate organic matter with a carbon-to-nitrogen ratio of 30:1. This improves the soil structure, turning compacted clay or loose sand into a friable loam that holds 20 percent more water.
- Transition Fertilizer (NPK 5-10-10): High phosphorus levels support root development during transplanting. Avoid high nitrogen (above 10) during peak heat, as it forces rapid, weak succulent growth that attracts sap-sucking insects.
- Calcium Nitrate: Supplemental calcium prevents physiological disorders like blossom end rot. Maintain a concentration of 150 to 200 ppm in the soil solution.
- Pine Bark Fines or Straw: Use a 3-inch layer of mulch to regulate soil temperature. Soil at a depth of 4 inches should remain below 80 degrees Fahrenheit to protect delicate root hairs.
Timing:
Timing is governed by the USDA Hardiness Zones and the specific frost-date windows of your microclimate. In Zones 7 through 9, the transition window typically opens between May 15 and June 10. You must track the "Biological Clock" of your plants. This is the physiological transition from the vegetative stage (leaf production) to the reproductive stage (flowering and fruiting).
Monitor the 10-day forecast for night temperatures. When night minimums consistently stay above 65 degrees Fahrenheit, cool-season crops will bolt. This is the precise moment to initiate the transition. If you wait until the plants have completely desiccated, the soil microbial activity may drop due to high surface temperatures. Aim to have your summer replacements in the ground at least 14 days before the first projected 90-degree day to allow for root establishment.
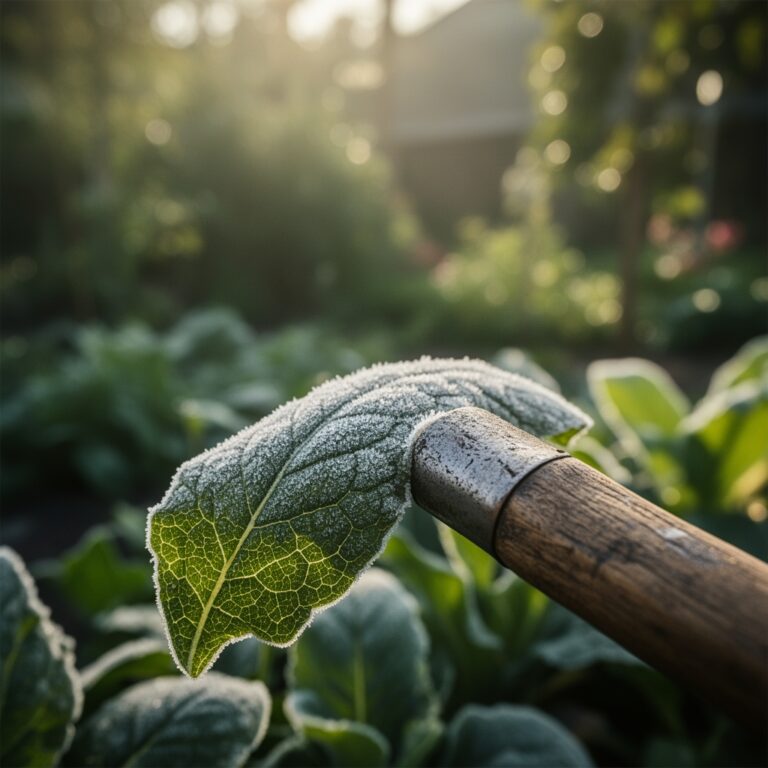
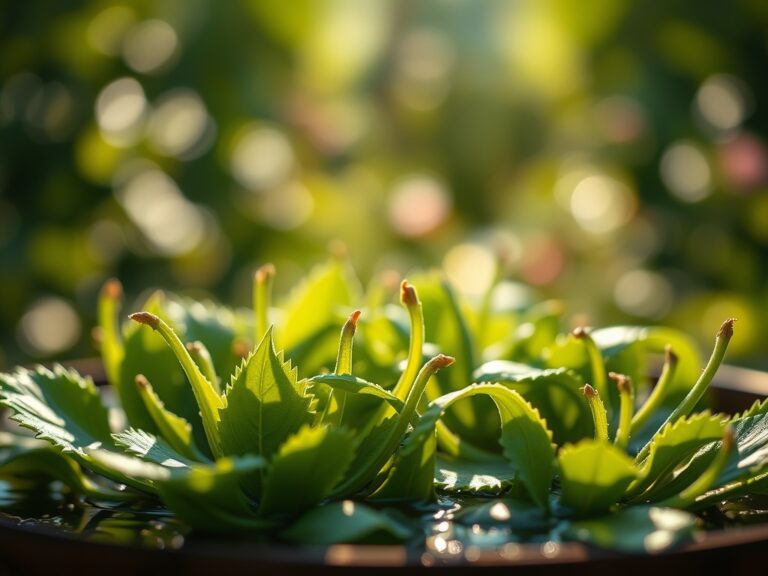
Phases:
![]()
Sowing and Seed Starting
Direct sow heat-tolerant seeds like okra, zinnias, or basil into pre-moistened soil. Seeds require a consistent soil temperature of 70 to 75 degrees Fahrenheit for optimal germination. Plant seeds at a depth exactly three times their diameter to ensure adequate moisture contact without suffocating the embryo.
Pro-Tip: Utilize the principle of Photoperiodism. Some summer seeds require specific light durations to trigger germination; ensure you do not bury light-sensitive seeds like lettuce or certain peppers too deeply, as the lack of red-spectrum light will keep them dormant.
Transplanting
When moving seedlings from a controlled environment to the field, you must harden them off over 7 to 10 days. Use a hori-hori knife to cut a clean slit in the soil, minimizing disturbance to the existing fungal hyphae. Ensure the root ball is saturated before placement to prevent immediate transplant shock.
Pro-Tip: Manage Auxin Suppression. When transplanting, pinching off the terminal bud (the very top growth) redirects auxins to the lateral buds. This encourages a bushier, more stable root system rather than tall, spindly growth that is prone to wind damage.
Establishing the Rhizosphere
The first 14 days post-transplant are critical for establishing Mycorrhizal symbiosis. Water the plants deeply at the base to encourage roots to grow downward into the cooler, moister subsoil. Avoid overhead irrigation, which increases humidity and promotes fungal pathogens like Oidium mangiferae (powdery mildew).
Pro-Tip: Focus on Turgor Pressure. High turgor pressure within the plant cells acts as a mechanical defense against pests. By maintaining consistent soil moisture, you ensure the plant can physically resist the entry of fungal spores and insect mouthparts.
The Clinic:
Physiological disorders often mimic nutrient deficiencies. Use this diagnostic guide to troubleshoot your summer transition.
-
Symptom: Interveinal chlorosis (yellowing between leaf veins) on new growth.
Solution: This indicates an Iron (Fe) deficiency, often caused by a soil pH above 7.0.
Fix-It: Apply chelated iron or lower the pH using elemental sulfur to a range of 6.0 to 6.5. -
Symptom: Blossom end rot on the base of fruits.
Solution: This is a localized Calcium (Ca) deficiency caused by inconsistent watering.
Fix-It: Maintain a steady irrigation schedule. Use a soil moisture meter to ensure the root zone stays between 60 percent and 80 percent field capacity. -
Symptom: Leaf rolling or "cupping."
Solution: This is a physiological response to excessive transpiration (water loss through leaves).
Fix-It: Provide 30 percent shade cloth during the hours of 11:00 AM to 3:00 PM to reduce the vapor pressure deficit. -
Symptom: Nitrogen Chlorosis (general yellowing of older leaves).
Solution: The plant is scavenging nitrogen from old growth to support new growth.
Fix-It: Apply a side-dressing of blood meal or a liquid fish emulsion with an NPK ratio of 5-1-1.
Maintenance:
Precision maintenance is the difference between a surviving plant and a thriving one. Deliver 1.5 inches of water per week directly at the drip line. This is the area directly under the outermost circumference of the plant canopy where the most active feeder roots reside. Use bypass pruners to remove any yellowing or necrotic foliage immediately; this prevents the spread of pathogens and improves airflow.
Check your soil moisture daily using a soil moisture meter inserted 6 inches deep. If the meter reads below 40 percent, an immediate deep watering is required. Weed suppression is mandatory. Weeds compete for the same cation exchange sites and water molecules as your primary crops. Use a hori-hori knife to remove weeds by the root to prevent regrowth from rhizomes.
The Yield:
Harvesting during a summer transition requires timing to preserve the cellular integrity of the produce. Harvest edibles and flowers before 8:00 AM when the plant is at maximum turgor. Use sharp, sterilized bypass pruners to make clean cuts at a 45-degree angle. This minimizes the surface area of the wound and allows the plant to seal the vascular tissue quickly.
Post-harvest handling is critical. Immediately submerge harvested greens in 40-degree Fahrenheit water to remove field heat. This slows down the respiration rate and prevents the breakdown of sugars and vitamins. For flowers, place stems in a solution with a pH of 3.5 to 4.5 to facilitate rapid water uptake and extend vase life.
FAQ:
How often should I water during a summer transition?
Apply 1.5 inches of water weekly. Use a moisture meter to ensure the root zone stays at 60 to 80 percent capacity. Water early in the morning to reduce evaporation and prevent fungal growth on the foliage.
What is the best fertilizer for summer transplants?
Use a low-nitrogen, high-phosphorus fertilizer like an NPK 5-10-10. This ratio prioritizes root establishment and floral development over excessive leaf growth, which is more susceptible to heat stress and pest infestations.
How do I prevent my plants from wilting in July?
Increase the soil's water-holding capacity by adding organic matter. Apply a 3-inch layer of mulch to insulate the rhizosphere. Use 30 percent shade cloth during peak solar radiation to lower the transpiration rate and maintain turgor.
When is the best time to move seedlings outdoors?
Initiate the transition when nighttime temperatures are consistently above 60 degrees Fahrenheit. Hardening off should occur over 7 to 10 days, gradually increasing UV exposure to prevent chlorophyll scorch and ensure the plant adapts to outdoor conditions.