5 Modern Ways How to Design a gravel Garden
The sharp scent of crushed limestone and the resistance of a turgid, succulent leaf define the tactile reality of high-performance xeric landscaping. Understanding how to design a gravel garden requires a shift from traditional irrigation-heavy aesthetics to a system focused on drainage and thermal mass. You are not merely placing stones; you are engineering a high-drainage microclimate that regulates soil temperature and minimizes moisture loss through evaporation. Success depends on the precise calibration of the mineral mulch layer against the biological needs of the root zone.
Materials:

The foundation of a gravel garden is the substrate, which must remain a **friable loam** with low organic matter to prevent root rot. Aim for a soil pH between **6.5 and 7.5** for most Mediterranean and steppe species. The Cation Exchange Capacity (CEC) should be moderate; high enough to hold nutrients but low enough to prevent salt accumulation.
For the initial planting medium, incorporate a slow-release fertilizer with an NPK ratio of 5-10-10. Low nitrogen prevents excessive vegetative growth, which can lead to weak cellular structures and increased susceptibility to desiccation. The gravel mulch itself should be unwashed crushed stone or pea gravel at a depth of 3 to 4 inches. This layer acts as a vapor barrier and suppresses weed germination by preventing seeds from reaching the nutrient-rich rhizosphere below.
Timing:
Timing is dictated by the Hardiness Zones and the specific frost-date windows of your region. In Zones 5 through 9, the optimal window for installation is early autumn or early spring. Planting during these periods allows the root system to establish before the plant enters its reproductive stage.
The biological clock of a gravel-dwelling plant is sensitive to the photoperiod. As day length increases, the plant shifts energy from root expansion to floral development. If you plant too late in the spring, the rising soil temperatures within the gravel layer can trigger premature senescence before the root system can support the required turgor pressure for the summer heat. Aim for a soil temperature of at least 55 degrees Fahrenheit for active root growth.
Phases:

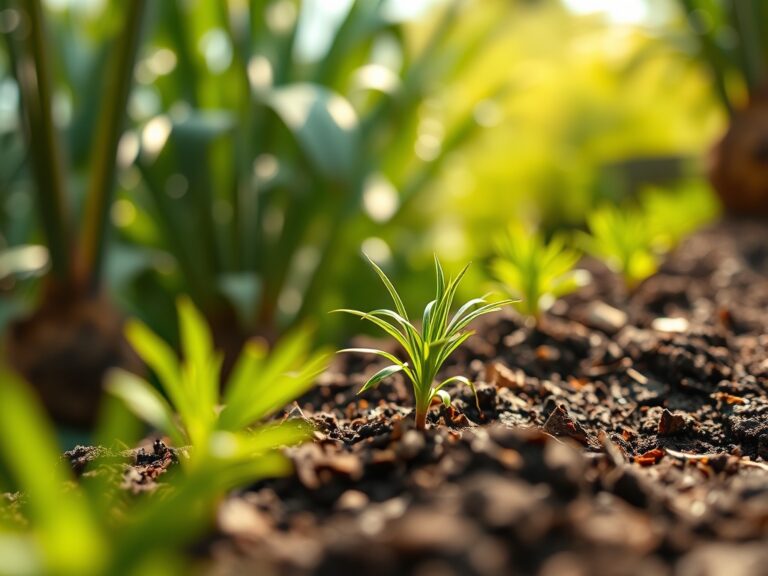
Sowing and Site Preparation
Clear all existing vegetation and excavate the top 2 inches of nutrient-heavy topsoil. Replace this with a mix of sharp sand and fine grit. This creates a lean environment that mimics the natural scree slopes where these plants evolve.
Pro-Tip: Ensure the substrate has high porosity to encourage mycorrhizal symbiosis. These beneficial fungi extend the reach of the root system, allowing the plant to access deep-seated water pockets that are otherwise unreachable in a gravel matrix.
Transplanting
When moving a plant from a nursery pot to the gravel bed, remove the top inch of potting soil from the root ball. This prevents "wicking," where the organic potting mix dries out faster than the surrounding mineral soil. Place the crown of the plant slightly above the soil line but flush with the top of the gravel layer.
Pro-Tip: Practice auxin suppression by lightly pinching back the terminal buds of leggy transplants. This redirects growth hormones to the lateral buds, creating a denser, more drought-resistant habit that can better withstand high wind speeds and intense solar radiation.
Establishing
During the first six weeks, the plant requires consistent moisture to overcome transplant shock. Use a soil moisture meter to ensure the root zone stays hydrated without becoming waterlogged. Once the roots penetrate the cooler soil layers beneath the gravel, irrigation frequency can be drastically reduced.
Pro-Tip: Observe the phototropism of your new plantings. If plants lean excessively toward the light, it may indicate that the gravel is reflecting too much heat or light on one side, necessitating a slight adjustment in the stone density to modulate the microclimate.
The Clinic:
Physiological disorders in gravel gardens often stem from drainage issues or mineral imbalances rather than pathogens.
-
Symptom: Interveinal chlorosis (yellowing between leaf veins).
Solution: This indicates a Nitrogen or Iron deficiency. Check the soil pH first; if the pH is above 8.0, iron becomes chemically locked. Apply a chelated iron drench to restore chlorophyll production. -
Symptom: Soft, blackened stems at the soil line.
Solution: This is Crown Rot, caused by excessive moisture at the base of the plant. Remove the affected plant and increase the depth of the gravel mulch to ensure the crown remains dry. -
Symptom: Marginal leaf burn or "scorching."
Solution: This is often a result of Potassium deficiency or high salt index in the soil. Flush the area with 2 inches of water to leach out excess salts and supplement with a high-potash fertilizer. -
Symptom: Stunted growth with purple-tinted foliage.
Solution: This indicates Phosphorus deficiency, common in cold, wet soils. Ensure the gravel bed is not compacted, as oxygen is required for phosphorus uptake.
Maintenance:
Maintenance in a gravel garden is less about weeding and more about monitoring the mechanical health of the system. Use a hori-hori knife to extract any deep-rooted perennial weeds that manage to penetrate the gravel layer. Pruning should be done with sharp bypass pruners to ensure clean cuts that heal quickly, preventing moisture loss.
Irrigation should be targeted. Provide 1.5 inches of water per week at the drip line during the first growing season. Once established, most gravel gardens only require supplemental water during extreme droughts lasting more than 21 days. Use a soil moisture meter at a depth of 6 inches to verify that the subsoil remains damp while the gravel surface stays dry.
The Yield:
For those growing lavender, thyme, or ornamental grasses within a gravel system, harvest timing is critical. Harvest woody herbs just as the first flower buds appear but before they fully open. This is when the essential oil concentration is at its peak.
Cut the stems in the early morning after the dew has evaporated but before the sun reaches its zenith. This preserves the turgor pressure within the cells. For post-harvest handling, keep the stems out of direct sunlight and in a cool, ventilated area to maintain "day-one" freshness and prevent the volatile oils from oxidizing.
FAQ:
What is the best gravel size for a garden?
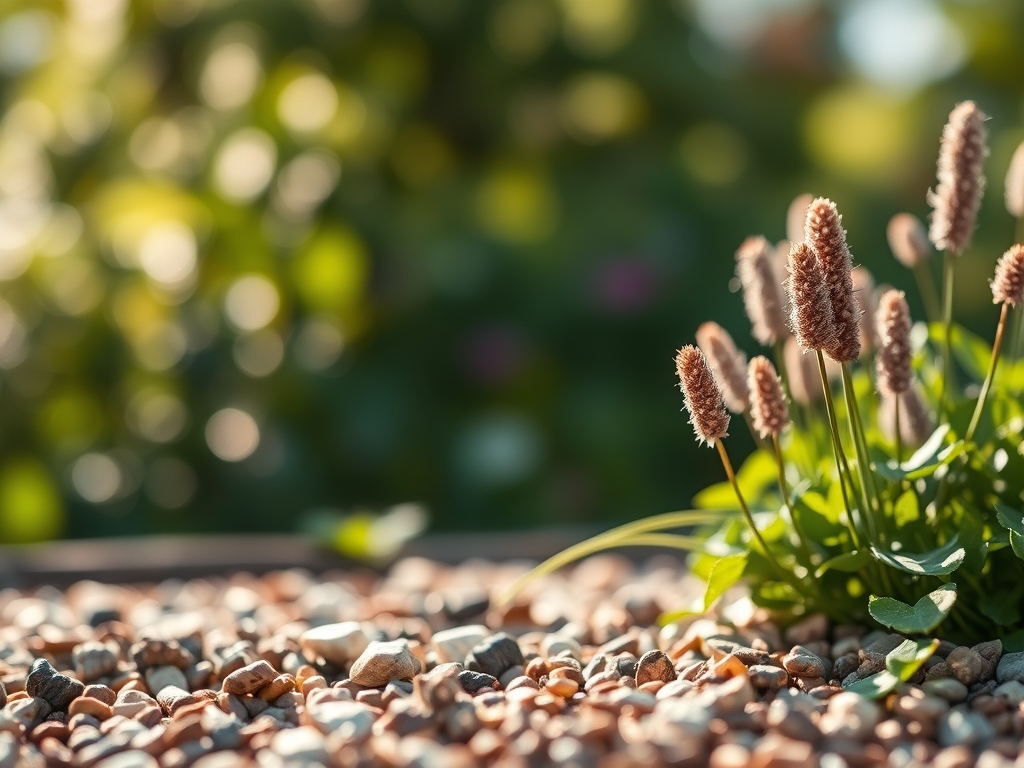
Use 1/4-inch to 3/4-inch crushed stone. Angular gravel locks together better than rounded pea gravel, providing a more stable walking surface and better moisture retention for the soil layers beneath the mulch.
Do I need a weed barrier under the gravel?
Avoid plastic liners or heavy landscape fabrics. These restrict gas exchange and kill beneficial soil microbes. A deep layer of 3 to 4 inches of gravel is sufficient to suppress most weed seeds without suffocating the rhizosphere.
How do I fertilize a gravel garden?
Apply a liquid seaweed extract or a diluted low-nitrogen fertilizer directly to the base of the plants. Avoid granular fertilizers on top of the gravel, as they may not reach the root zone effectively and can cause salt buildup.
Can I use wood mulch instead of gravel?
No. Wood mulch retains too much moisture at the plant crown and decomposes, adding organic matter that encourages weed growth. Gravel provides the necessary drainage and inorganic environment that xeric and alpine species require to thrive.