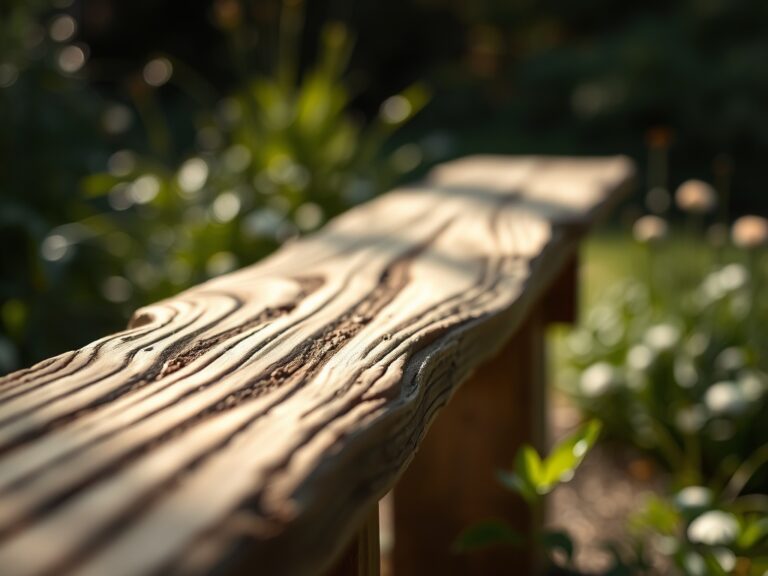
6 Simple Steps to Seal a Wooden Bridge
The sharp scent of wet cedar and the presence of fungal mycelium indicate a structural failure in progress. When wood fibers reach a moisture content exceeding 20 percent, the cellular integrity of the timber begins to degrade through the action of lignicolous fungi. To preserve the structural turgor of your garden architecture, you must follow specific steps to seal a wooden bridge before the wood undergoes irreversible senescence. This process requires more than a superficial coating; it demands an understanding of how moisture moves through the xylem and phloem remnants of the milled lumber. Proper sealing prevents the expansion and contraction cycles that lead to checking and splitting. By applying a high-quality penetrative sealant, you create a hydrophobic barrier that stabilizes the wood cells against UV radiation and microbial colonization. This guide provides the technical framework to ensure your bridge remains a permanent fixture in your landscape rather than a decaying mass of cellulose.
Materials:
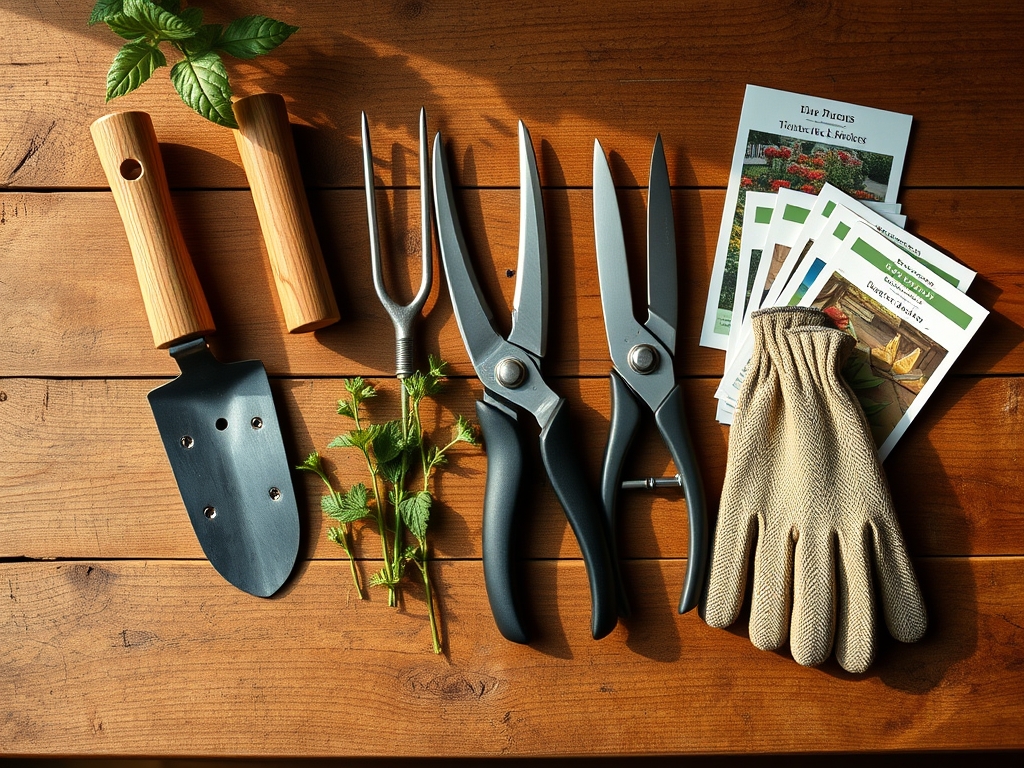
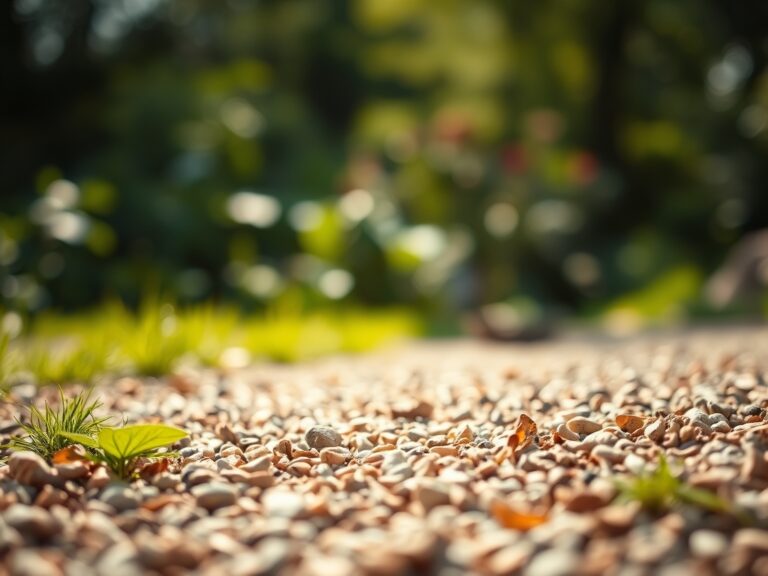
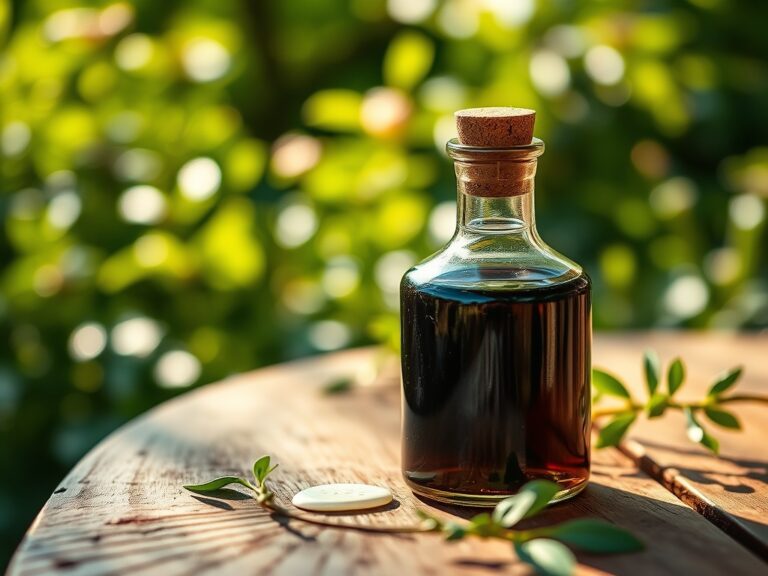
While a bridge is a structural element, its longevity is dictated by the chemistry of the surrounding rhizosphere. The soil beneath the bridge should ideally be a **friable loam** with a high **Cation Exchange Capacity (CEC)** to ensure proper drainage and minimize the humidity trapped under the spans. If the soil pH is below 6.0, the increased acidity can accelerate the corrosion of galvanized fasteners. You will need a sealant with a high solids content and a UV inhibitor. Avoid products with heavy metallic driers. Gather a stiff bristle brush for mechanical descaling; a pressure washer with a 25 degree nozzle; and a high quality oil based sealer. For the surrounding soil, maintain an **NPK ratio of 10-10-10** for nearby ornamental plants to ensure root systems remain robust without encroaching on the bridge footings.
Timing:
The execution of these steps must align with specific atmospheric conditions to ensure proper molecular bonding. In Hardiness Zones 5 through 8, the ideal window occurs during the late spring or early autumn when the ambient temperature remains between 60 and 80 degrees Fahrenheit. Monitor the dew point; application must occur when the wood moisture content is below 12 percent. This timing respects the biological clock of the surrounding flora. Sealing during the transition from the vegetative to the reproductive stage of nearby perennials ensures that overspray does not interfere with the delicate process of pollination or fruit set. Avoid sealing if rain is forecasted within 48 hours, as moisture will disrupt the polymerization of the sealant.
Phases:
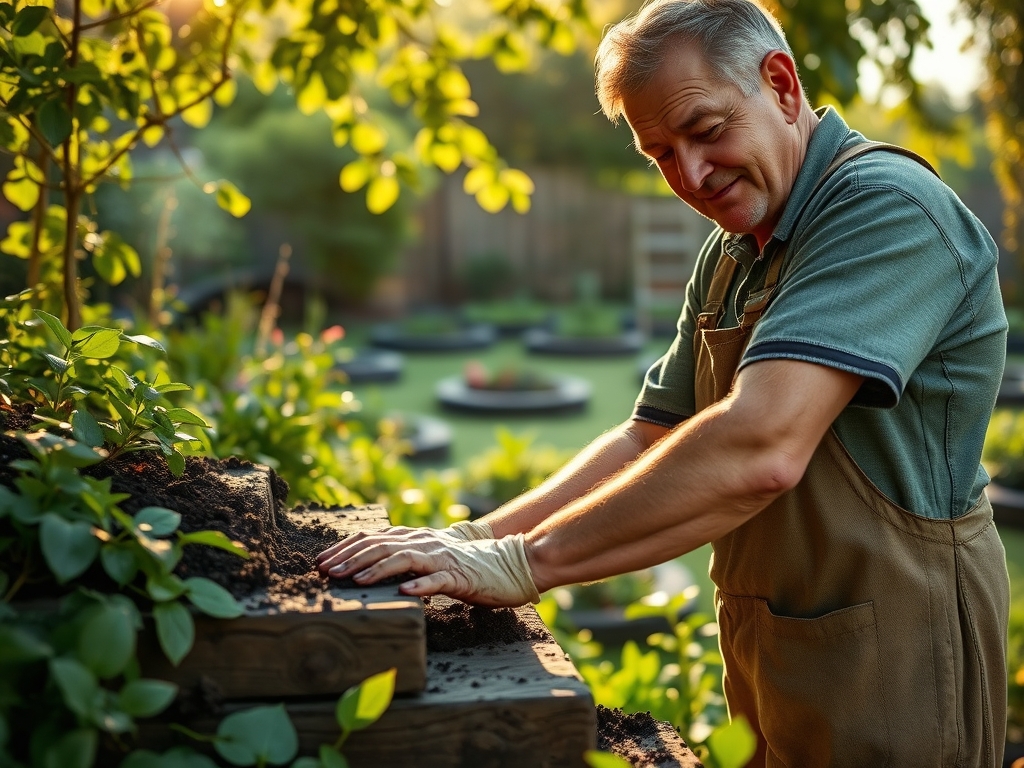
Sowing the Foundation: Cleaning
The first phase involves removing the biofilm of algae and accumulated organic matter. Use a solution of oxygen bleach rather than chlorine bleach to preserve the lignin bonds within the wood. Scrub the surface thoroughly to open the grain.
Pro-Tip: Removing the biofilm prevents the growth of anaerobic bacteria. This is essential because these microorganisms can cause internal rot by trapping moisture deep within the cellulose fibers, bypassing the wood's natural defenses.
Transplanting the Finish: Application
Once the wood is dry, apply the sealer using a natural bristle brush. Work in the direction of the grain to facilitate deep penetration into the tracheids of the wood. Ensure the end grain of the planks is saturated, as this is where the highest rate of capillary action occurs.
Pro-Tip: Saturating the end grain exploits the wood's natural capillary structure. By filling these vertical tubes with sealant, you prevent the "wicking" effect that allows water to travel inches into the board, which would otherwise cause localized swelling and structural warping.
Establishing the Barrier: Curing
Allow the first coat to dwell for 20 minutes before wiping away any excess that has not been absorbed. A second coat may be necessary for porous softwoods like pine or cedar. The curing process takes approximately 72 hours for full chemical stabilization.
Pro-Tip: Managing the curing time is vital for long term adhesion. If the sealant dries too quickly due to direct solar radiation, it can lead to "flashing," where the protective resins fail to bond with the wood fibers, resulting in premature peeling.
The Clinic:
Symptom: Graying or Silvering of Wood
Solution: This is a result of UV photodegradation of the lignin. Use a wood brightener containing oxalic acid to restore the pH balance and lift the gray fibers before sealing.
Symptom: Black Spotting
Solution: This indicates a fungal colonization, often Aureobasidium pullulans. Treat the area with a topical fungicide and ensure the bridge has at least 4 inches of clearance from the soil to improve airflow.
Symptom: Checking and Splitting
Solution: This is caused by rapid desiccation. Apply a paraffin wax based end sealer to the cross sections of the timber to slow the rate of moisture loss and reduce internal tension.
Fix-It: Nitrogen Chlorosis in Nearby Plants
If plants near the bridge show yellowing leaves with green veins, the soil may have a nitrogen deficiency caused by the decomposition of wood mulch. Apply a high nitrogen fertilizer (20-10-10) to restore the nitrogen balance in the rhizosphere.
Maintenance:
A bridge requires rigorous monitoring to prevent structural decay. Inspect the fasteners every six months for signs of galvanic corrosion. Maintain the surrounding vegetation by using a hori-hori knife to remove weeds that trap moisture against the base of the bridge. Use bypass pruners to keep overhanging branches at least 2 feet away from the structure to allow for maximum sunlight and airflow. Measure the soil moisture near the footings with a soil moisture meter; the area should not exceed 30 percent moisture for extended periods. Apply a maintenance coat of sealer every 24 to 36 months depending on the UV exposure and foot traffic.
The Yield:
The yield of a well sealed bridge is measured in longevity and structural safety. A properly treated timber bridge can last 20 to 30 years, whereas an untreated one may fail in less than a decade. Post-treatment, the wood should exhibit "water beading," where liquid sits in distinct droplets on the surface rather than soaking in. This indicates the hydrophobic barrier is intact. Regularly clear debris such as fallen leaves or pine needles, as these organic materials hold moisture and can create a microenvironment conducive to wood-destroying organisms.
FAQ:
How often should I seal my wooden bridge?
Perform a water bead test annually. If water soaks into the wood rather than beading on the surface, it is time to reseal. Generally, this occurs every two to three years depending on sun exposure and local humidity levels.
Can I use a pressure washer to clean the wood?
Yes, but use a wide fan tip and keep the pressure below 1,500 PSI. High pressure can shred wood fibers and destroy the cellular structure, leading to a "fuzzy" texture that traps moisture and prevents even sealant absorption.
What is the best temperature for sealing wood?
The ideal temperature range is between 60 and 80 degrees Fahrenheit. High heat causes the sealant to dry before it can penetrate the wood cells, while temperatures below 50 degrees inhibit the chemical curing process of the resins.
Should I use a clear or tinted sealer?
Tinted sealers are superior for longevity. The pigments in tinted sealers act as a physical barrier against UV radiation, protecting the lignin from breaking down. Clear sealers offer minimal protection against sun damage and require more frequent reapplication.