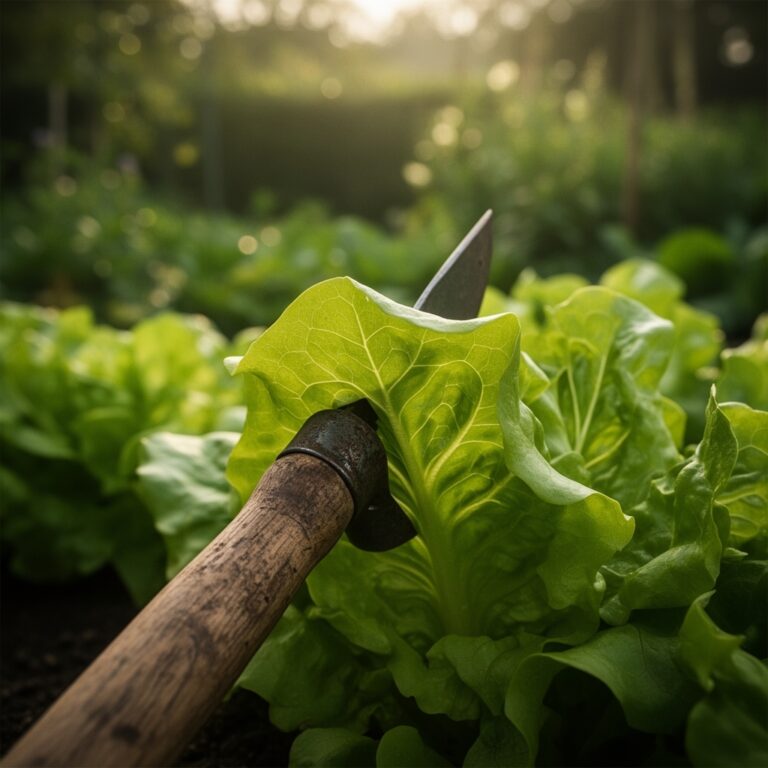
6 Simple Ways How to Fix Stunted Growth
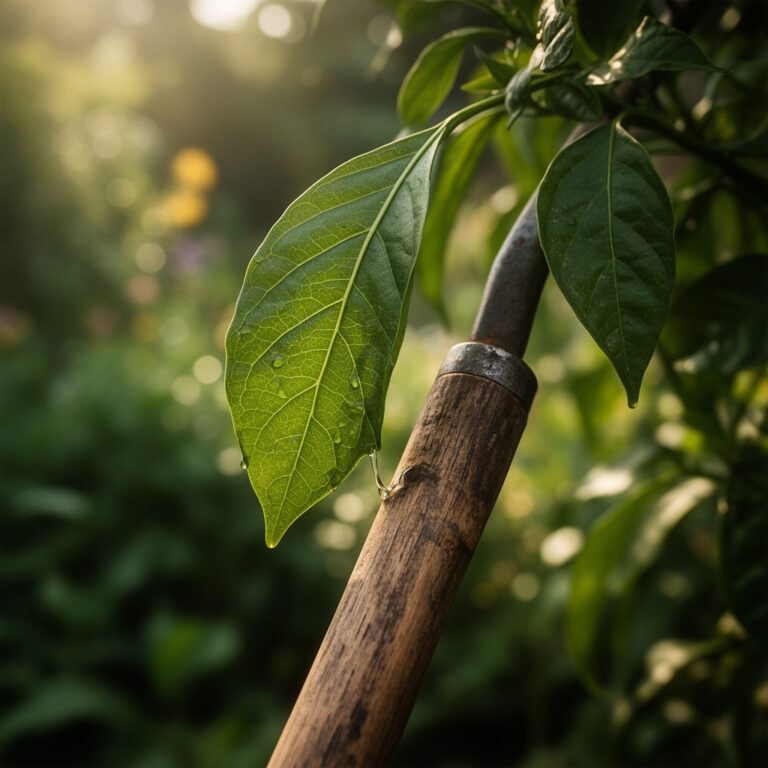
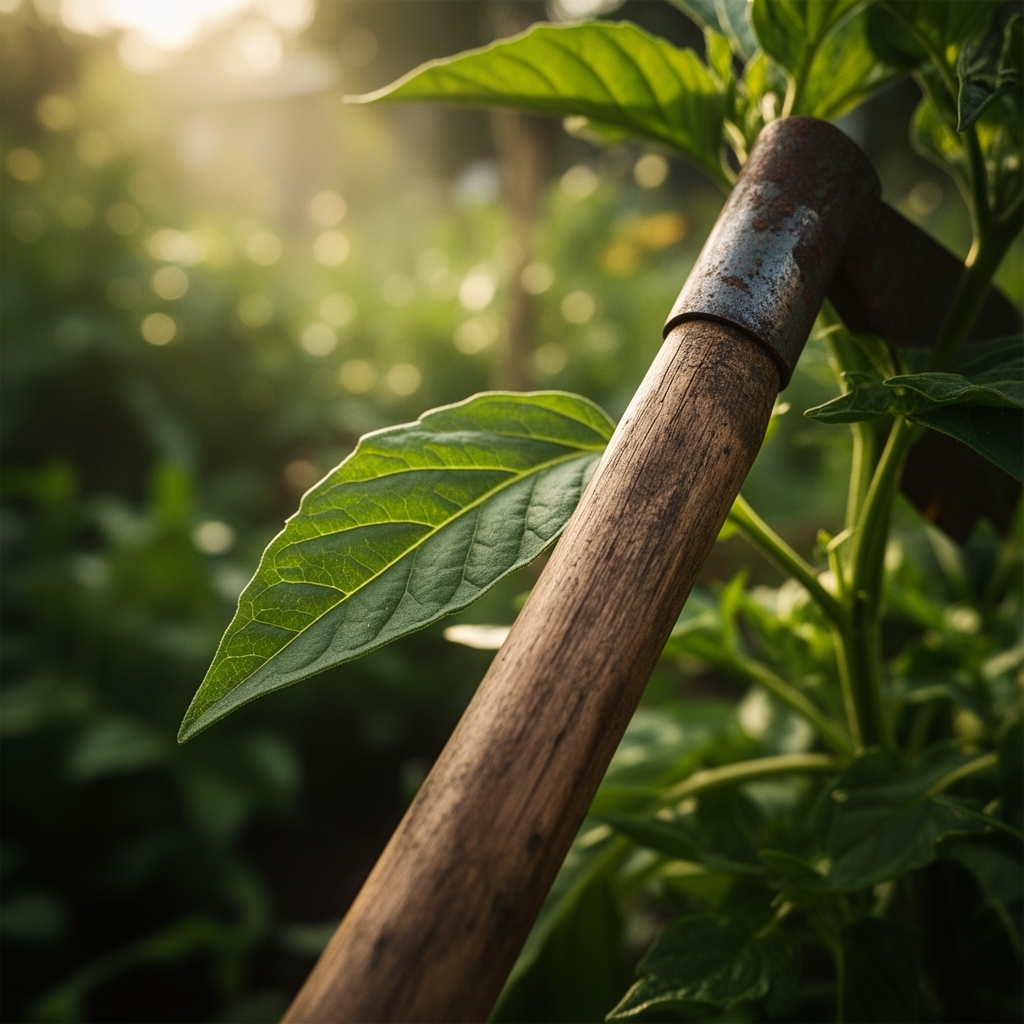
Stunted growth transforms promising seedlings into pale, stalled disappointments. Leaves yellow at the margins. Stems remain pencil-thin weeks past their expected girth. Roots circle the same six inches of soil, unable to anchor or feed. Learning how to fix stunted growth requires diagnosing the specific limiting factor: nitrogen deficiency, compacted soil, root-bound containers, pH imbalance, inadequate light, or pest pressure. Each constraint demands a targeted intervention. The following six methods address the most common causes and restore auxin distribution, nutrient uptake, and apical meristem activity.
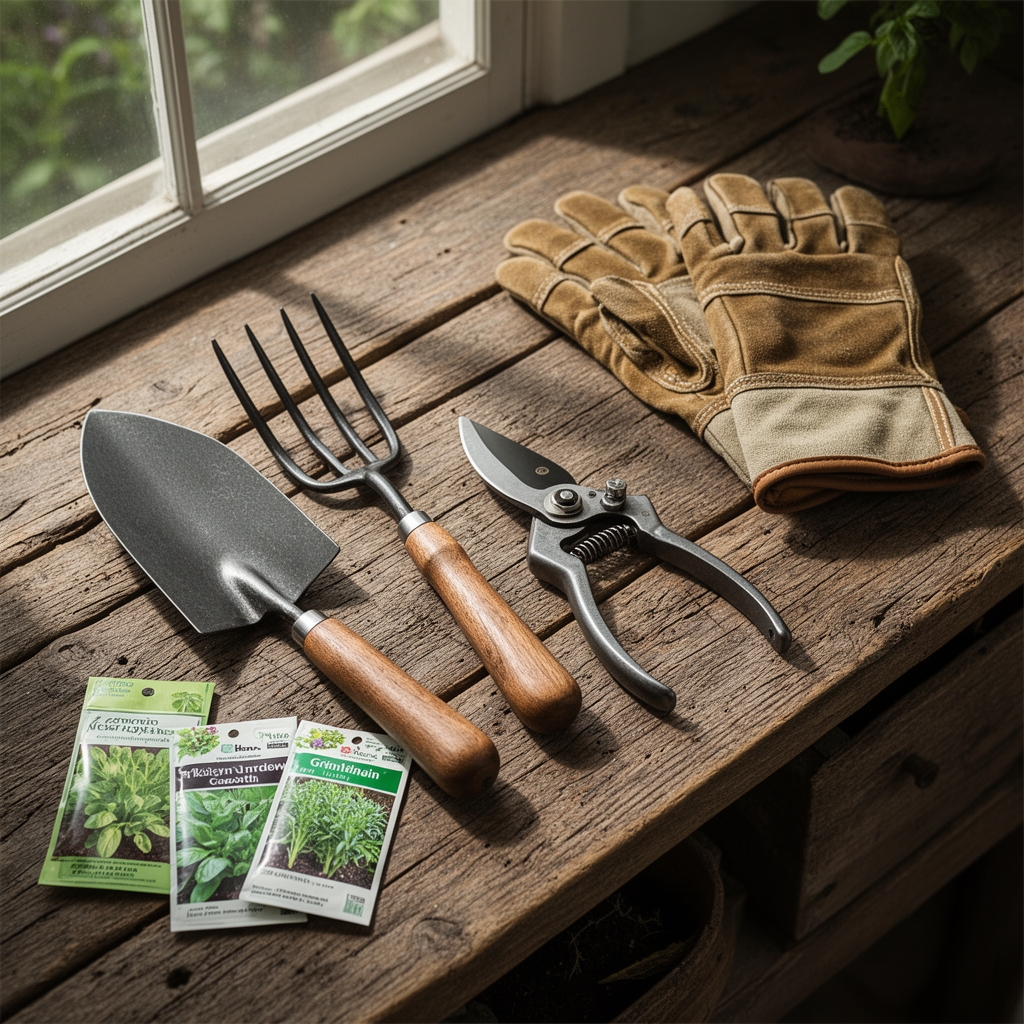
Materials
Soil Amendments (pH 6.0–7.0 target):
- Dolomitic lime (raises pH, adds magnesium)
- Elemental sulfur (lowers pH in 0.5-unit increments)
- Gypsum (neutral pH, improves cation exchange capacity)
Fertilizers (NPK ratios):
- Blood meal (12-0-0, fast nitrogen release)
- Bone meal (3-15-0, phosphorus for root development)
- Kelp meal (1-0.5-2, trace minerals and cytokinins)
- Balanced organic granular (4-4-4 or 5-5-5)
Biological Inoculants:
- Mycorrhizal fungi (Glomus intraradices, Rhizophagus irregularis)
- Beneficial bacteria (Bacillus subtilis, Azospirillum)
Containers and Tools:
- Fabric pots (5-gallon minimum for mature vegetables)
- Broadfork or garden fork for soil aeration
- pH meter or test strips (0.1-unit resolution)
- Soil thermometer
Timing
Begin remediation when soil temperature reaches 50°F at 4-inch depth. In Zones 3–5, this window opens mid-April to early May. Zones 6–8 allow intervention from late March through April. Zones 9–11 permit year-round correction but prioritize fall and winter months when heat stress is absent.
Apply nitrogen amendments four weeks before the last expected frost date. Phosphorus and mycorrhizal inoculants work best at transplanting time. Avoid heavy fertilization during the two weeks before first frost in fall; this encourages tender growth vulnerable to cold damage.
Phases
Sowing Phase
Test soil pH and adjust to the crop's preferred range. Most vegetables require 6.2–6.8. Blueberries and azaleas need 4.5–5.5. Brassicas tolerate up to 7.2. Mix amendments 30 days before seeding to allow chemical equilibration.
Incorporate 2 inches of finished compost into the top 6 inches of soil. Add 1/4 cup of balanced organic fertilizer per square foot. Ensure soil temperature matches crop requirements: warm-season crops need 60°F minimum, cool-season crops 40°F.
Pro-Tip: Coat seeds with mycorrhizal powder before sowing. The fungi colonize root hairs within 72 hours, extending the effective root zone by 10 to 100 times.
Transplanting Phase
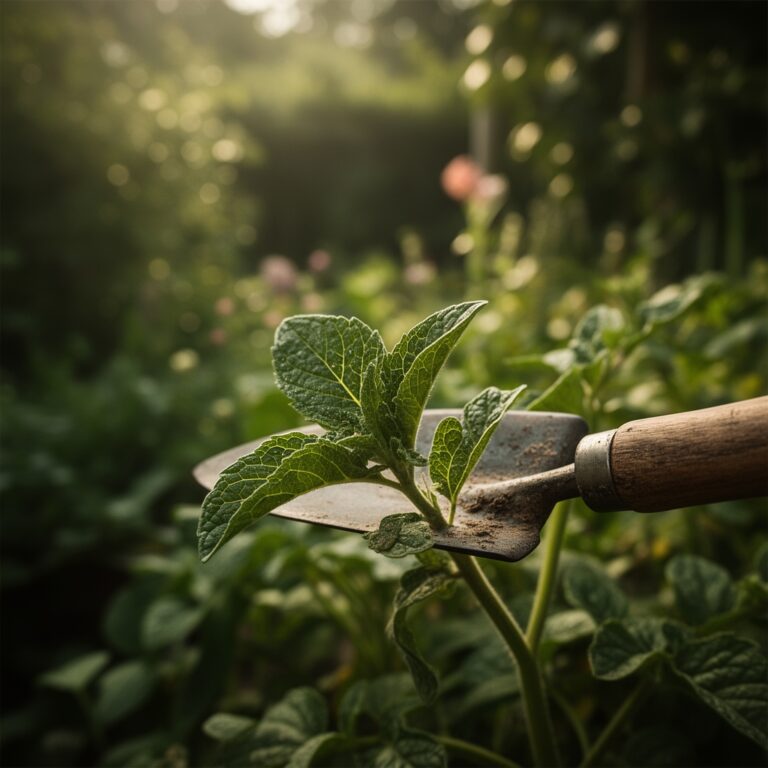
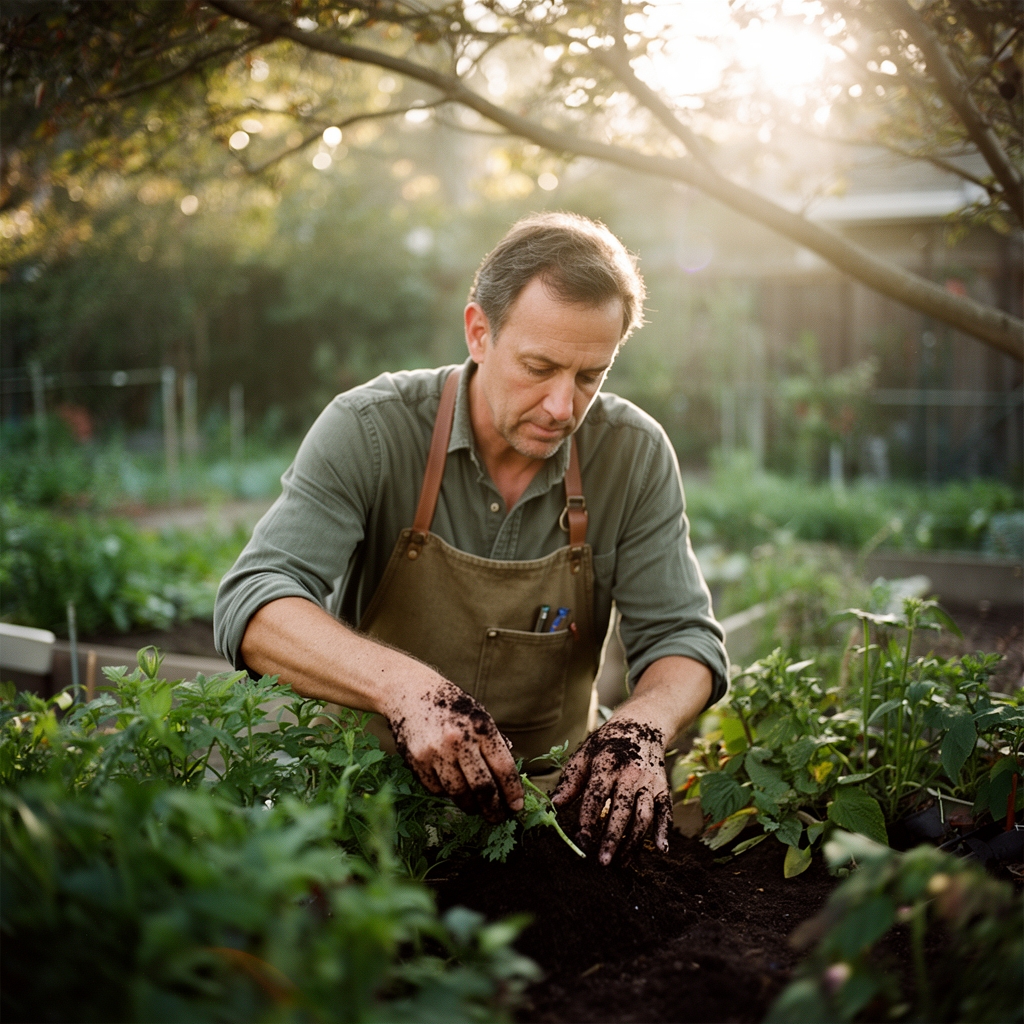
Remove seedlings from containers and inspect roots. White, fibrous roots indicate health. Brown, circling roots signal the plant is root-bound. Gently tease apart circling roots or make four vertical cuts 1/4 inch deep along the root ball's sides. This pruning redirects growth outward.
Dig holes twice the width of the root ball and equal in depth. Place transplants at the same soil level as they grew in containers. Tomatoes are the exception; bury stems up to the first true leaves to encourage adventitious rooting.
Water immediately with a starter solution: 1 tablespoon of fish emulsion per gallon of water. This provides 5-1-1 NPK and delivers amino acids that reduce transplant shock.
Pro-Tip: Apply granular mycorrhizal inoculant directly into the planting hole. Use 1 teaspoon per transplant. Ensure contact between inoculant and roots.
Establishing Phase
Monitor new growth daily. Healthy plants add 1–2 inches of stem length per week. Leaves emerge with deep green coloration and full expansion within 5–7 days.
Side-dress with blood meal if leaves remain pale or growth stalls. Apply 1/4 cup per plant, scratched into the soil 4 inches from the stem. Water thoroughly. Nitrogen becomes available within 3–7 days.
For phosphorus deficiency (purple leaf undersides, slow root development), apply bone meal at 1/2 cup per plant or liquid fish bone meal at label rates.
Loosen compacted soil with a broadfork, working 12 inches deep around the plant's drip line. Compaction restricts oxygen, which roots require for respiration and nutrient uptake.
Pro-Tip: Prune the growing tip at a 45-degree angle if the plant channels all energy into a single spindly stem. This redirects auxins to lateral buds, producing bushier, more resilient architecture.
Troubleshooting
Symptom: Yellowing lower leaves, slow growth, pale new foliage.
Solution: Nitrogen deficiency. Apply blood meal (12-0-0) at 1/4 cup per plant or water with fish emulsion (5-1-1) at 2 tablespoons per gallon weekly for three weeks.
Symptom: Purple or red leaf undersides, stunted roots, delayed flowering.
Solution: Phosphorus deficiency. Incorporate bone meal (3-15-0) at 1/2 cup per plant or apply liquid phosphorus at 1-2-4 ratio. Ensure soil pH is below 7.0; high pH binds phosphorus.
Symptom: Brown leaf margins, weak stems, poor drought tolerance.
Solution: Potassium deficiency. Top-dress with kelp meal (1-0.5-2) at 1/4 cup per plant or apply potassium sulfate at label rates.
Symptom: Roots circling the container, surface roots exposed, rapid wilting.
Solution: Root-bound condition. Transplant into a container 2–3 times larger or into the ground. Score root ball vertically before replanting.
Symptom: Interveinal chlorosis (yellow leaves with green veins), poor growth in alkaline soil.
Solution: Iron or manganese deficiency. Lower soil pH with elemental sulfur (1/4 cup per square yard) or apply chelated iron foliar spray at label rates.
Maintenance
Provide 1–1.5 inches of water per week. Measure with a rain gauge. Water deeply once or twice weekly rather than daily shallow watering. This encourages roots to grow 12–18 inches deep.
Mulch with 2–3 inches of shredded leaves or straw. Mulch moderates soil temperature, retains moisture, and adds organic matter as it decomposes.
Reapply balanced fertilizer every 4–6 weeks at half the initial rate. Excessive nitrogen produces lush foliage but weak stems and low fruit set.
Monitor light exposure. Most vegetables require 6–8 hours of direct sun. If plants stretch toward light or have long internodes, increase exposure or use reflective mulch.
FAQ
How long does it take to reverse stunted growth?
Visible improvement appears within 7–14 days after correcting the limiting factor. Full recovery to expected growth rates requires 3–4 weeks.
Can I use synthetic fertilizers instead of organic?
Yes. Synthetic fertilizers deliver nutrients faster but do not improve soil structure or microbial activity. Use half the recommended rate to avoid salt buildup and root burn.
Do all plants benefit from mycorrhizal fungi?
No. Brassicas (cabbage, broccoli, kale) and beets do not form mycorrhizal associations. Focus inoculation on tomatoes, peppers, squash, and perennials.
What if the soil test shows multiple deficiencies?
Address pH first. Correcting pH often resolves multiple nutrient lockout issues. Wait 30 days, then retest and add specific amendments.
Should I prune stunted plants?
Yes, but selectively. Remove dead or diseased tissue. Prune the apical meristem only if the plant refuses to branch. Avoid heavy pruning; it delays recovery by removing photosynthetic tissue.