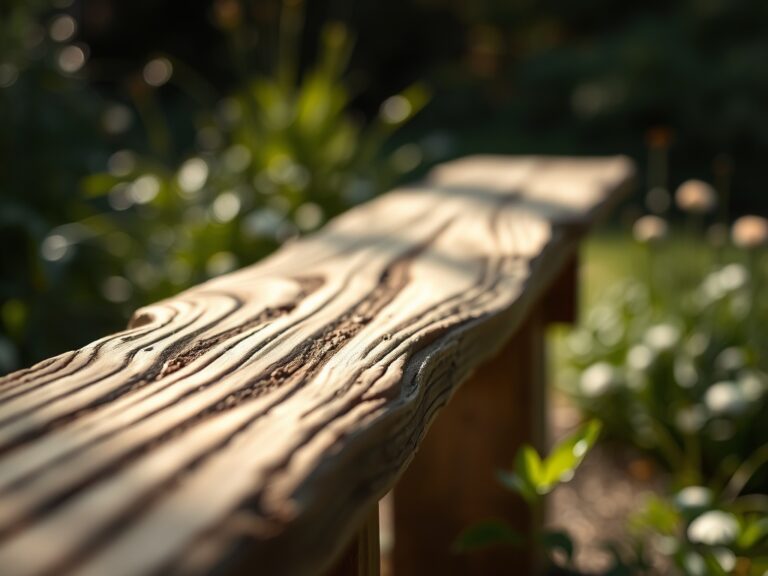
7 Vital Steps to Finish a Wooden Bench
Freshly turned earth emits a sharp, metallic scent of geosmin while the turgor pressure of a healthy leaf resists the touch of a calloused thumb. This same tactile precision is required when transitioning from the garden to the woodshop to execute the steps to finish a wooden bench. A garden bench is not merely furniture; it is a structural element within the landscape that must withstand ultraviolet radiation and moisture saturation. Neglecting the finish leads to cellular collapse of the wood fibers, much like a plant suffering from systemic necrosis. Proper finishing ensures the timber remains as resilient as a well-hardened perennial.
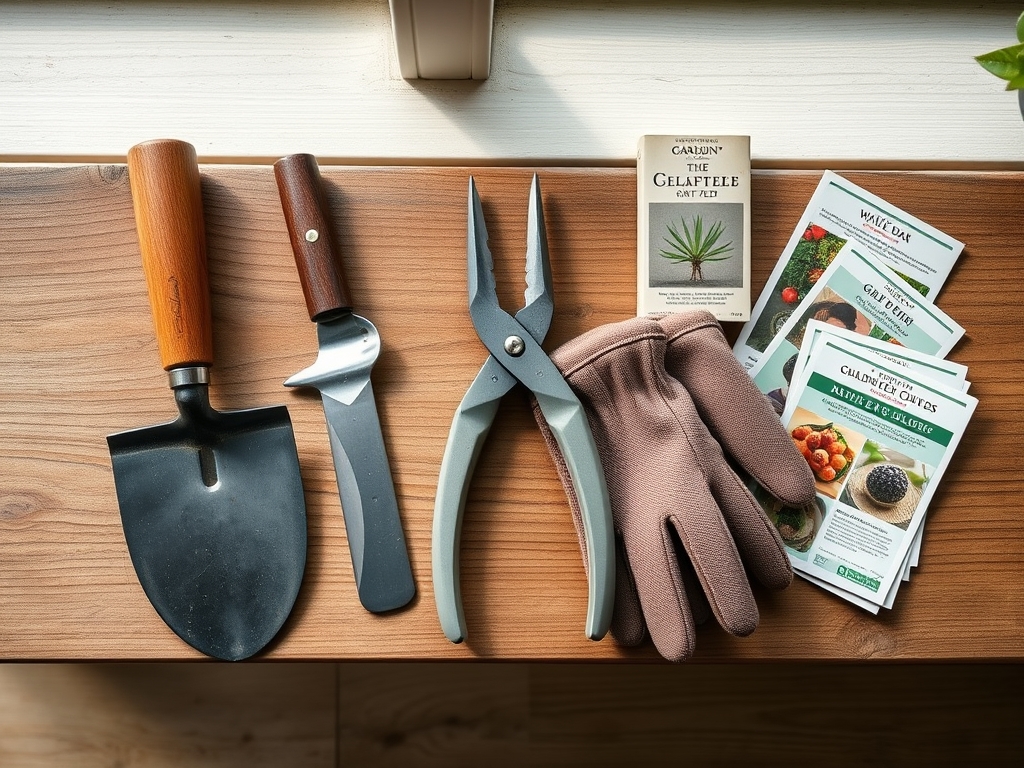
Materials:
While the bench itself is timber, the environment where it sits requires specific soil parameters to prevent rot at the contact points. The ideal substrate for a garden bench placement is a **friable loam** with a **Cation Exchange Capacity (CEC) of 15 to 25**. This soil structure allows for rapid drainage, preventing the wood from sitting in anaerobic conditions. For surrounding plantings that frame the bench, maintain a **soil pH between 6.2 and 6.8**.
Incorporate a slow-release fertilizer with an NPK ratio of 10-10-10 into the surrounding rhizosphere to support ornamental growth without causing excessive vegetative flush. Avoid high nitrogen levels (above 20) near the bench, as this can lead to soft, succulent growth that traps humidity against the wood. The physical texture of the ground should be stabilized with a layer of crushed basalt or pea gravel to break capillary action between the soil and the wood grain.
Timing:
Timing the finishing process requires strict adherence to atmospheric conditions, much like timing a spring sowing. In Hardiness Zones 5 through 7, the ideal window occurs after the last frost but before the humidity spikes of mid-summer. The ambient temperature must remain between 60 and 80 degrees Fahrenheit for a minimum of 48 hours to ensure proper molecular cross-linking of the finish.
The biological clock of the surrounding landscape also dictates the schedule. Perform finishing tasks during the transition from the vegetative stage to the reproductive stage of local flora, typically when pollen counts are low. High pollen counts can contaminate a wet finish, creating a gritty surface that promotes fungal colonization. Monitor the dew point; if the dew point is within 5 degrees of the ambient temperature, the wood fibers will be too saturated to accept a penetrating oil.
Phases:

Sowing the Surface: Preparation
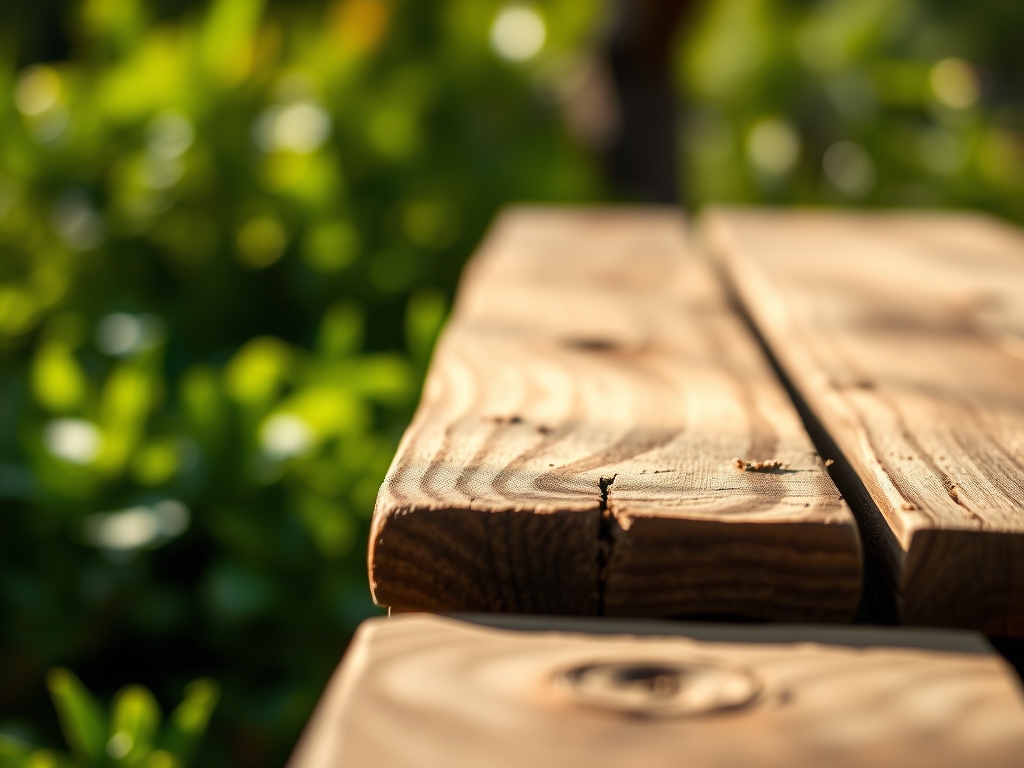
The first of the steps to finish a wooden bench involves mechanical abrasion. Sand the wood starting with 80-grit and progressing to 150-grit sandpaper. This opens the vascular bundles of the xylem, allowing the finish to penetrate deep into the heartwood. Remove all dust using a high-pressure air hose or a tack cloth to ensure the surface is chemically clean.
Pro-Tip: Proper sanding prevents "wicking" via capillary action. By smoothing the surface, you reduce the surface area available for water molecules to cling to, effectively managing the wood's hydraulic conductivity.
Transplanting the Finish: Application
Apply a high-quality marine-grade spar urethane or a penetrating tung oil. Use a natural bristle brush to apply the liquid in the direction of the grain. For the first coat, thin the finish by 10 percent with mineral spirits to increase its ability to saturate the dense cellular structure of the timber.
Pro-Tip: This deep penetration mimics the way mycorrhizal symbiosis extends a plant's root reach. The finish integrates with the cellulose fibers, creating a hydrophobic barrier that prevents internal moisture expansion and subsequent cracking.
Establishing the Shield: Curing
Allow the bench to cure in a shaded, well-ventilated area for 24 hours between coats. Lightly sand with 220-grit paper between applications to remove any "nibs" or raised grain. A minimum of three coats is necessary for a bench exposed to full sun (high UV index).
Pro-Tip: Curing is a chemical reaction, not just evaporation. Maintaining stable temperatures prevents "flash drying," which can trap solvents under the surface and lead to premature delamination, similar to how heat stress causes stomatal closure in leaves.
The Clinic:
Wood, like plants, exhibits specific symptoms when environmental stressors exceed its tolerance.
- Symptom: Graying or Silvering. This is the result of UV-induced lignin degradation. Solution: Apply a finish with UV inhibitors and a slight pigment to block radiation.
- Symptom: Checking (Small Cracks). This indicates rapid moisture loss. Solution: Increase the frequency of oil applications to maintain internal fiber flexibility.
- Symptom: Black Spotting. This is typically Aureobasidium pullulans, a fungus that feeds on surface moisture. Solution: Clean with a 1:10 bleach-to-water solution and apply a finish containing a zinc-based fungicide.
Fix-It for Nutrient Deficiencies in Surrounding Plants:
If plants near the bench show Nitrogen chlorosis (yellowing of older leaves), apply a foliar spray of liquid kelp. If you observe interveinal chlorosis (yellowing between green veins), the soil pH may be too high, locking up iron; amend the soil with elemental sulfur to drop the pH by 0.5 units.
Maintenance:
A finished bench requires a maintenance regimen as strict as a watering schedule. Inspect the bench every six months using a soil moisture meter pressed against the wood; a reading above 15 percent moisture content indicates the finish has been compromised.
Clean the surface using a soft brush and a pH-neutral soap. If the bench is situated under a canopy, use bypass pruners to remove overhanging limbs that drop sap or bird droppings, both of which are acidic and can etch the finish. Ensure the bench legs sit on "feet" made of high-density plastic or stone to prevent the wood from drawing moisture directly from the rhizosphere. Provide the surrounding garden with 1.5 inches of water per week at the drip line to prevent soil shrinkage, which can cause the bench to become unlevel and stress its mechanical joints.
The Yield:
The yield of a properly finished bench is measured in longevity and structural integrity. A well-maintained finish should last 3 to 5 years before requiring a full sand-down. When the finish is performing correctly, water will bead on the surface with a high contact angle, signifying that the surface tension is intact. To maintain "day-one" freshness, wipe the wood down with a microfiber cloth after heavy rain events to prevent the standing water from magnifying UV rays, which can scorch the finish much like water droplets can burn sensitive foliage in midday sun.
FAQ:
How often should I re-apply the finish?
Re-apply a maintenance coat every 12 to 24 months depending on UV exposure. If water no longer beads on the surface or the wood feels parched, the protective barrier has reached senescence and requires replenishment.
Can I finish a bench if the wood is damp?
No. Wood must have a moisture content below 12 percent. High internal moisture prevents the finish from bonding with the cellulose fibers, leading to immediate peeling and potential fungal growth within the timber.
What is the best temperature for finishing wood?
The optimal range is 60 to 75 degrees Fahrenheit with humidity below 65 percent. Extreme heat causes the solvents to evaporate too quickly, while cold temperatures inhibit the chemical polymerization required for a durable shell.
Does the type of wood affect the finishing steps?
Yes. Oily hardwoods like teak or ipe require an acetone wipe-down before finishing to remove surface oils. Softwoods like pine are more porous and often require a pre-stain conditioner to ensure even absorption and prevent blotching.