8 Best Recycled Plastic Planters
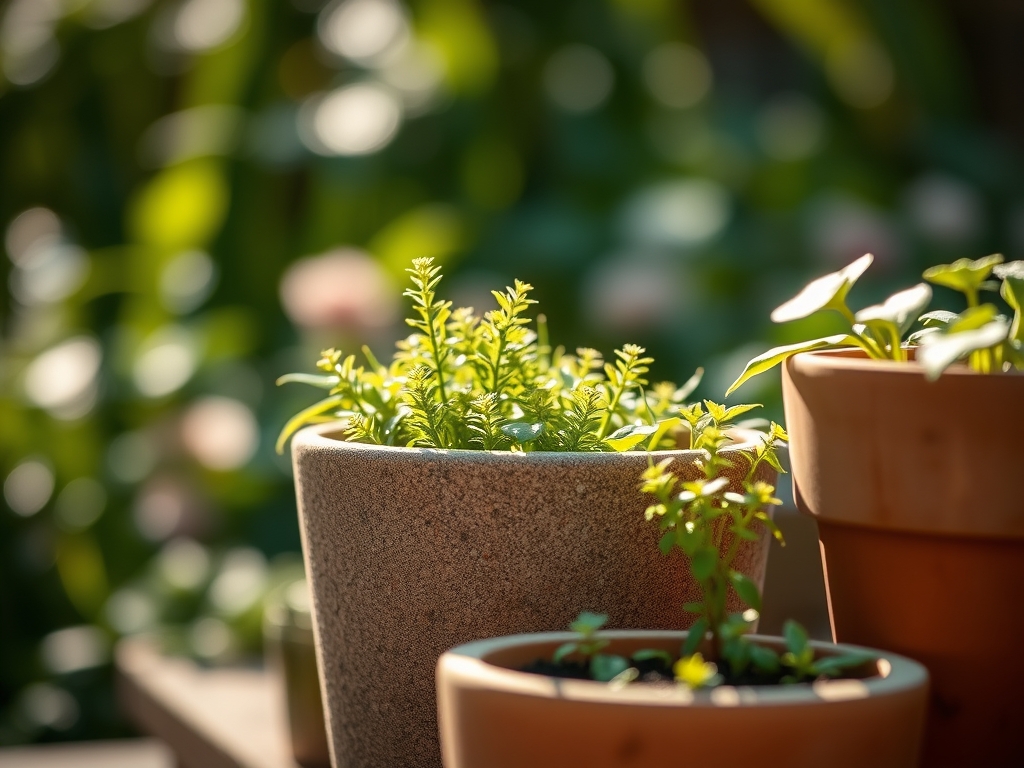
The scent of damp, anaerobic decomposition in a poorly drained pot is the first sign of failure. A healthy plant is defined by high turgor pressure; its cells are swollen with water, pushing against the cell walls to keep the foliage rigid and functional. Selecting the best recycled plastic planters is not merely an aesthetic choice. It is a decision that dictates the thermal stability of the rhizosphere and the oxygen availability at the root zone. High-density polyethylene (HDPE) and polypropylene (PP) sourced from post-consumer waste offer superior moisture retention compared to unglazed terracotta. These materials prevent the rapid desiccation of the growing medium, maintaining a consistent moisture gradient essential for metabolic processes. In a controlled horticultural environment, the container acts as the primary barrier against environmental flux. By choosing recycled polymers, you stabilize the root temperature while reducing the carbon footprint of your nursery operations. Professional-grade recycled vessels are engineered to resist UV degradation, ensuring the structural integrity of the container does not fail under the weight of saturated substrate.
Materials:
The success of any container-grown specimen depends on the chemical composition of the substrate. For most ornamental and edible crops, aim for a **soil pH between 6.0 and 7.0**. This range ensures maximum bioavailability of macronutrients. The ideal substrate is a friable loam, characterized by a mixture of 40 percent sand, 40 percent silt, and 20 percent clay. This texture allows for a high Cation Exchange Capacity (CEC), which measures the soil’s ability to hold onto positively charged nutrients like calcium and magnesium.
Incorporate a balanced NPK ratio of 10-10-10 for general vegetative growth. If focusing on flowering or fruiting, shift to a 5-10-10 ratio to prioritize phosphorus and potassium over nitrogen. Nitrogen is essential for chlorophyll production, but an excess of it leads to succulent, weak growth that is susceptible to pathogens. Ensure the medium includes perlite or vermiculite to maintain a total porosity of at least 50 percent. This allows for gas exchange, preventing the buildup of carbon dioxide in the root zone which can lead to root senescence.
Timing:
Timing is dictated by the United States Department of Agriculture (USDA) Hardiness Zones. In Zones 7 through 9, the window for spring planting typically opens after the last frost date, often falling between March 15 and April 15. The "Biological Clock" of the plant is triggered by the photoperiod; the ratio of light to dark hours. As days lengthen, plants transition from the vegetative stage, where energy is spent on leaf and stem development, to the reproductive stage, where energy shifts to flower and seed production.
Monitor soil temperatures using a probe. Most temperate species require a consistent soil temperature of 65 degrees Fahrenheit for active root elongation. If the soil is too cold, the plant will enter a state of dormancy or suffer from stunted growth due to reduced metabolic activity. Conversely, in the high heat of summer, recycled plastic planters provide an insulating layer that prevents the root mass from exceeding 85 degrees Fahrenheit, a threshold where many species begin to experience heat stress and wilting.
Phases:
Sowing
Begin by filling your recycled planters with a sterile seed-starting mix. Sow seeds at a depth approximately two to three times their diameter. Maintain a consistent moisture level without saturating the medium.
Pro-Tip: Utilize bottom-heat mats to encourage rapid germination. The biological why involves enzymatic activation; warmth triggers the breakdown of endosperm starches into glucose, providing the embryo with the energy needed to break the seed coat.
Transplanting
When the seedling has developed at least two sets of true leaves, move it to its permanent recycled container. Handle the plant by the root ball or the leaves, never the stem. The stem contains the vascular system (xylem and phloem); crushing it halts the transport of water and nutrients.
Pro-Tip: Dust the root ball with mycorrhizal fungi during transplanting. The biological why is symbiotic; these fungi extend the reach of the root system, increasing the surface area for phosphorus absorption in exchange for plant sugars.
Establishing
During the first 14 to 21 days, focus on root establishment. Avoid heavy fertilization during this period to prevent salt burn on young, tender roots. Monitor the plant for signs of transplant shock, such as temporary drooping.
Pro-Tip: Pinch off the apical meristem (the tip of the main stem) if the plant becomes "leggy." The biological why is auxin suppression; removing the lead bud stops the flow of the hormone auxin down the stem, which allows lateral buds to grow, resulting in a bushier, more stable plant.
The Clinic:
Observe the foliage for physiological disorders. Diagnosis requires a systematic approach to leaf morphology and color.
- Symptom: Interveinal chlorosis (yellowing between green veins) on new leaves.
- Solution: This indicates an Iron (Fe) deficiency, often caused by a pH above 7.0. Lower the pH using elemental sulfur or apply chelated iron.
- Symptom: Purpling of older leaves and stems.
- Solution: This is a classic sign of Phosphorus (P) deficiency. Apply a high-phosphorus liquid fertilizer to stimulate ATP production and energy transfer within the plant.
- Symptom: Marginal necrosis (browning of leaf edges).
- Solution: This suggests Potassium (K) deficiency or salt buildup. Flush the recycled planter with three times the volume of the pot in fresh water to leach out excess salts.
- Symptom: General yellowing of lower leaves.
- Fix-It: This is Nitrogen (N) chlorosis. Nitrogen is mobile within the plant; the organism pulls nitrogen from old leaves to support new growth. Apply a high-nitrogen fertilizer like blood meal or a 20-10-10 synthetic blend.
Maintenance:
Precision is the hallmark of professional maintenance. Use a soil moisture meter to verify the water content at a depth of 4 to 6 inches. Most containerized plants require approximately 1.5 inches of water per week, delivered directly to the drip line to avoid wetting the foliage. Wet leaves are a primary vector for fungal spores.
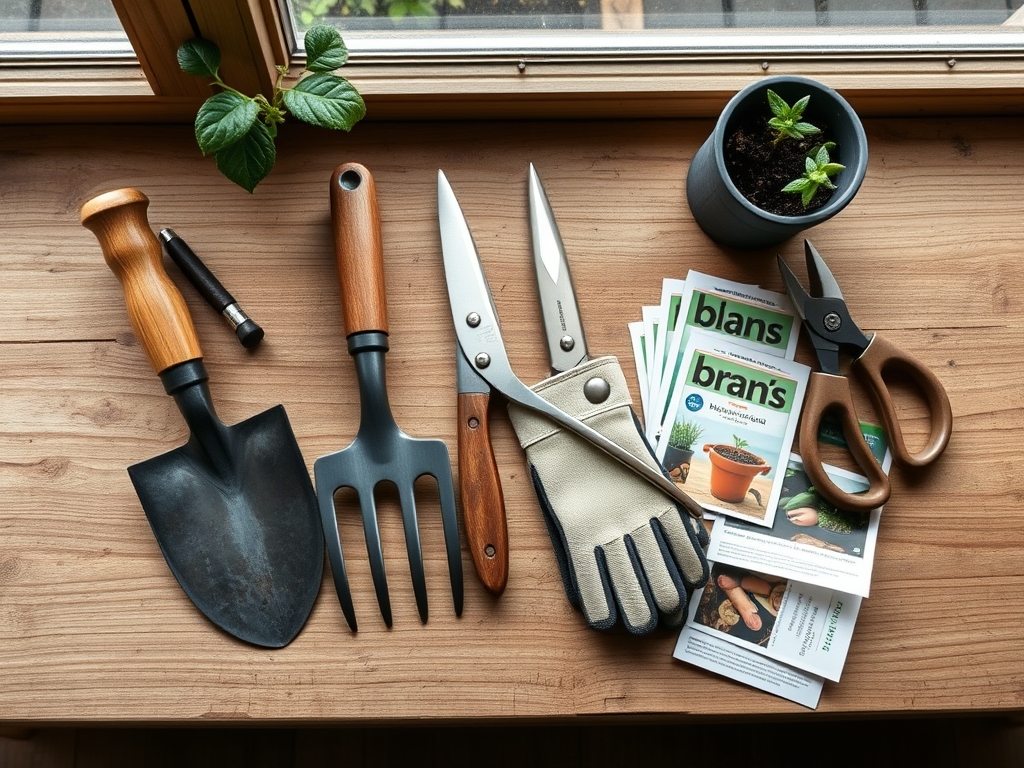
Pruning should be performed with sharp bypass pruners to ensure clean cuts that heal quickly. For weeding and soil aeration, a hori-hori knife is the standard tool. It allows you to cut through compacted roots or extract deep-taproot weeds without disturbing the primary root mass of your specimen. Every four weeks, inspect the drainage holes of your recycled plastic planters to ensure they are not blocked by root growth or sediment, as standing water leads to root rot.
The Yield:
For those growing edibles or cut flowers, harvest timing is critical for nutrient density and shelf life. Harvest in the early morning when turgor pressure is at its peak. At this time, the plant is fully hydrated and the ambient temperature is low, which slows the rate of respiration.
Use a sharp blade to make a clean, diagonal cut. For leafy greens, harvest the outer leaves first to allow the inner meristem to continue producing. Once harvested, immediately submerge the stems in cool water or place the produce in a humidity-controlled environment. This "pre-cooling" process removes field heat and slows down senescence, the biological process of aging and decay, ensuring the harvest remains fresh for several days.
FAQ:
Are recycled plastic planters safe for growing food?
Yes. Most recycled planters are made from food-grade HDPE or PP. These plastics are chemically inert and do not leach harmful toxins into the soil at standard growing temperatures. Always check for a BPA-free certification for edible crops.
How do I clean recycled plastic containers?
Scrub the interior with a solution of one part bleach to nine parts water. This eliminates pathogens, fungal spores, and mineral deposits. Rinse thoroughly and allow to air dry in the sun before refilling with fresh substrate.
Do recycled plastic planters crack in freezing weather?
High-quality recycled polymers are engineered for impact resistance and thermal expansion. Unlike ceramic or terracotta, which expand and crack when water freezes inside their pores, recycled plastic is flexible enough to withstand freeze-thaw cycles without structural failure.
How long do recycled plastic planters last?
Under standard UV exposure, a professional-grade recycled planter has a functional lifespan of 10 to 15 years. UV inhibitors added during the manufacturing process prevent the plastic from becoming brittle or fading significantly over time.