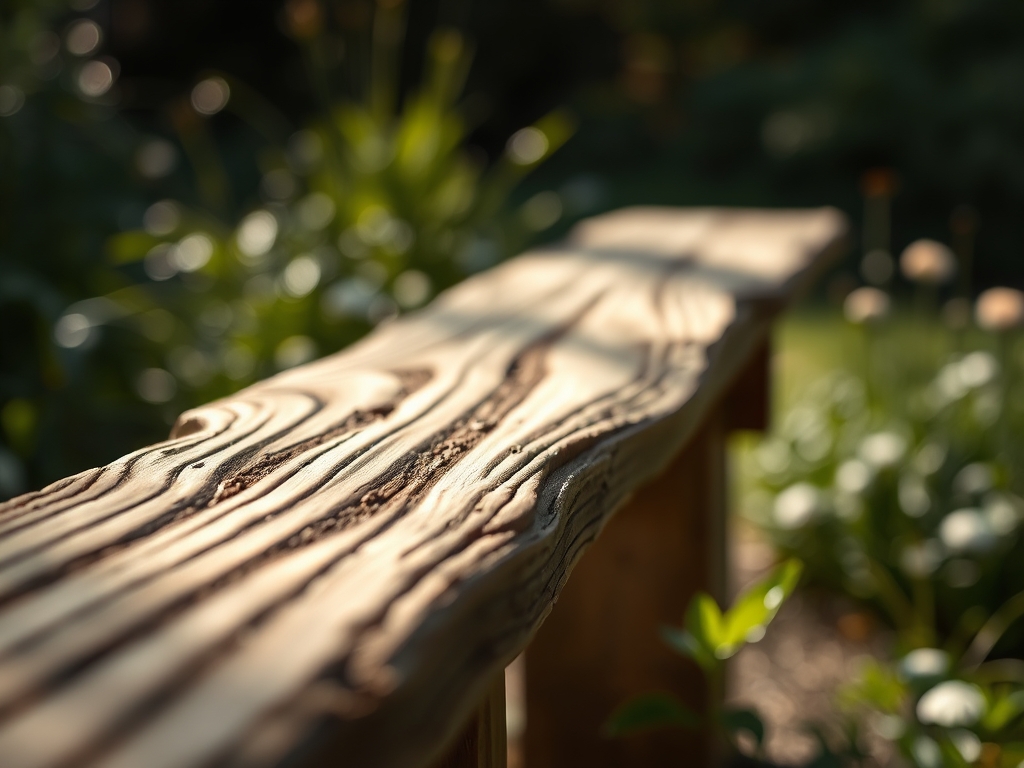
8 Crafty Ways How to Build a Garden Bench
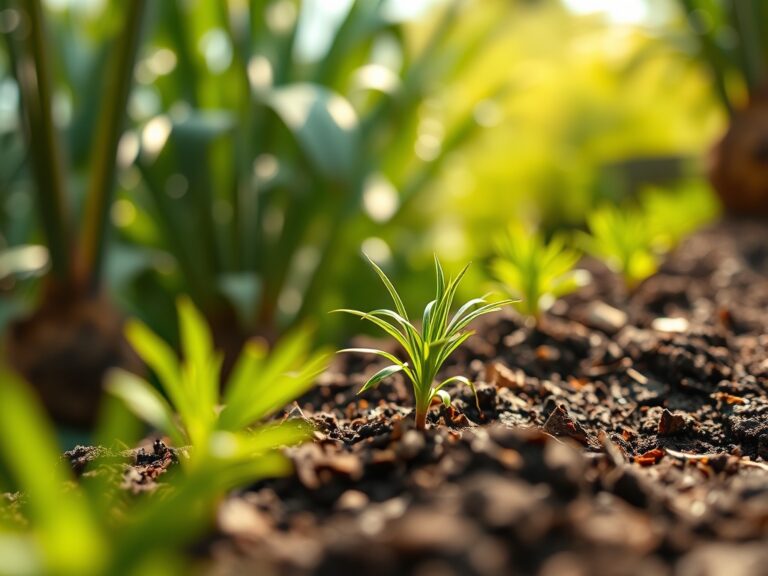
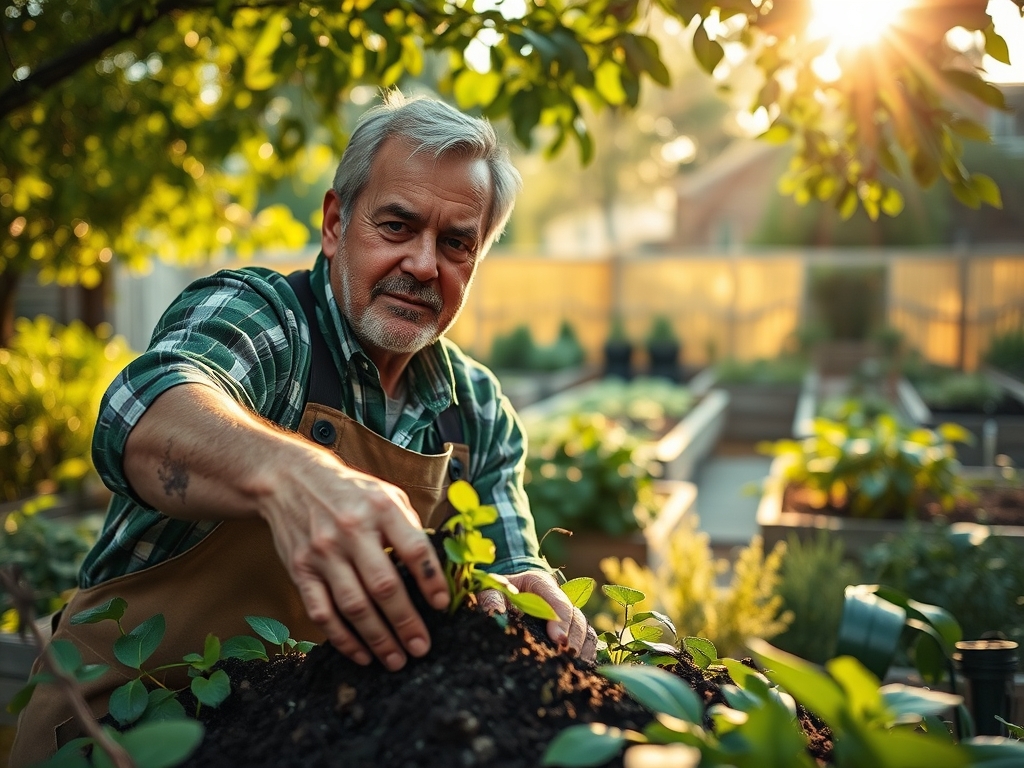
The scent of damp humus and the sharp tang of bruised xylem tissue define the workspace of a serious horticulturist. Successful integration of a seating structure requires understanding how to build a garden bench without disrupting the delicate rhizosphere of the surrounding flora. A bench is not merely furniture; it is a structural intervention in the microclimate that affects soil compaction and light infiltration for understory species. Proper placement ensures that human presence does not compromise the turgor pressure of nearby specimen plants.
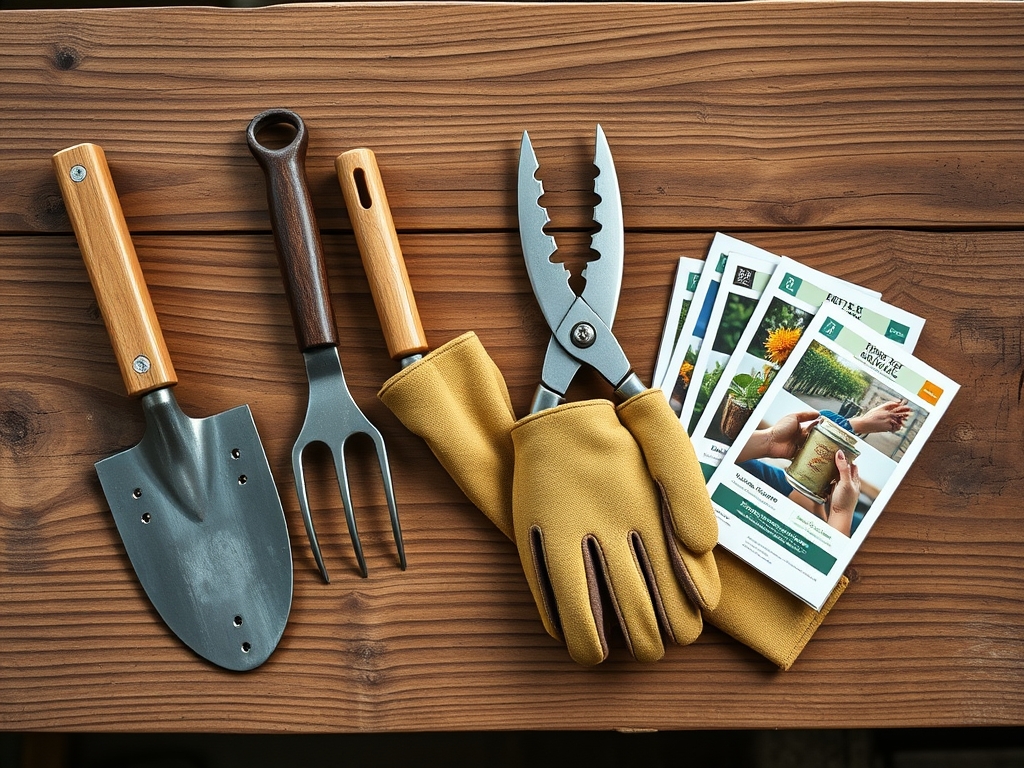
Materials:
Before selecting lumber or stone, assess the soil substrate where the bench will rest. The ideal foundation is a **friable loam** with a bulk density below **1.33 g/cm3** to allow for adequate drainage. If the bench is placed near acidophilic plants like Rhododendrons, ensure the construction materials do not leach calcium carbonate, which raises the **soil pH above 5.5**.
For projects involving integrated planters, use a growing medium with a Cation Exchange Capacity (CEC) of 15 to 25 meq/100g. Incorporate a slow release fertilizer with an NPK ratio of 10-10-10 for general foliage or 5-10-10 for root stability. Use rot resistant timbers such as Western Red Cedar or Black Locust, which contain natural phenolics that resist fungal decay without the need for heavy chemical treatments that might migrate into the soil profile.
Timing:
Construction should align with the dormancy period of your specific Hardiness Zone. In Zones 5 through 7, the window between the first hard frost and the spring thaw is optimal for ground disturbance. This timing avoids the peak vegetative stage where high auxin levels make plants sensitive to root pruning or soil compaction.
Understanding the biological clock is essential. Avoid heavy construction during the transition from vegetative to reproductive stages, typically mid summer for many perennials. Disrupting the root zone during this high transpiration period can lead to permanent wilting point if the plant cannot maintain sufficient turgor. Schedule your build when the photoperiod is shortening and deciduous species have begun the process of senescence, as this minimizes the physiological stress caused by shifting soil grades or installing footings.
Phases:
Sowing the Foundation
Excavate the site to a depth of 8 inches below the frost line to prevent heaving. Fill the base with 3/4 inch crushed angular stone to facilitate rapid percolation. This prevents anaerobic conditions in the soil which can lead to root rot in nearby specimens.
Pro-Tip: Ensure the base is level to prevent uneven weight distribution. Biological Why: Soil compaction limits oxygen diffusion to the roots; maintaining a stable, porous base protects the mycorrhizal symbiosis necessary for nutrient uptake in the surrounding soil.
Transplanting and Integration
When incorporating a bench into an existing hedge or border, use a hori-hori knife to cleanly sever any encroaching roots rather than tearing them. This promotes faster callous formation and reduces the risk of pathogen entry. If the bench includes built in planters, ensure they have a minimum depth of 18 inches for woody perennials.
Pro-Tip: Use a copper based root barrier on the interior of wooden planters. Biological Why: This utilizes thigmotropism and mild toxicity to prevent roots from circling and becoming pot bound, encouraging a more fibrous and efficient root system.
Establishing the Microclimate
Once the bench is installed, monitor the light levels. A solid backrest can create a "rain shadow" or a "heat sink." Use a soil moisture meter to check if the area behind the bench is receiving the required 1.5 inches of water per week.
Pro-Tip: Mulch the area around the bench legs with 3 inches of organic arborist chips. Biological Why: This suppresses weed germination by blocking the photoreceptors in weed seeds and maintains a consistent soil temperature for the beneficial microbes in the topsoil.
The Clinic:
Physiological disorders often arise after structural changes in the garden. Observe nearby plants for these specific symptoms.
Symptom: Interveinal chlorosis on new growth (yellowing leaves with green veins).
Solution: This indicates an Iron deficiency, often caused by high pH from concrete runoff. Apply chelated iron and acidify the soil with elemental sulfur to bring the pH back to a range of 6.0 to 6.5.
Symptom: Leaf scorch or marginal necrosis.
Solution: This suggests localized drought or salt buildup from treated lumber. Increase irrigation frequency and use a soil probe to ensure water is reaching the 12 inch depth.
Symptom: Nitrogen chlorosis (general paling of older leaves).
Fix-It: High carbon materials like sawdust from the build can "tie up" nitrogen. Apply a high nitrogen fertilizer with an NPK of 21-0-0 (Ammonium Sulfate) to restore the carbon to nitrogen ratio.
Maintenance:
Precision maintenance extends the life of both the bench and the garden. Use bypass pruners to keep foliage at least 6 inches away from wooden surfaces to prevent trapped moisture and fungal spores from proliferating. Inspect the bench footings annually for "frost heave" which can compress the soil and damage the rhizosphere.
Check soil moisture levels weekly using a soil moisture meter. If the bench is positioned under a dense canopy, it may intercept rainfall; you must manually provide 1.5 inches of water at the drip line of affected plants. Treat wood surfaces with linseed oil or a similar breathable finish that does not create a toxic runoff during heavy precipitation events.
The Yield:
While a bench does not produce a caloric yield, its "harvest" is the successful cultivation of the surrounding space. If your bench features integrated herb boxes, harvest during the early morning when essential oil concentration is at its peak. Use sharp shears to cut just above a node to encourage lateral branching and prevent the plant from entering premature senescence.
For floral yields, cut stems at a 45 degree angle and submerge in 110 degree Fahrenheit water immediately. This reduces the risk of air embolisms in the xylem, ensuring the flowers maintain turgor for the maximum possible duration.
FAQ:
What is the best wood for a garden bench?
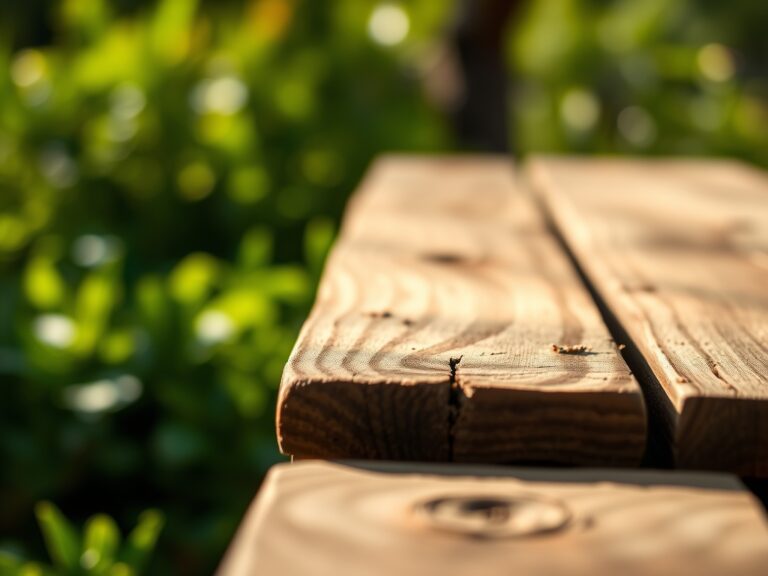
Select Western Red Cedar or Ipe. These woods contain high concentrations of natural extractives and tannins that resist decay and insect herbivory without requiring synthetic chemical treatments that alter soil chemistry or harm beneficial soil biota.
How do I prevent the bench from sinking?
Install a 6 inch deep base of compacted crushed stone or gravel. This distributes the load and prevents soil compaction, which otherwise restricts oxygen availability and inhibits the respiration of roots in the underlying soil profile.
Can I build a bench around a living tree?
Yes, but leave a minimum 12 inch gap between the trunk and the bench. This allows for secondary growth (girth expansion) and prevents moisture trapping against the bark, which can lead to fungal infections and structural compromise.
How does a bench affect nearby plant growth?
Benches create microclimates. A solid bench can act as a windbreak or a heat reservoir. Monitor soil moisture closely, as the structure may create a rain shadow, necessitating supplemental irrigation of at least 1 inch per week.