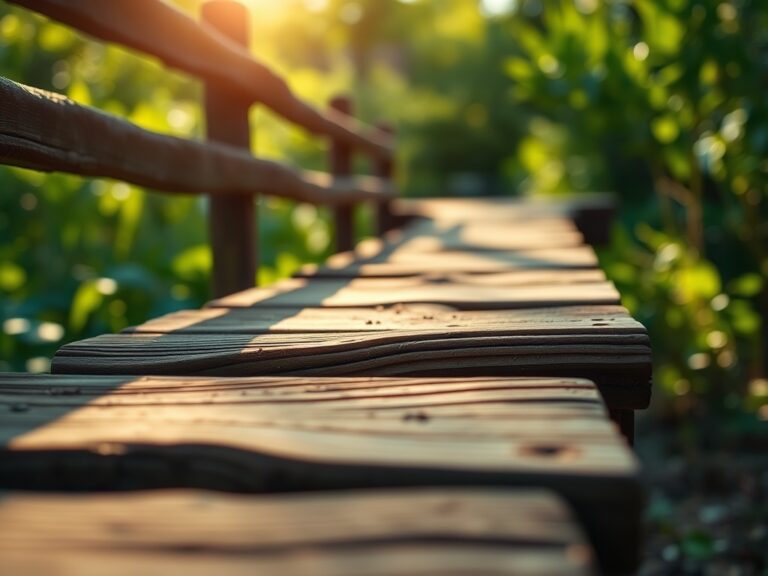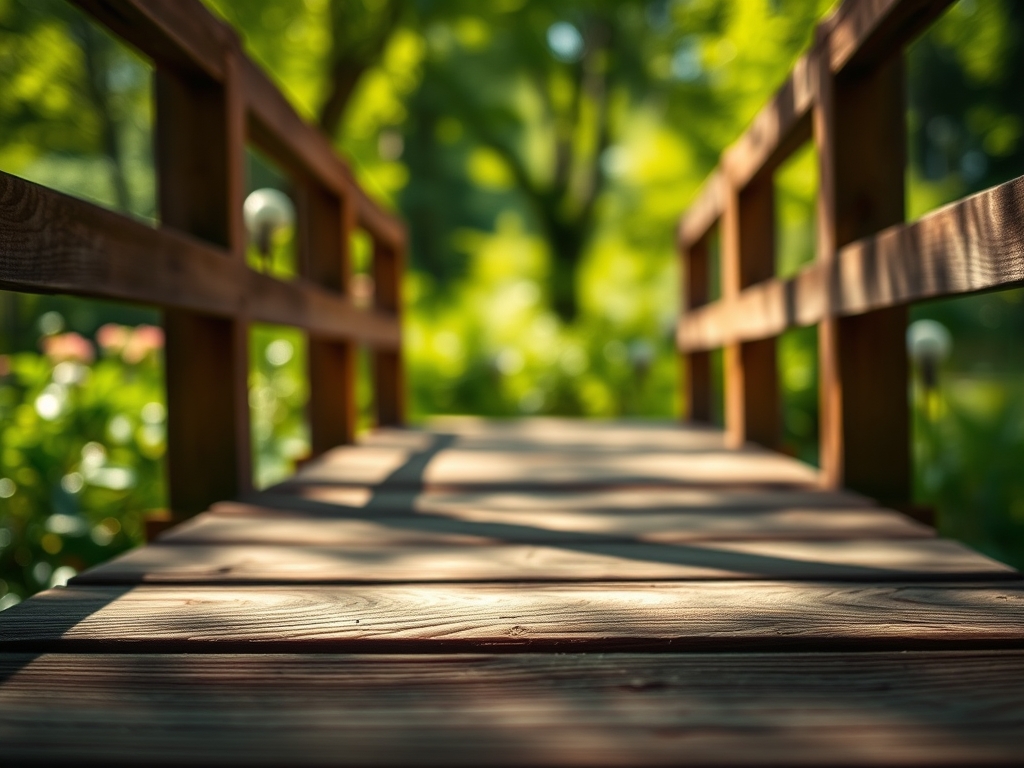
9 Best Deck Stains for Bridges
The smell of damp earth after a spring thaw signals the immediate need to assess the structural integrity of garden infrastructure. When timber spans a water feature or a low-lying drainage swale, the wood undergoes constant cellular stress from moisture evaporation and hydrostatic pressure. Choosing the best deck stains for bridges requires an understanding of how lignin fibers react to UV radiation and fungal pathogens. A bridge is not merely a path; it is a high-traffic horizontal surface exposed to extreme weather fluctuations. Without a high-solids oil-based sealant or a breathable acrylic film, the wood will suffer from checking, cupping, and eventual rot. Successful preservation depends on applying a coating that maintains the wood's internal moisture balance while repelling external liquid water. This guide details the technical requirements for protecting these structures, ensuring that the timber remains as resilient as the surrounding flora. Proper application prevents the degradation of cellulose, extending the lifespan of the installation by decades.
Materials:

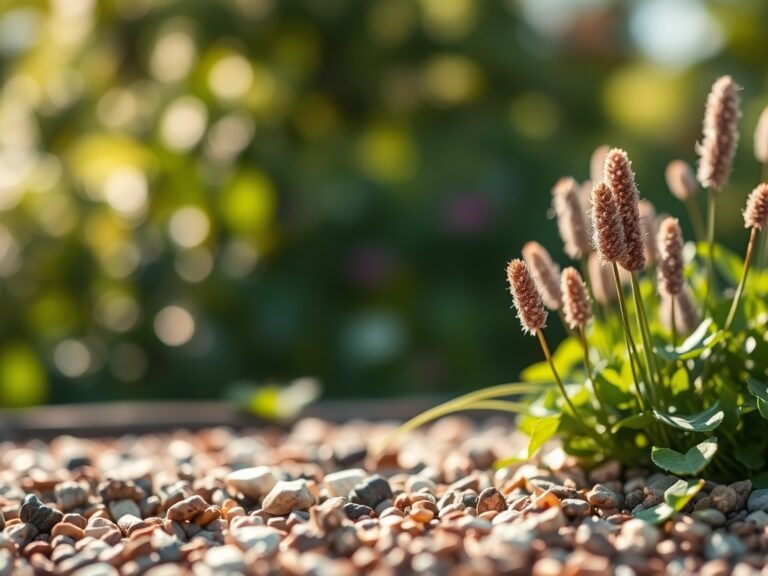
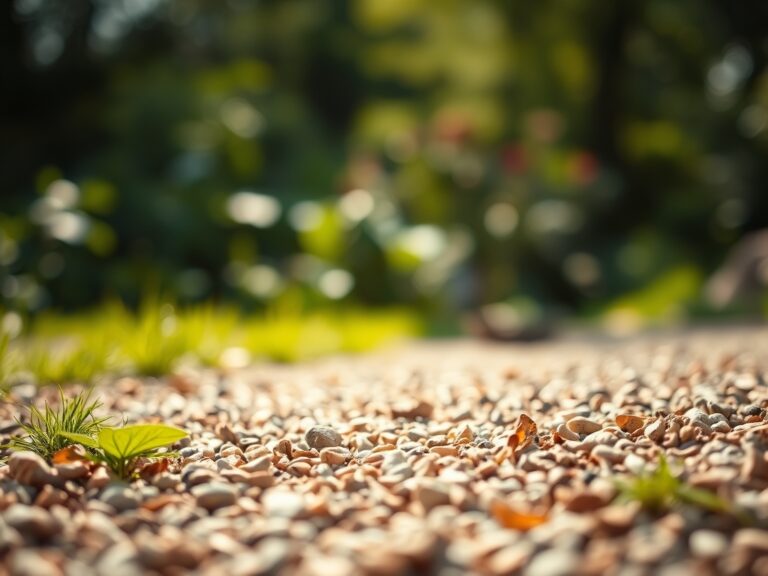
While the primary focus is the timber, the surrounding soil chemistry dictates the rate of bridge decay. A **friable loam** with a **Soil Cation Exchange Capacity (CEC) of 15 to 25** provides stable drainage, reducing the risk of wood rot at the footings. If the soil pH falls below **5.5**, acidic runoff can accelerate the corrosion of galvanized fasteners. Maintain a balanced nutrient profile in the rhizosphere surrounding the bridge footings with an **NPK ratio of 10-10-10** to support ground-cover plants that stabilize the soil. High nitrogen levels (above **15%**) can lead to excessive foliage growth that traps humidity against the wood, promoting mildew. The ideal substrate should have a **sand-to-silt ratio of 40:40**, allowing for rapid percolation of rainwater away from the structural beams.
Timing:
Maintenance must align with the biological clock of the surrounding ecosystem and local meteorological data. In Hardiness Zones 5 through 8, the optimal window for staining occurs when the ambient temperature remains between 50 and 80 degrees Fahrenheit for a 48-hour period. Avoid application during the spring "bud break" when trees are in a state of rapid vegetative growth; falling pollen and sap can contaminate the wet finish. The best time is late summer or early autumn, after the peak reproductive stage of most perennials but before the first frost date. This timing ensures the wood has a low moisture content, typically below 15%, which is essential for the stain to penetrate the tracheids of the timber.
Phases:
Sowing the Foundation
Before applying the best deck stains for bridges, the wood must be chemically cleaned to open the pores. Use a sodium percarbonate solution to remove dead gray wood fibers and neutralize any tannins. This process is analogous to scarifying a seed; it prepares the surface for maximum absorption. Ensure the wood is dry to the touch, as internal hydrostatic pressure will reject any oil-based pigments if the cells are saturated with water.
Pro-Tip: Proper surface preparation facilitates capillary action. By removing the oxidized top layer, you allow the stain to move deeper into the wood via the same vascular pathways the tree once used to transport water.
Transplanting the Finish
Apply the stain using a natural bristle brush or a high-volume low-pressure (HVLP) sprayer. Work in the direction of the grain to ensure the pigment settles into the grooves. For bridges spanning water, use a non-toxic, low-VOC (volatile organic compound) formula to prevent chemical leaching into the aquatic environment. A single coat is often sufficient for high-solids stains, but a second "wet-on-wet" coat may be necessary for porous softwoods like cedar or pine.
Pro-Tip: Avoid staining in direct sunlight to prevent "flash drying." If the solvent evaporates too quickly, the resins cannot achieve a molecular bond with the cellulose, leading to premature peeling and failure.
Establishing the Barrier
Allow the bridge to cure for at least 24 to 48 hours before allowing foot traffic. This period allows the resins to harden and the pigments to lock into the wood structure. During this phase, keep the area clear of organic debris like leaves or grass clippings. These materials can introduce fungal spores that thrive in the moist environment of a drying finish, leading to deep-seated mold issues.
Pro-Tip: The curing process is a chemical reaction, not just evaporation. Maintaining a stable temperature prevents the wood from expanding or contracting, which ensures a uniform protective film across the entire surface.
The Clinic:
Bridges are susceptible to several physiological and structural disorders that mimic plant pathologies.
- Symptom: Graying or silvering of the wood surface.
- Solution: This is UV degradation of lignin. Sand the surface with 80-grit sandpaper and apply a stain with high trans-oxide pigments to block radiation.
- Symptom: Black spots or fuzzy growth on the underside of the bridge.
- Solution: This is fungal colonization due to poor airflow. Increase clearance between the bridge and the ground to improve ventilation and apply a zinc-based antimicrobial wash.
- Symptom: Wood checking or deep cracks along the grain.
- Solution: This is caused by rapid moisture loss. Use a paraffin-oil based penetrating stain to restore internal flexibility to the wood fibers.
Fix-It for Nutrient-Related Damage:
If surrounding plants show Nitrogen chlorosis (yellowing leaves with green veins), do not over-fertilize near the bridge. Excess salts from fertilizers can leach into the wood, attracting moisture and accelerating the breakdown of the stain's protective resins. Use slow-release organic pellets to maintain a steady NPK balance.
Maintenance:
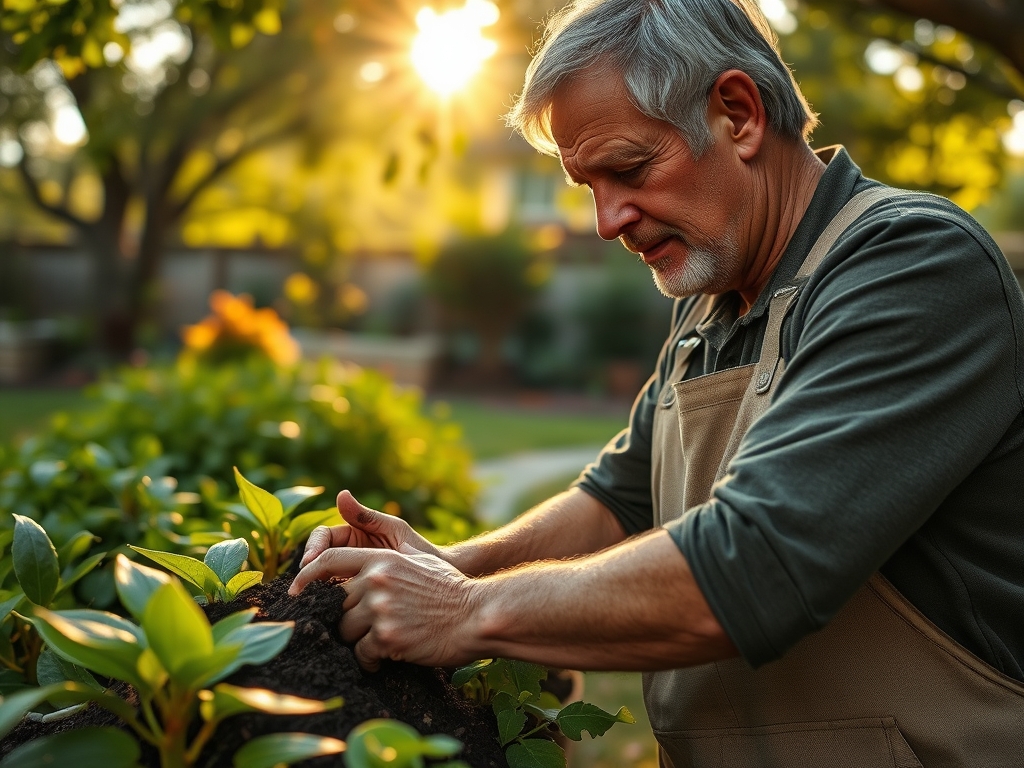
A bridge requires a rigorous maintenance schedule to prevent structural failure. Use a soil moisture meter to monitor the dampness of the ground around the footings; if levels exceed 30% consistently, improve drainage. Inspect the wood monthly for signs of turgor loss or softening. Use a hori-hori knife to gently probe the wood at the soil line to check for rot. Every spring, wash the surface with a mild detergent and a soft brush to remove atmospheric pollutants. If you notice localized peeling, use bypass pruners to trim back any overhanging vegetation that prevents the bridge from drying after a rain. Aim for at least six hours of indirect sunlight to reach the bridge surface daily to inhibit moss growth.
The Yield:
While a bridge does not produce a harvestable crop, its "yield" is measured in structural longevity and aesthetic integration. A well-maintained bridge should provide 15 to 20 years of service before requiring major timber replacement. To maintain "day-one" freshness, reapply a maintenance coat of stain every three to five years, or whenever water stops beading on the surface. This proactive approach prevents the deep cellular damage that requires aggressive sanding and chemical stripping.
FAQ:
How do I know if my bridge needs restaining?
Perform the water bead test. Pour a tablespoon of water onto the timber. If it soaks in within 60 seconds, the cellular structure is unprotected. If it beads, the hydrophobic barrier is still intact and functional.
Can I stain a bridge over a fish pond?
Yes, but you must use a specialized low-VOC, non-toxic wood sealer. These formulas do not contain heavy metals or biocides that could leach into the water and disrupt the delicate pH balance or harm aquatic life.
What is the best temperature for staining?
The ideal range is 60 to 75 degrees Fahrenheit. Avoid staining if the temperature is expected to drop below 40 degrees within 24 hours, as this will interrupt the chemical curing process of the resins.
How long should wood dry after rain before staining?
Wait a minimum of 48 hours of dry weather. Use a moisture meter to verify the wood's internal moisture content is below 15%. Staining damp wood traps moisture, leading to internal rot and coating failure.