7 Simple Steps to Lay Log Slice Paths
Damp earth releases a sharp scent of geosmin as the spade breaks the surface; a reminder that the soil is a living laboratory of microbial activity. Establishing a permanent walkway requires more than aesthetic placement. It demands an understanding of soil compaction and moisture regulation to prevent fungal colonization of the wood. These steps to lay log slice paths ensure the structural integrity of the timber while maintaining the gas exchange necessary for the surrounding rhizosphere. Proper installation mitigates the risk of anaerobic conditions that lead to root rot in adjacent plantings.
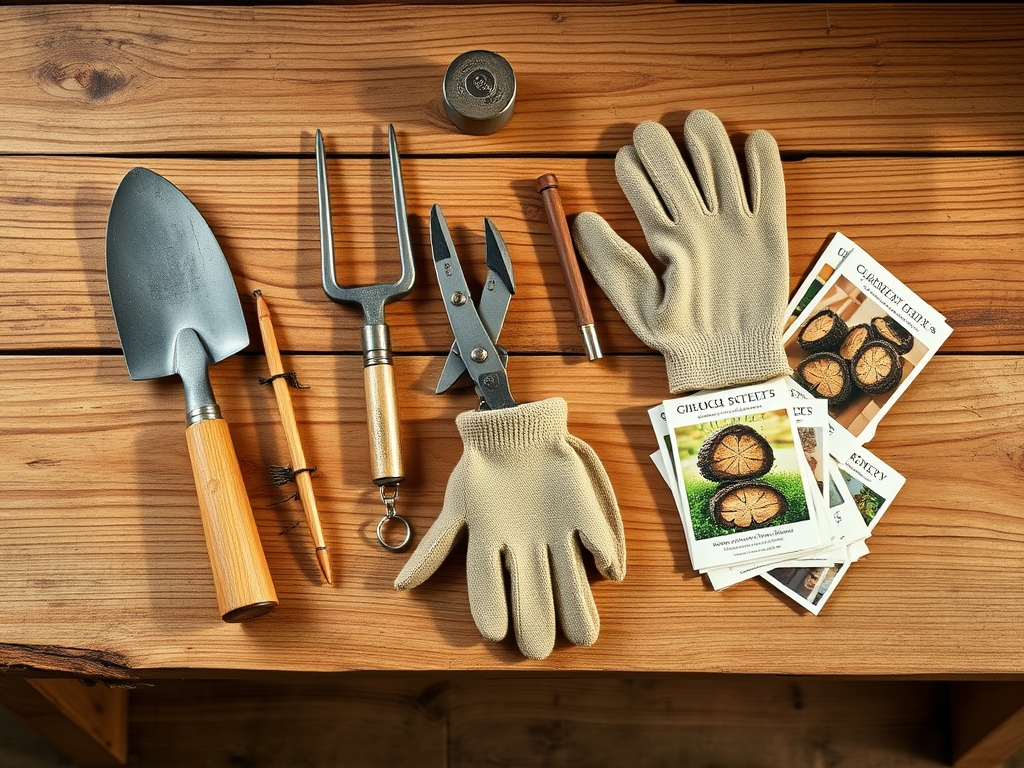
Materials:
The foundation of a log path depends on the Cation Exchange Capacity (CEC) of the underlying substrate. An ideal base consists of friable loam with a pH between 6.0 and 7.0. High clay content requires a thicker drainage layer to prevent waterlogging.
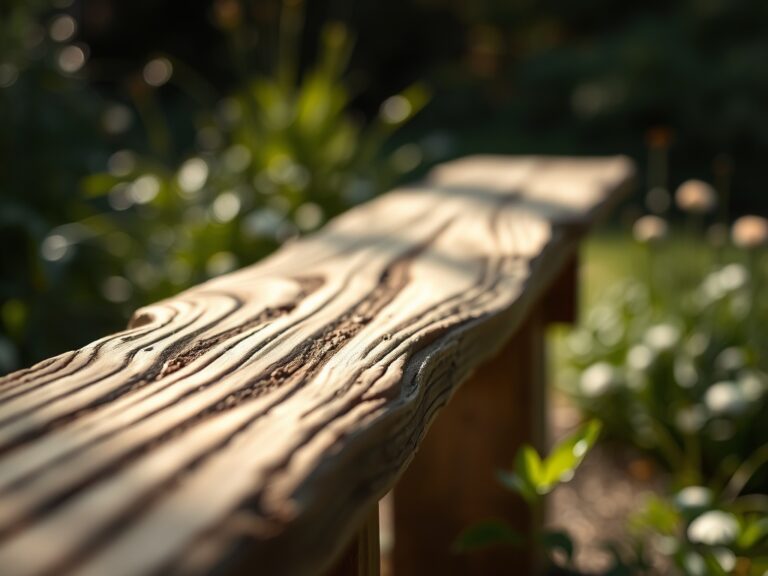
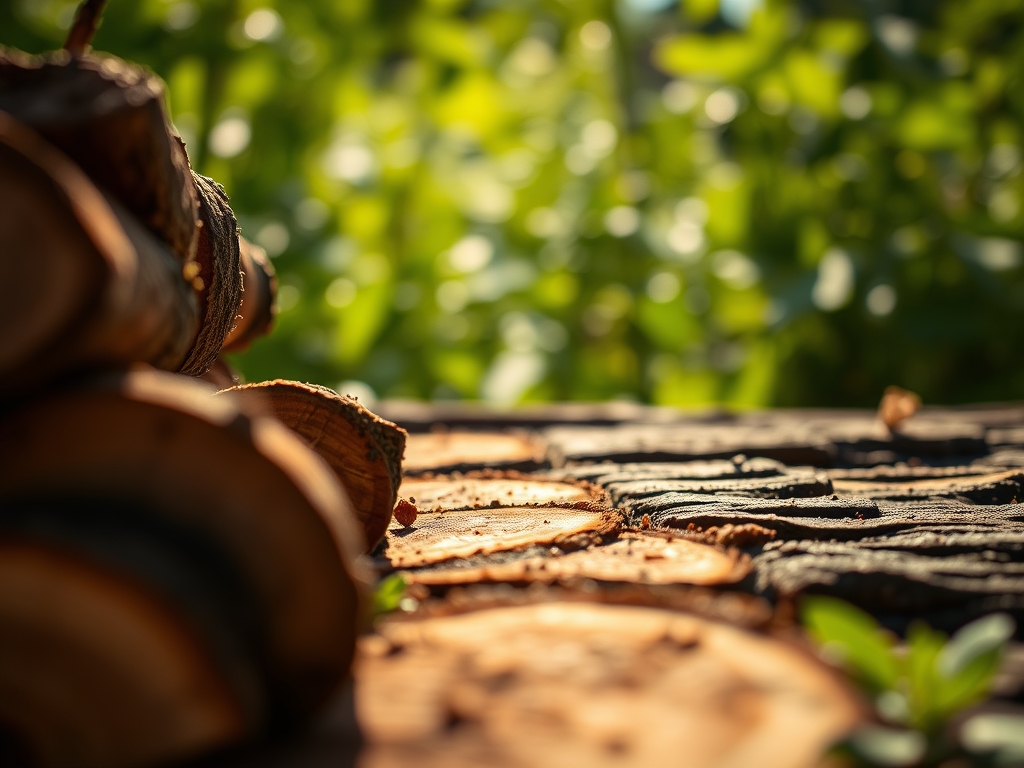
- Log Slices: Hardwoods like oak or black locust are preferred for their high lignin content. Slices should be 4 to 6 inches thick.
- Base Material: Use crushed limestone or coarse grit to facilitate drainage. Avoid high-nitrogen organic mulches in the base, as an NPK ratio of 0-0-0 is required to prevent rapid decomposition of the wood.
- Geotextile Fabric: A non-woven barrier to prevent weed emergence and soil mixing.
- Sand: Sharp sand (not play sand) provides a leveling medium with a neutral pH.
Timing:
Installation should occur during the dormant season, typically between Hardiness Zones 4 and 8, after the first hard frost but before the ground freezes solid. This timing avoids disrupting the "Biological Clock" of nearby perennials. When plants transition from their reproductive stage to senescence, their metabolic demand for water decreases. This reduction in turgor pressure makes the root systems less susceptible to damage from soil compaction during construction. Aim for a window where soil moisture is approximately 25 percent by volume; soil that is too saturated will suffer from irreversible pore space collapse under the weight of the logs.
Phases:

Sowing the Foundation
Excavate the path to a depth of 8 inches. This depth allows for 4 inches of sub-base and the thickness of the log. Ensure the trench floor is sloped at a 2 percent grade to move water away from the center.
Pro-Tip: Compacting the sub-grade prevents uneven settling. This is critical because uneven surfaces can cause thigmotropism in nearby roots, forcing them to grow toward the surface in search of oxygen, which eventually disrupts the path.
Transplanting the Timber
Lay the geotextile fabric and add 3 inches of crushed stone. Top with 1 inch of sharp sand. Place the log slices firmly, leaving a 2-inch gap between each. This gap is essential for lateral water movement.
Pro-Tip: Treat the underside of the logs with a copper-based preservative. Copper ions inhibit the growth of wood-decay fungi by disrupting their cellular enzymes; this is a form of chemical senescence for the fungi, extending the path's lifespan by years.
Establishing Stability
Fill the interstices with pea gravel or low-growing groundcovers like Thymus serpyllum. If using plants, ensure the soil mix in the gaps has a CEC of at least 15 meq/100g to retain essential cations like Potassium (K) and Magnesium (Mg).
Pro-Tip: If planting between logs, use species with high auxin suppression in their roots. This prevents the plants from sending out aggressive runners that might lift the logs, keeping the path level through several seasons of growth.
The Clinic:
Physiological disorders in the path area often manifest in the surrounding vegetation.
- Symptom: Interveinal chlorosis (yellowing leaves with green veins) in nearby shrubs.
- Solution: This indicates Iron or Manganese deficiency, often caused by the lime in the path base raising the pH. Apply chelated iron to lower the pH to 6.5.
- Symptom: Wood slices developing a soft, spongy texture.
- Solution: This is cellulose degradation. Improve drainage by increasing the gravel depth or installing a 4-inch perforated drain pipe beneath the path.
- Symptom: Stunted growth and dark purple leaves on edge-plants.
- Solution: Phosphorus deficiency. Cold soil or compaction limits phosphorus uptake. Aerate the soil with a hori-hori knife and apply a 0-20-0 fertilizer at the start of the growing season.
Fix-It: For Nitrogen chlorosis (general yellowing of older leaves), apply a slow-release nitrogen source with an NPK of 10-0-0. Avoid high-salt fertilizers which can desiccate the wood slices.
Maintenance:
Monitor the path with a soil moisture meter to ensure the area maintains a consistent hydration level. Nearby plants require 1.5 inches of water per week delivered at the drip line. Use bypass pruners to remove any overhanging foliage that increases humidity and promotes wood rot. Every two years, check the stability of the slices; if they wobble, lift them and add a half-inch of sharp sand to restore the level. Use a hori-hori knife to remove deep-rooted weeds that penetrate the geotextile layer before they can establish a complex root architecture.
The Yield:
While a path is not "harvested," its success is measured by the health of the surrounding ecosystem. A well-laid path supports a thriving mycorrhizal symbiosis in the soil. To maintain "day-one" structural integrity, keep the logs clear of leaf litter. Decaying organic matter on top of the wood creates a micro-environment for saprophytic organisms that will accelerate the decay of your timber. If the logs were sourced from fruit-bearing trees like apple or cherry, the bark may still contain residual sugars; scrub these with a stiff brush to prevent mold blooms.
FAQ:
What is the best wood for log paths?
Hardwoods with high tannin and lignin content, such as Black Locust, Oak, or Cedar, are superior. These species resist fungal decay and maintain structural turgor longer than softwoods like pine or fir.
How do I prevent the logs from becoming slippery?
Maintain a dry surface by ensuring a 2 percent slope for drainage. If algae forms, scrub the surface with a solution of oxygen bleach and water to kill spores without altering the soil pH.
Can I lay log slices directly on dirt?
No. Direct soil contact triggers rapid cellulose decomposition via soil microbes. You must use a drainage layer of gravel and sand to separate the timber from the moisture-rich rhizosphere.
How thick should the log slices be?
Slices must be at least 4 to 6 inches thick. Thinner slices lack the mass to remain stable under foot traffic and are more susceptible to warping during the wet-dry cycles of the seasons.