5 Best Wood for Path Slices
Damp earth smells of geosmin and microbial activity; it is the scent of a functioning rhizosphere. When you step onto a garden path, the soil beneath should remain undisturbed to prevent compaction, which restricts oxygen to root systems. Selecting the best wood for path slices requires an understanding of cellular density and lignin content to resist the constant fungal pressure of the forest floor. You are looking for timber that maintains structural integrity when subjected to high moisture levels and fluctuating soil temperatures. Choosing the wrong species leads to rapid cellulose breakdown and hazardous, slippery surfaces within a single growing season. Proper selection ensures a stable microclimate for the surrounding flora while providing a durable walking surface.
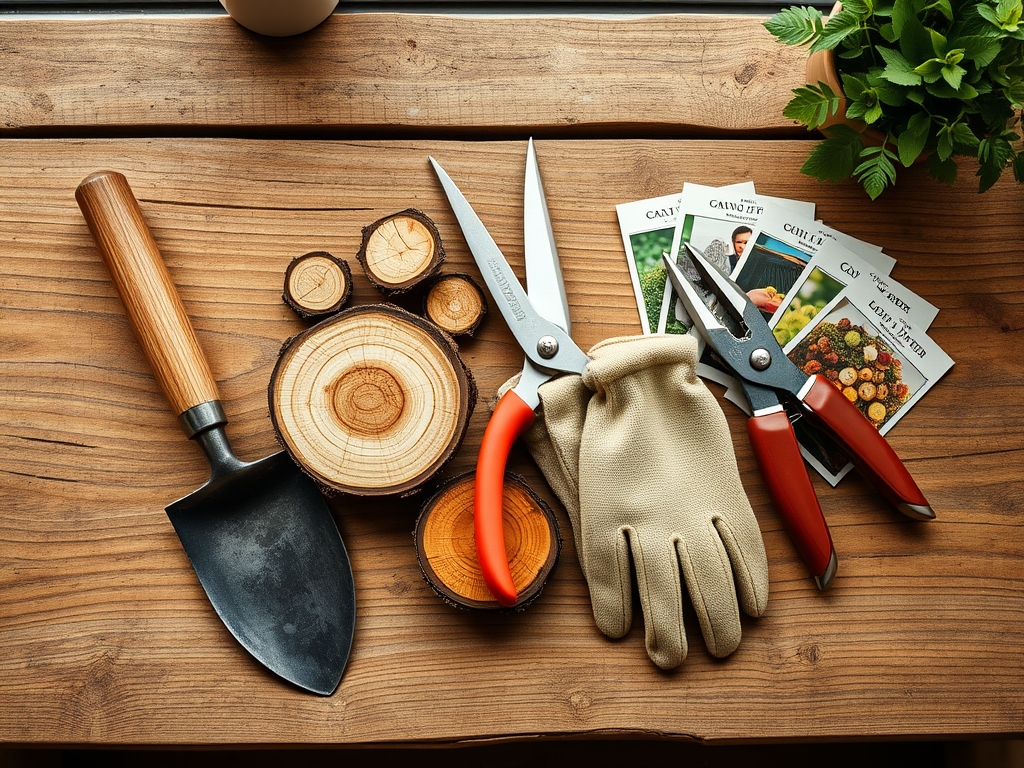
Materials:
The substrate beneath your path slices determines their longevity. You must install slices over a **friable loam** or a well draining sandy base. High clay content traps water against the wood; this facilitates anaerobic conditions and accelerates rot. Aim for a soil pH between **6.0 and 7.0** to maintain a neutral chemical environment that does not prematurely leach tannins from the wood.
If you are planting groundcovers between the slices, monitor your NPK ratios closely. A balanced 10-10-10 fertilizer application ensures that the surrounding vegetation maintains high turgor pressure. The Cation Exchange Capacity (CEC) of the soil should be high enough to retain essential nutrients like calcium and magnesium, which strengthen the cell walls of nearby plants. Avoid high nitrogen levels near the wood slices, as excess nitrogen can stimulate fungal growth that targets the wood's hemicellulose.
Timing:
Installation should occur during the dormant season, typically between Hardiness Zones 4 and 8, once the ground is workable but before the spring flush. This timing avoids disrupting the biological clock of the garden. By installing slices before the transition from vegetative to reproductive stages, you minimize stress on the root systems of perennial borders.
For those in colder climates, ensure the path is set at least four weeks before the first hard frost. This allows the soil to settle around the wood, preventing frost heave from displacing the slices. Monitoring the photoperiod is essential; as days shorten, plant metabolism slows, and the risk of damaging active growth during construction decreases significantly.
Phases:

Sowing the Foundation
Excavate the path to a depth of 6 inches. Line the trench with a permeable geotextile fabric to prevent soil mixing while allowing hydraulic conductivity. Fill the first 3 inches with crushed stone or coarse sand. This layer acts as a capillary break, preventing moisture from wicking upward into the wood slices.
Pro-Tip: Utilize a coarse substrate to encourage mycorrhizal symbiosis in the adjacent soil. The air pockets in the gravel layer prevent the soil from becoming anoxic, which supports the aerobic fungi necessary for nutrient transport to nearby plant roots.
Transplanting and Placement
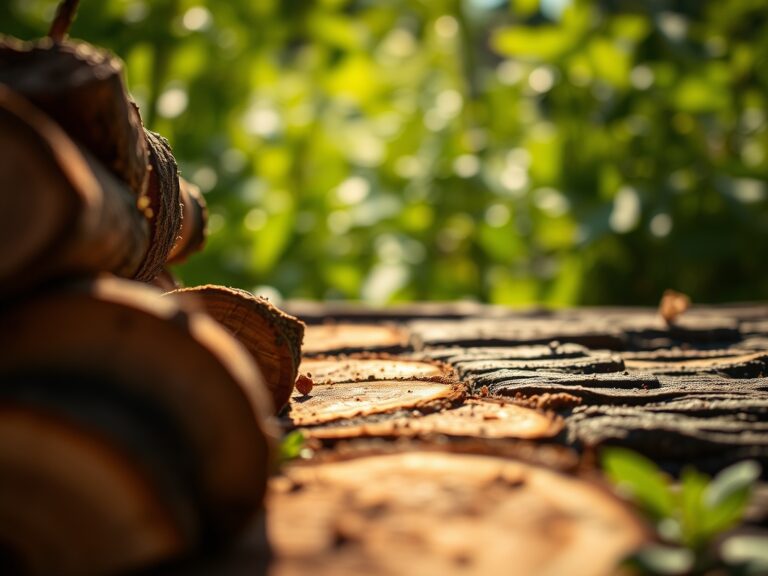
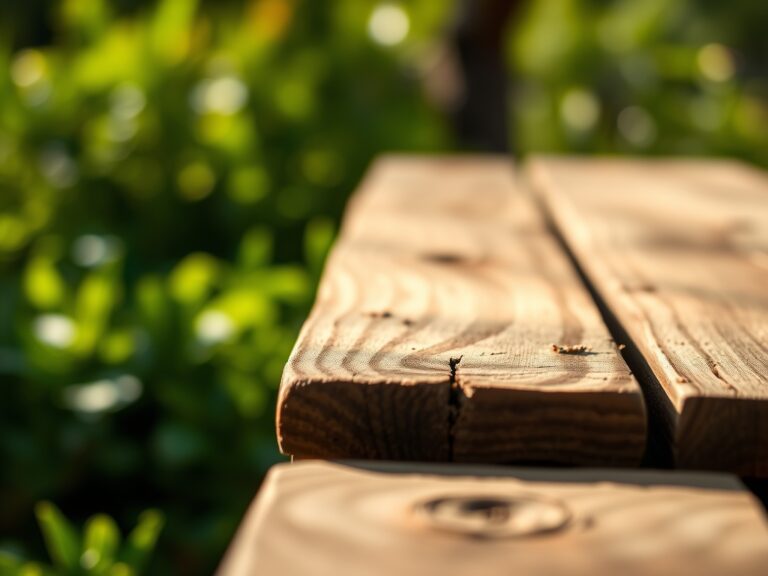
Position your wood slices, ensuring they are at least 2 to 3 inches thick. Use a rubber mallet to level each piece. For the best wood for path slices, select Black Locust, Eastern Red Cedar, White Oak, Osage Orange, or Redwood. These species contain high concentrations of natural extractives like taxifolin or tannins that inhibit microbial decomposition.
Pro-Tip: Leave a 2 inch gap between slices to prevent lateral pressure during wood expansion. Wood is hygroscopic; it absorbs environmental moisture and expands. Providing this buffer prevents the path from buckling due to cellular swelling.
Establishing the Border
Backfill the interstices with a mix of fine gravel or a low growing steppable groundcover like Thymus serpyllum. Ensure the crown of any plant is level with the soil surface to prevent crown rot. Use a soil moisture meter to verify that the moisture levels remain between 20% and 40% during the establishment phase.
Pro-Tip: When planting between slices, avoid disturbing the rhizosphere of established plants. Maintaining root integrity ensures that auxin suppression continues naturally, allowing the plant to maintain its intended growth habit rather than triggering emergency lateral branching.
The Clinic:
Physiological disorders in a wood path often manifest as physical degradation or plant stress.
Symptom: Slime flux or fungal fruiting bodies on the wood surface.
Solution: Increase airflow and decrease irrigation frequency. The wood is experiencing prolonged saturation, leading to saprophytic fungal colonization.
Symptom: Yellowing of groundcover leaves between slices (Nitrogen chlorosis).
Solution: Apply a liquid seaweed extract or a light dose of 5-1-1 fish emulsion. The wood may be "robbing" nitrogen from the soil as it attempts to break down.
Symptom: Wood slices tilting or sinking.
Solution: This indicates poor subgrade compaction. Remove the slice, add 1 inch of leveling sand, and re-tamp.
Fix-It: For Iron deficiency (interveinal chlorosis) in surrounding plants, check the soil pH. If the pH is above 7.5, iron becomes insoluble. Lower the pH using elemental sulfur at a rate of 5 lbs per 100 square feet.
Maintenance:
A professional maintenance schedule is required to prevent the path from becoming a liability. Apply 1.5 inches of water per week at the drip line of surrounding plants, but avoid direct overhead irrigation on the wood slices to minimize surface saturation.
Use a hori-hori knife to remove weeds from the gaps before they develop deep taproots that can dislodge the slices. Every spring, inspect the wood for signs of senescence or structural failure. If a slice yields to pressure from a boot, replace it immediately. Use bypass pruners to keep encroaching foliage from covering the path, as leaf litter traps moisture and accelerates wood decay. Check the soil compaction annually with a penetrometer to ensure the path remains stable.
The Yield:
While a path does not yield a caloric harvest, its "yield" is measured in the health of the garden ecosystem. A well constructed path directs foot traffic away from sensitive root zones, preserving soil structure. If you have planted aromatic herbs like creeping thyme between the slices, harvest the sprigs in the morning after the dew has evaporated but before the sun reaches its zenith. This timing ensures maximum essential oil concentration. Handle the cuttings gently to maintain turgor pressure and store them in a cool, shaded area for day-one freshness.
FAQ:
What is the most rot-resistant wood for paths?
Black Locust and Osage Orange are the superior choices. They possess high concentrations of natural toxins that repel decay fungi and insects. These woods can last over 20 years in direct ground contact without chemical treatments.
How thick should wood path slices be?
Slices should be a minimum of 3 inches thick. Thinner sections lack the structural mass to resist warping and will crack under the weight of foot traffic. Thick slices also provide a deeper barrier against soil pathogens.
Should I seal the wood slices?
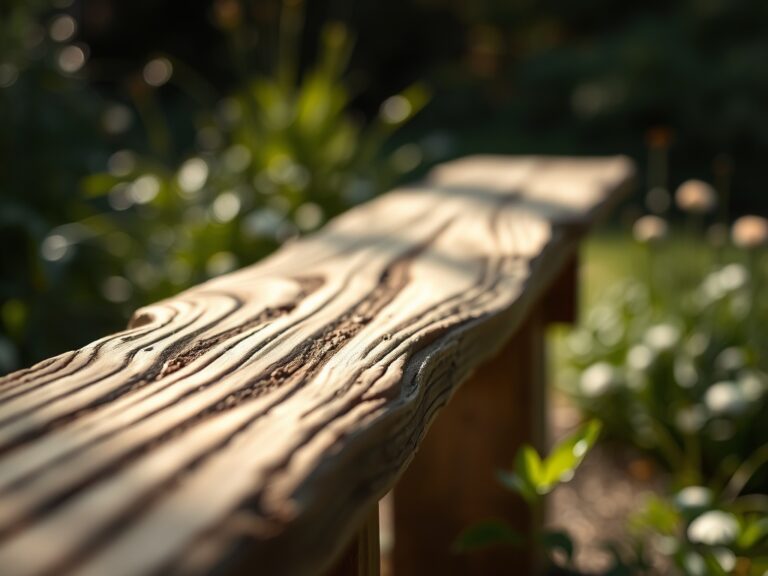
Avoid petroleum-based sealants which disrupt the wood's ability to respire. If a coating is desired, use a natural linseed or tung oil. These oils penetrate the fibers to repel liquid water while allowing water vapor to escape.
How do I prevent the slices from becoming slippery?
Incorporate a coarse grit sand or anti-slip additive into the final oil coating. Alternatively, use a stiff brush to score the surface of the wood. This increases friction and breaks the surface tension of standing water.