6 Vital Steps to Install a Chimney Cap
The smell of damp earth and the turgor of a healthy leaf define the rhythm of the horticultural season; however, structural integrity is what protects the garden's immediate environment. Just as a plant requires a cuticle to prevent desiccation, a home requires a barrier against the elements. Learning the steps to install a chimney cap ensures that moisture does not infiltrate the masonry, which can lead to the growth of opportunistic fungi or the degradation of the mortar through freeze-thaw cycles. Proper installation prevents internal erosion and keeps the flue clear of debris that could otherwise disrupt the airflow necessary for a controlled environment.
A chimney cap acts as a physical shield, much like a mulch layer protects the rhizosphere from direct solar radiation and excessive evaporation. Without this hardware, the chimney becomes a conduit for water, which alters the local humidity and can encourage the colonization of mosses or lichens on the exterior brickwork. Ensuring a tight seal is a matter of precision and structural health.
Materials:

While the installation of hardware does not require soil, the surrounding environment must be considered to prevent chemical leaching. If using masonry adhesive, ensure it is compatible with the pH of the mortar, which typically ranges from **12.0 to 13.0**. For the gardener maintaining a nearby bed, the runoff from metal caps should be monitored. Stainless steel or copper caps are preferred over galvanized steel to prevent zinc or iron oxide accumulation in the soil.
If you are planting around the base of the chimney, the substrate should be a friable loam with a Cation Exchange Capacity (CEC) of 15 to 25 cmol/kg. Maintain a NPK ratio of 10-10-10 for general ornamentals, ensuring the soil pH remains between 6.0 and 7.0 to optimize nutrient uptake. Avoid compacted clays that hold moisture against the foundation, as this can lead to root rot and masonry wicking.
Timing:
Installation must occur during the dormant season or early spring to avoid disturbing nesting cycles of local fauna. In Hardiness Zones 5 through 7, the ideal window is between the last hard frost and the onset of the spring rainy season. This timing coincides with the "Biological Clock" of most perennial species, which are transitioning from endodormancy to ecodormancy.
Performing the installation when the ambient temperature is between 50 and 70 degrees Fahrenheit ensures that any sealants used can cure properly without the risk of thermal expansion or contraction. This period often aligns with the vegetative stage of early spring bulbs, where the ground is firm enough to support a ladder without causing significant soil compaction or damaging the emerging apical meristems of nearby plants.
Phases:

Sowing the Foundation
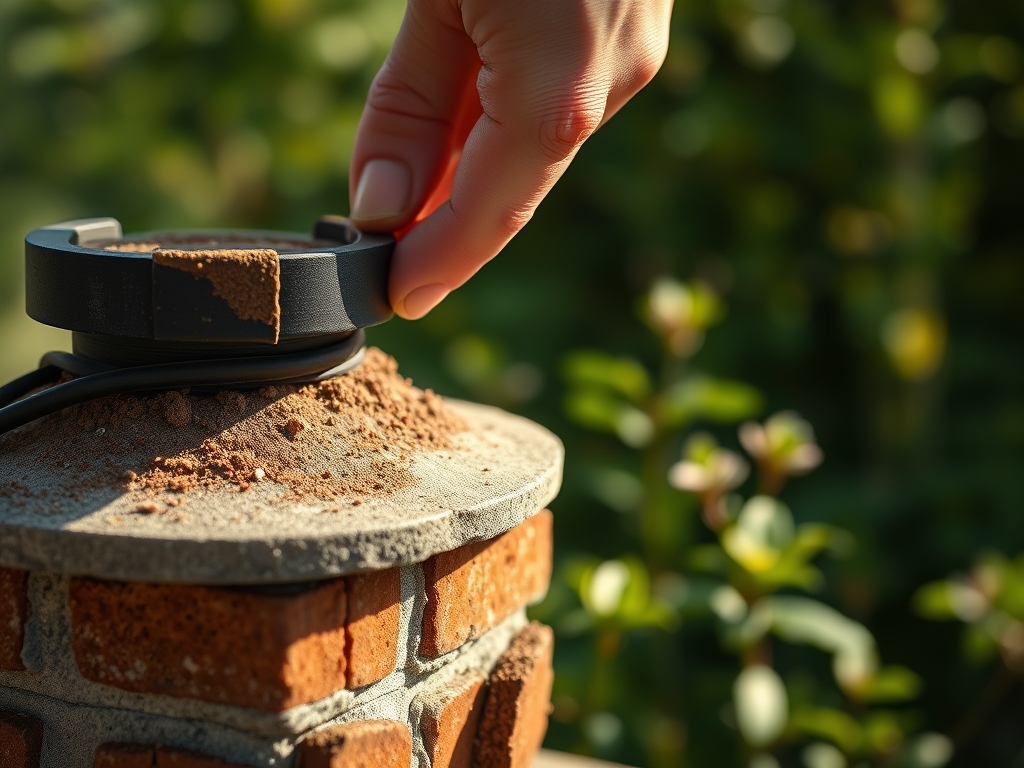
Measure the outside dimensions of the flue tile. If the tile is flush with the chimney crown, you will need a top-mount cap. If the tile extends at least 1.5 inches above the crown, a standard bolt-on cap is sufficient. Use a wire brush to remove soot and carbon deposits from the attachment point.
Pro-Tip: Removing debris prevents the colonization of anaerobic bacteria. Just as removing deadwood prevents the spread of pathogens via mycorrhizal symbiosis, cleaning the flue ensures that no organic matter is trapped under the cap to rot.
Transplanting the Cap
Position the cap over the flue tile. Ensure the screen is centered to allow for optimal airflow. For bolt-on models, tighten the screws until they make firm contact with the tile. Do not over-tighten, as the thermal expansion of the flue during use can crack the ceramic tile if the cap is too rigid.
Pro-Tip: Allow for 0.25 inches of expansion space. This mimics the biological principle of turgor pressure; cells need space to expand and contract to maintain structural integrity without rupturing the cell wall.
Establishing the Seal
Apply a bead of high-temperature silicone or masonry caulk around the base of the cap if it is a top-mount style. This prevents water from seeping under the flange. Ensure the chimney crown itself is free of cracks. If cracks are present, fill them with a crown repair compound to prevent the infiltration of moisture that leads to spalling.
Pro-Tip: A waterproof seal prevents the "wicking effect." In botany, this is similar to capillary action in the xylem; preventing unwanted water movement ensures the internal structure remains dry and stable.
The Clinic:
Physiological stressors in the garden often mirror structural failures in the home. Observe the following symptoms to diagnose issues:
- Symptom: White, powdery substance on bricks (Efflorescence).
Solution: This is caused by salt migration due to water infiltration. Install a cap and seal the masonry to stop the moisture cycle. - Symptom: Moss or algae growth on the chimney crown.
Solution: Excessive moisture and shade. Increase sunlight exposure and ensure the chimney cap provides a wide enough lid to shed water away from the crown. - Symptom: Nitrogen chlorosis in plants at the chimney base.
Fix-It: Check for high pH runoff from old mortar. Apply elemental sulfur to lower the pH to 6.5 and supplement with a high-nitrogen fertilizer (NPK 20-10-10).
Maintenance:
Inspect the chimney cap twice annually, coinciding with your pruning schedule. Use a soil moisture meter to check the ground at the base of the chimney; it should not exceed 25% moisture content to protect the foundation. Use a hori-hori knife to remove any invasive vines like English Ivy that may be climbing the masonry, as their adventitious roots can penetrate mortar joints.
Prune overhanging branches with bypass pruners to maintain a 10-foot clearance from the flue. This reduces the risk of fire and prevents organic litter from clogging the cap's mesh. Ensure the area receives 1.5 inches of water per week at the drip line of nearby shrubs to prevent soil shrinkage, which can shift the chimney's foundation.
The Yield:
While a chimney cap does not produce a harvest, the "yield" is the longevity of the structure and the safety of the indoor climate. A well-installed cap prevents the senescence of the masonry. By maintaining a dry flue, you ensure that the thermal mass of the chimney functions efficiently. Post-installation, monitor the draft of the fireplace to ensure that the photoperiod or external wind patterns are not causing smoke back-drafting, which indicates a need for a different cap aerodynamic profile.
FAQ:
How do I choose the right size chimney cap?
Measure the length and width of the outside of the flue tile. For round flues, measure the outside diameter. Ensure the cap's mesh height is at least 5 inches taller than the flue to prevent draft restriction.
What material is best for a chimney cap?
Stainless steel is the industry standard for durability. Copper is used for aesthetic longevity but can cause metallic runoff that may affect soil chemistry. Avoid galvanized steel as it corrodes within 3 to 5 years.
Can I install a chimney cap myself?
If the chimney is easily accessible and the flue tile is in good condition, it is a straightforward task. However, if the crown is cracked or the height is excessive, professional intervention is required to ensure safety and structural stability.
Does a chimney cap improve the fireplace draft?
A standard cap protects against downdrafts caused by wind. Specialized vacuum caps can increase the draft by creating a low-pressure zone, which is beneficial if the chimney is shorter than the surrounding roofline or nearby trees.