9 Vital Steps to Use an Indoor Rain Barrel
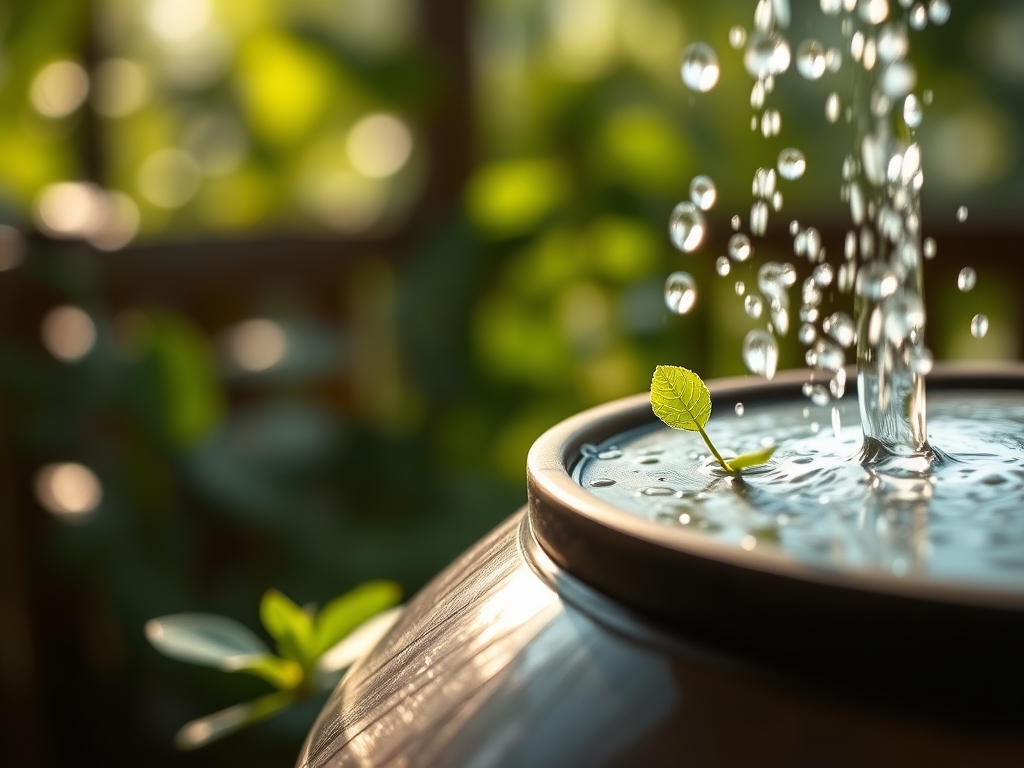
The scent of ozone and damp earth signaling a storm is more than a sensory experience; it is a chemical signal for the indoor horticulturalist to prepare. Rainwater offers a neutral pH and a lack of municipal additives like chlorine or fluoride that often impede cellular function in sensitive tropicals. Mastering the steps to use an indoor rain barrel allows you to harness soft water with a low mineral load, ensuring optimal turgor pressure within the plant cell walls. This hydraulic pressure keeps stems erect and leaves expanded for maximum photosynthetic efficiency. By diverting precipitation into a controlled indoor reservoir, you bypass the thermal shock of cold tap water and provide a consistent source of hydration that mimics the natural rhizosphere environment. This process requires technical precision to avoid stagnation and salt buildup. You must manage the collection, filtration, and distribution phases with an eye toward biological stability. Success is measured in the rigidity of the foliage and the absence of tip burn on salt-sensitive species.
Materials:
To maximize the efficacy of rainwater, the substrate must be a **friable loam** with a high Cation Exchange Capacity (CEC). This ensures the soil can hold the micronutrients delivered by the rain. Aim for a soil pH between **5.8 and 6.5** for most indoor species.
- Substrate Composition: 40 percent peat or coco coir; 30 percent perlite; 30 percent composted organic matter.
- NPK Ratios: Use a 5-10-5 starter fertilizer for new transplants to prioritize root development over foliage.
- Micronutrients: Ensure the presence of 0.5 percent Magnesium and 1.0 percent Calcium to prevent cellular collapse during rapid growth phases.
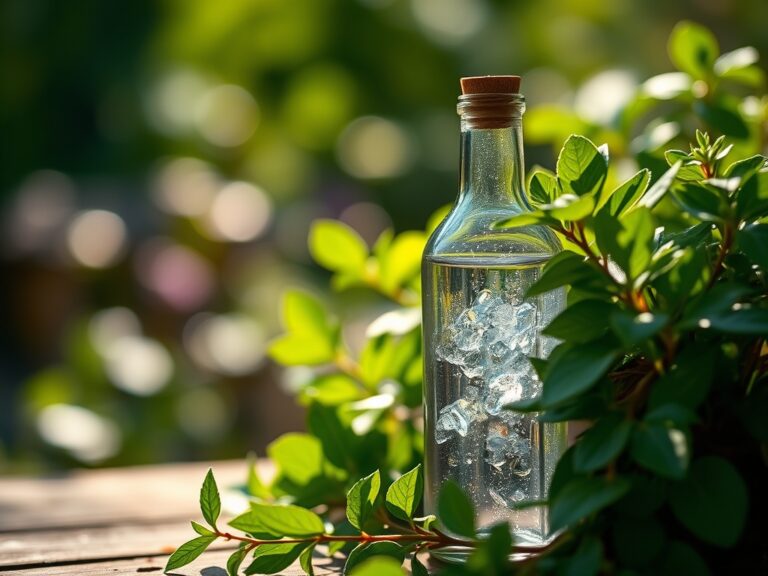
- The Barrel: A 50-gallon food-grade polyethylene container with a sealed lid and a fine-mesh debris screen.
Timing:
Hardiness Zones 3 through 11 all benefit from rainwater collection, though the window for collection varies. In northern zones, indoor barrels must be filled before the first hard frost, typically between September 15 and October 30, to prevent exterior pipe expansion and bursting. The biological clock of indoor plants dictates a shift from the vegetative stage to the reproductive or dormant stage as the photoperiod shortens. During the transition to winter, reduce watering frequency but maintain the quality of the water. Rainwater is particularly vital during the vegetative stage when nitrogen uptake is at its peak. Avoid using stagnant water collected more than 30 days prior without agitation, as oxygen levels deplete, potentially leading to anaerobic conditions in the root zone.
Phases:

Sowing
When starting seeds, use rainwater at a steady 68 to 72 degrees Fahrenheit. Saturate the starting medium until it reaches field capacity before placing seeds at a depth of two times their diameter.
Pro-Tip: Maintaining consistent moisture during germination triggers the activation of enzymes that break down the seed endosperm. This is known as imbibition, where the seed absorbs water to restart metabolic processes.
Transplanting
Move seedlings when they possess two sets of true leaves. Use a hori-hori knife to slice through the soil while keeping the root ball intact. Water immediately with rainwater to settle the soil around the rhizosphere.
Pro-Tip: Immediate hydration reduces transplant shock by maintaining turgor pressure. This prevents the stomata from closing, which would otherwise halt CO2 uptake and stall growth.
Establishing
Once the plant is in its permanent vessel, establish a routine of deep watering rather than frequent misting. Ensure the water reaches the bottom third of the pot to encourage downward root geotropism.
Pro-Tip: Deep watering encourages mycorrhizal symbiosis. These fungi extend the root system's reach, allowing the plant to access phosphorus that is otherwise chemically locked in the soil.
The Clinic:
Physiological disorders often stem from water quality or delivery issues. Monitor your plants for these specific markers:
- Symptom: Interveinal chlorosis (yellowing between green veins) on new leaves.
- Solution: This indicates an Iron deficiency. Check soil pH; if it is above 7.0, the iron is locked. Use rainwater to flush the soil and lower the pH.
- Symptom: Leaf tip necrosis (brown, crispy edges).
- Solution: This is often a reaction to fluoride or sodium buildup from tap water. Flush the pot with three times its volume in rainwater to leach the salts.
- Symptom: Wilting despite moist soil.
- Solution: This suggests root rot (Phytophthora). The soil is anaerobic. Increase perlite content and ensure the rain barrel water is oxygenated with a small air stone.
- Fix-It for Nitrogen Chlorosis: If older leaves turn uniformly pale yellow, apply a liquid fish emulsion diluted in rainwater at a 10-5-5 ratio to provide immediate bioavailable nitrogen.
Maintenance:
Precision is the difference between a surviving plant and a thriving one. Use a soil moisture meter to verify that the root zone is at a level 4 or 5 before adding more water. Most indoor tropicals require approximately 1.5 inches of water per week during the active growing season. Apply this at the drip line, the area directly beneath the outer circumference of the foliage, to ensure the most active root hairs receive the moisture.
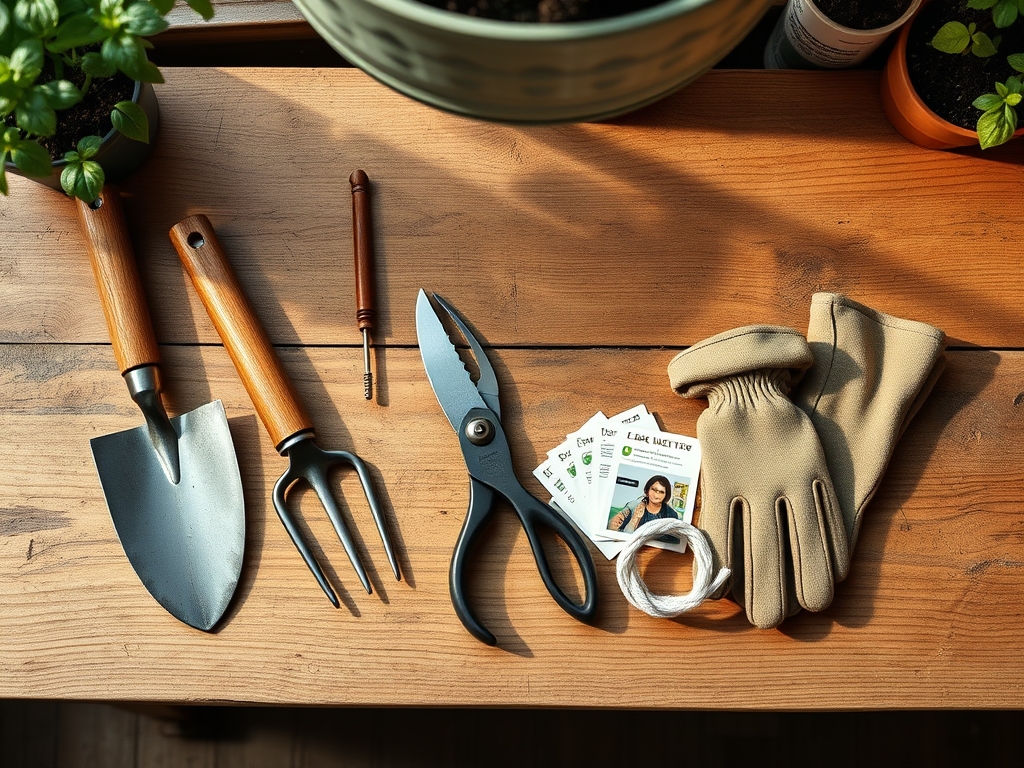
Keep your bypass pruners sharp and sanitized with 70 percent isopropyl alcohol to prevent the spread of pathogens. When pruning dead tissue, cut at a 45-degree angle just above a node to encourage branching. Regularly inspect the rain barrel for biofilm; if the interior walls feel slimy, empty the barrel and scrub with a 10 percent bleach solution to prevent the growth of harmful bacteria that could compromise plant health.
The Yield:
For those growing indoor edibles like citrus or herbs, the harvest timing is critical. Harvest herbs just before they reach the reproductive stage (flowering) to ensure the highest concentration of essential oils. Use sharp snips to avoid tearing the vascular tissue. For citrus, fruit should be heavy for its size and change color fully before removal.
Post-harvest, submerge the cut ends of herbs in a glass of fresh rainwater. This maintains hydraulic conductivity within the xylem, keeping the herbs crisp and preventing premature senescence. For fruits, a quick rinse in rainwater removes dust without introducing the chlorine residues found in municipal sources.
FAQ:
How do I prevent mosquitoes in an indoor rain barrel?
Ensure the barrel has a sealed lid and a fine-mesh screen over the intake. Use Bacillus thuringiensis israelensis (BTI) dunks if larvae appear. This biological agent specifically targets mosquito larvae without harming the plants or household environment.
Can I use rainwater on all indoor plants?
Most plants thrive on rainwater, especially acid-loving species like ferns and orchids. However, avoid using it if the water was collected from a roof with zinc strips or fresh asphalt shingles, as heavy metal runoff can cause phytotoxicity.
How long can I store rainwater indoors?
Store rainwater for no more than 30 days. Beyond this window, oxygen levels drop and bacterial counts rise. If you must store it longer, use a small submersible pump or air stone to maintain dissolved oxygen levels for the roots.
Does rainwater expire or lose nutrients?
Rainwater does not expire, but it can become a breeding ground for pathogenic algae if exposed to light. Store it in an opaque, dark-colored barrel to block UV rays and prevent photosynthesis within the tank, keeping the water clear and safe.