10 Pro Tips How to Use Rainwater for Houseplants
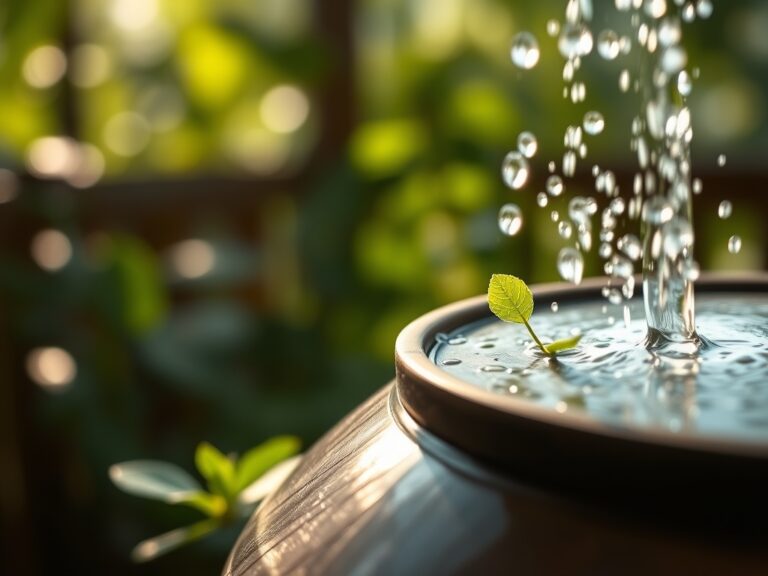
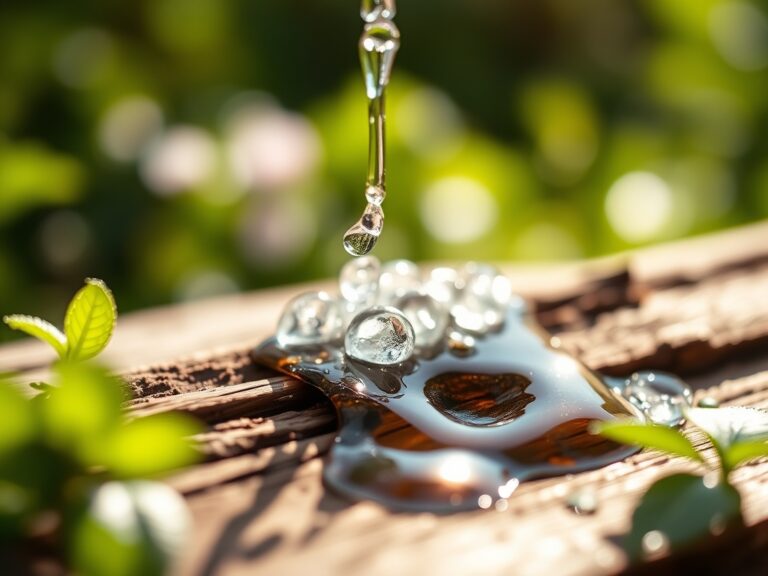
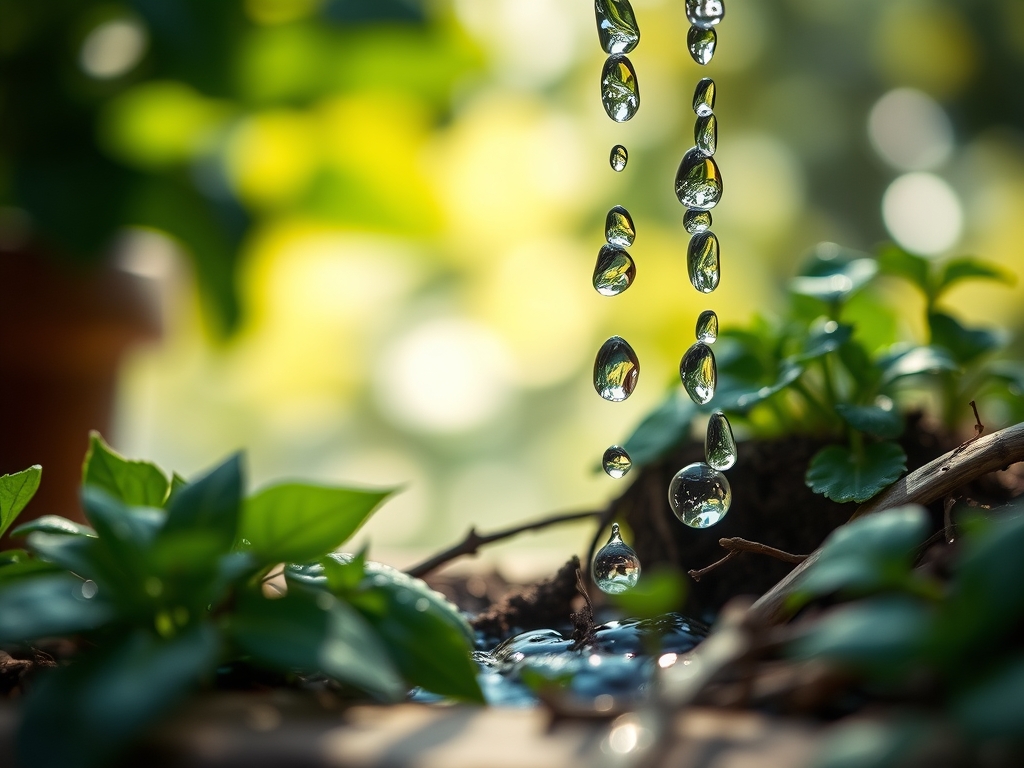
The smell of damp earth after a storm signals a physiological shift in the indoor garden. When you understand how to use rainwater for houseplants, you move beyond simple hydration and into the realm of cellular optimization. Tap water often carries a high mineral load of calcium carbonate and chlorine that disrupts the delicate osmotic balance of the roots. Rainwater, by contrast, is slightly acidic and contains dissolved nitrates that provide an immediate boost to turgor pressure. This natural irrigation mimics the atmospheric conditions of a plant's native habitat; it flushes the rhizosphere of accumulated salts and allows the stomata to function at peak efficiency.
Materials:

Rainwater naturally sits at a pH level of 5.5 to 6.5. This acidity is critical for the availability of micronutrients. To maximize the benefits, your substrate must be a friable loam with a high Cation Exchange Capacity (CEC). This allows the soil to hold onto the ammonium and nitrate ions delivered by the rain.
The ideal potting mix for rainwater application should include:
- Base: 40% sterilized peat or coco coir to maintain acidity.
- Aeration: 30% perlite or pumice to prevent anaerobic conditions during heavy saturation.
- Nutrient Buffer: 30% composted organic matter.
When using rainwater, you are managing a low-dose NPK delivery system. While the nitrogen content is subtle, usually less than 1-0-0, its bioavailability is superior to synthetic urea. The physical texture should be gritty yet moisture-retentive; it must crumble under light thumb pressure without clumping into a solid mass.
Timing:
Houseplant metabolism is governed by the photoperiod and ambient temperature. Even indoors, plants react to the seasonal shifts of Hardiness Zones 1 through 11. During the active growing season (typically between the last spring frost and the first autumn frost), plants require a higher volume of rainwater to support vegetative expansion.
The "Biological Clock" dictates that as daylight exceeds 12 hours, the plant moves from a semi-dormant state into the vegetative stage. This is the optimal window to initiate a strict rainwater regimen. In winter, when light levels drop, reduce frequency to prevent root senescence. Always allow the rainwater to reach room temperature (65 to 75 degrees Fahrenheit) before application. Cold water can cause thermal shock to the root hairs, leading to a temporary halt in nutrient uptake.
Phases:

Sowing and Germination
Rainwater is the superior choice for seed starting because it lacks the heavy salts that can inhibit the delicate radicle. The absence of fluoride ensures that the initial cell division occurs without chemical interference.
Pro-Tip: Use rainwater for the initial soak to trigger hydrotropism. The lack of dissolved solids allows the seed coat to soften more efficiently, facilitating the emergence of the hypocotyl through reduced osmotic resistance.
Transplanting and Establishing
When moving a plant to a larger vessel, the root system experiences micro-tears. Rainwater provides a gentle environment for the rhizosphere to recover. It encourages the colonization of beneficial fungi.
Pro-Tip: Rainwater promotes mycorrhizal symbiosis. The slightly acidic pH of rainwater creates the ideal environment for fungal hyphae to bond with root cells, increasing the surface area for nutrient absorption by up to 1,000 percent.
Vegetative Growth
As the plant develops its canopy, the demand for nitrogen increases. Rainwater contains trace amounts of nitrogen fixed by lightning and atmospheric pressure, which is immediately accessible to the foliage.
Pro-Tip: Regular rainwater application prevents auxin suppression. High salt levels in tap water can stress the plant and disrupt the hormonal balance; rainwater maintains the steady flow of auxins from the apical meristem, ensuring consistent vertical and lateral growth.
The Clinic:
Physiological disorders often stem from the chemical composition of the water source. Observe your plants for these specific indicators.
Symptom: Tip Burn and Marginal Necrosis
This is common in Spider Plants and Dracaena. It is caused by the accumulation of fluoride and chlorine found in municipal water.
Solution: Flush the soil with two liters of rainwater per gallon of soil volume. This leaches the toxic halides out of the substrate.
Symptom: Interveinal Chlorosis
Yellowing between the veins while the veins remain green indicates a lack of iron or magnesium, often caused by high soil pH (alkalinity).
Solution: The 5.5 pH of rainwater naturally acidifies the soil, unlocking iron ions that were previously bound to soil particles.
Symptom: Surface Salt Crust
A white, crusty buildup on the soil surface or pot rim.
Solution: Physical removal of the top 0.5 inches of soil, followed by a deep saturation with rainwater to dissolve and redistribute the remaining minerals.
Fix-It: Nitrogen Chlorosis
If the entire leaf turns pale green or yellow, the plant is nitrogen-deficient. While rainwater provides some nitrogen, supplement with a diluted organic fish emulsion (2-2-2) mixed directly into the rainwater to restore leaf color within 10 to 14 days.
Maintenance:
Precision is the hallmark of professional horticulture. Use a soil moisture meter to ensure the root zone is not oversaturated. Most tropical houseplants require the top 1 to 2 inches of soil to dry out between waterings. When applying rainwater, aim for total saturation until water exits the drainage holes.
For larger specimens, provide approximately 1.5 inches of water per week at the drip line. Use a hori-hori knife to occasionally probe the soil and check for compaction; if the blade does not slide in easily, the soil needs aeration. Keep your bypass pruners sharp and sterilized with isopropyl alcohol to remove any necrotic tissue, as rain-fed plants can grow rapidly and may require structural thinning to maintain airflow.
The Yield:
For those growing indoor herbs or flowering species like Saintpaulia, the "yield" is measured in essential oil density and bloom longevity. Harvest herbs in the morning when turgor pressure is at its highest. This ensures the cell walls are fully hydrated, preserving the flavor and preventing immediate wilting.
Post-harvest, place the stems in a vessel of fresh rainwater. Because rainwater is free of the heavy minerals that plug vascular tissues (xylem), the stems will continue to draw water efficiently, maintaining "day-one" freshness for 30% longer than those kept in tap water.
FAQ:
Can I use rainwater collected from any roof?
Avoid roofs with zinc strips or copper flashing, as these metals can leach into the water and cause heavy metal toxicity. Asphalt shingles are generally safe for houseplants if the water is filtered through a fine mesh to remove grit.
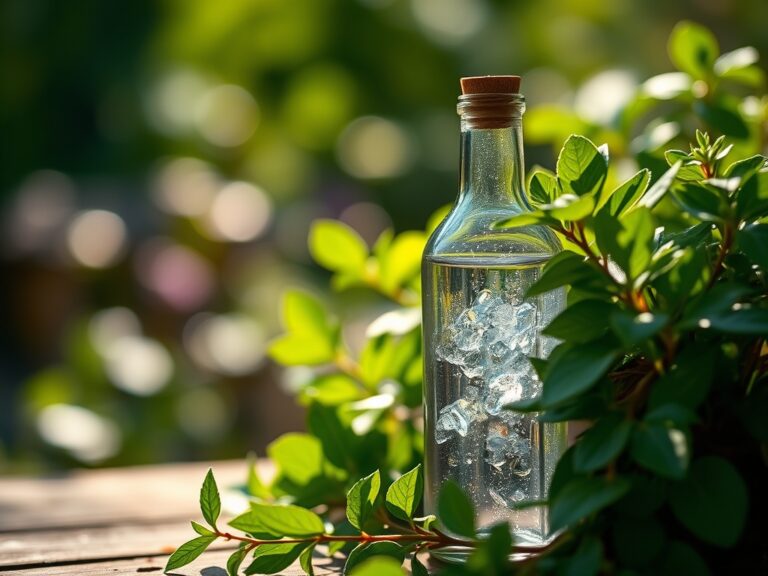
How long can I store rainwater for my plants?
Store rainwater in a dark, cool location for no more than 14 days. Use an opaque container to prevent algae growth. If storing longer, use a small aerator pump to maintain oxygen levels and prevent anaerobic bacteria from developing.
Does rainwater contain enough nutrients for houseplants?
Rainwater is excellent for hydration and pH management but lacks significant phosphorus and potassium. You must still use a balanced fertilizer during the growing season; rainwater simply acts as a superior, chemical-free delivery vehicle for those nutrients.
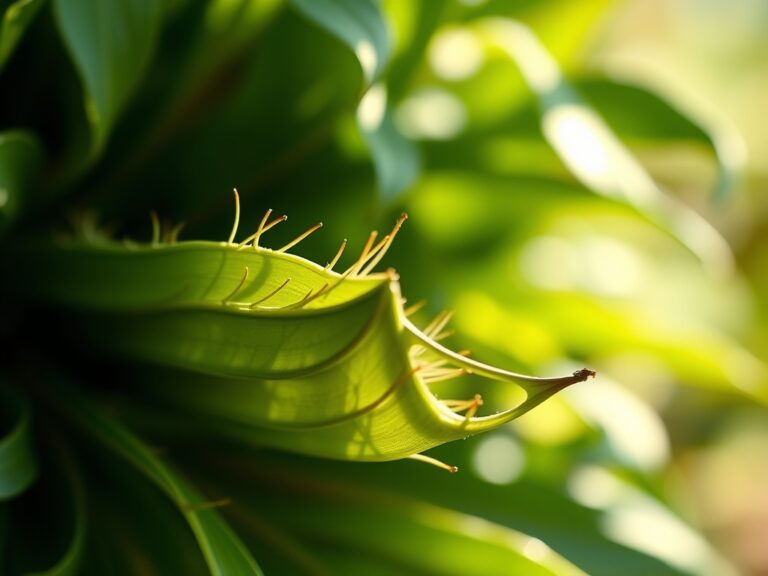
Is rainwater safe for all types of houseplants?
Yes, it is particularly beneficial for "sensitive" species like ferns, orchids, and carnivorous plants. These species evolved in nutrient-poor, acidic environments where they rely on the purity of rain to survive without experiencing root burn from dissolved salts.