5 Best Concrete for Post Holes
The smell of damp earth and the cool, heavy turgor of a healthy leaf define the start of any structural garden project. When you sink a spade into the ground to set a fence or a trellis, you are disrupting the delicate rhizosphere to create a permanent anchor. Stability begins with the substrate, but it is finalized by the chemistry of the pour. Selecting the best concrete for post holes requires understanding how alkaline binders interact with soil moisture and acidity. A post that shifts by even three degrees can disrupt the photoperiod exposure of climbing vines or cause structural failure during high wind events. You need a mix that cures with high compressive strength while resisting the heaving cycles of the frost line.
Materials:

Successful installation depends on the interaction between the concrete and the surrounding soil chemistry. In a **friable loam** with a **pH of 6.5 to 7.0**, standard Portland cement performs predictably. However, in highly acidic soils where the **pH drops below 5.5**, the concrete can suffer from sulfate attack, weakening the bond over time.
The ideal substrate should have a high Cation Exchange Capacity (CEC) to ensure nutrient retention for nearby plantings, even after the concrete has cured. If you are planting heavy feeders like brassicas or nightshades near your posts, ensure the soil maintains an NPK ratio of 10-10-10 or 5-10-10 depending on the vegetative stage. The concrete itself should be a fast-setting hydraulic mix, typically rated at 4,000 PSI or higher. This density prevents water from pooling at the base of the post, which would otherwise lead to anaerobic conditions and fungal pathogens in the root zone of adjacent flora.
Timing:
Timing your installation is as critical as monitoring the biological clock of a perennial. In Hardiness Zones 4 through 7, you must account for the frost line, which can extend 32 to 48 inches deep. Pouring concrete when the ground temperature is below 40 degrees Fahrenheit inhibits the chemical hydration process, leading to brittle footings.
The "Biological Clock" of your garden also dictates the window. Avoid major post-hole digging during the peak reproductive stage of nearby plants. When a plant transitions from vegetative growth to flowering, its energy is focused on the terminal buds. Soil compaction from heavy machinery or foot traffic during this phase can induce senescence or premature fruit drop. Aim for late autumn after the first light frost when most plants have entered dormancy, or early spring before the sap flow begins in woody perennials.
Phases:

Sowing the Footing
Excavate a hole three times the width of the post. For a 4×4 timber post, the diameter must be 12 inches. Ensure the depth reaches at least 6 inches below the local frost line to prevent frost heave. Place 3 inches of all-purpose gravel at the base for drainage.
Pro-Tip: Proper drainage at the base prevents waterlogged soil, which stops root rot (Phytophthora) in neighboring plants. By using gravel, you maintain the oxygen levels in the rhizosphere, ensuring that beneficial aerobic bacteria continue to thrive.
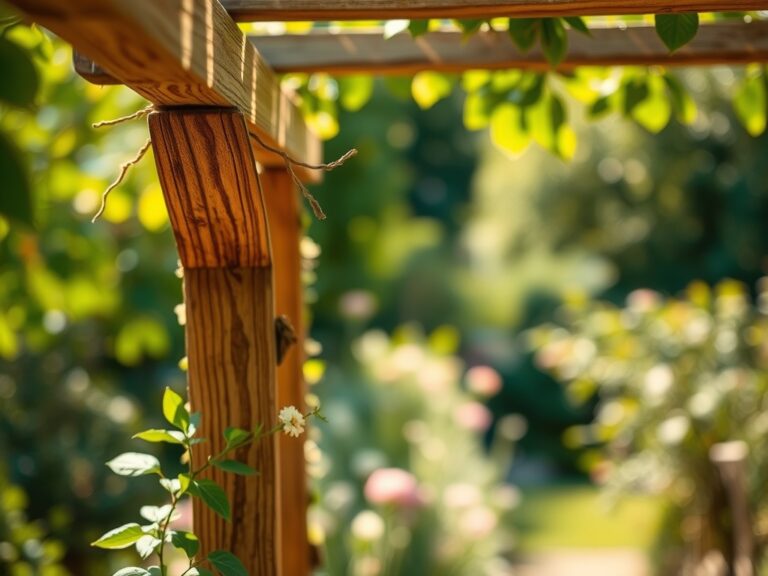
Transplanting the Post
Position the post in the center. Use a level to ensure verticality. For the best concrete for post holes, utilize a "no-mix" quick-set variety. Pour the dry aggregate into the hole and add water according to the manufacturer's ratio, typically 1 gallon per 50lb bag.
Pro-Tip: Stabilizing the post quickly prevents mechanical damage to nearby root systems. Rapid stabilization minimizes the duration of soil exposure, reducing the risk of mycorrhizal symbiosis disruption where fungal networks assist in nutrient uptake.
Establishing the Cure
Slope the top of the wet concrete away from the post at a 15-degree angle. This "crowning" ensures shed water does not sit against the wood or saturate the immediate soil surface. Allow 24 hours for a functional cure and 28 days for a full chemical cure.
Pro-Tip: Crowning prevents localized water saturation. Excess water at the post base can lead to auxin suppression in nearby plants; as roots become submerged, the plant slows its growth hormones to survive the temporary anaerobic state.
The Clinic:
Physiological disorders in the garden often manifest after structural changes. Watch for these symptoms:
- Symptom: Interveinal Chlorosis. Yellowing leaves with green veins in plants near new posts.
- Solution: This indicates a Manganese or Iron deficiency, often caused by the high alkalinity of fresh concrete leaching into the soil. Apply a chelated iron drench to lower the local pH.
- Symptom: Wilting despite moist soil.
- Solution: Check for root pruning or mechanical damage from the post-hole auger. Use a hori-hori knife to cleanly trim jagged root ends to prevent pathogen entry.
- Symptom: Stunted terminal growth.
- Solution: Likely Nitrogen chlorosis. Concrete dust can temporarily tie up nitrogen. Supplement with a high-nitrogen fertilizer (NPK 20-10-10) to restore vegetative vigor.
Maintenance:
Once the posts are set, manage the surrounding area with precision. Use a soil moisture meter to ensure the area around the concrete footing remains at a consistent 25% to 30% moisture level. Concrete can act as a heat sink, drying out the soil faster than open ground.
Provide exactly 1.5 inches of water per week at the drip line of any plants within three feet of the post. Use bypass pruners to remove any foliage that makes direct contact with the concrete, as the abrasive surface and high pH can cause localized tissue necrosis. Annually inspect the interface between the concrete and soil for gaps caused by soil shrinkage; fill these with organic compost to maintain the cation exchange capacity.
The Yield:
For structural supports used in viticulture or hop production, the "yield" is the vertical success of the vine. Harvest grapes or hops when the Brix level (sugar content) reaches the desired threshold, typically 20-25% for wine grapes.
Handle the harvest with care to maintain turgor pressure. Use a sharp blade to cut the peduncle; do not pull. For "day-one" freshness, submerge the base of the stems in 40-degree Fahrenheit water immediately after cutting. This slows the metabolic rate and prevents the rapid breakdown of sugars into starches.
FAQ:
What is the best concrete for post holes in wet soil?
Use a fast-setting hydraulic cement with a 4,000 PSI rating. These mixes react chemically with existing groundwater, allowing the footing to set even in saturated conditions without losing structural integrity or leaching excess lime into the rhizosphere.
How deep should a post hole be for a 6-foot fence?
The hole must be 36 inches deep. This follows the rule of thumb that one-third to one-half of the post height should be below ground, ensuring the base sits below the frost line to prevent winter shifting.
Can I pour dry concrete mix into a hole?
Yes, "no-mix" concrete is designed for this. Pour the dry powder, then add water. The water percolates through the aggregate, initiating the hydration process. This method is efficient for setting posts without disrupting nearby soil structure.
Does concrete hurt nearby plant roots?
Fresh concrete is highly alkaline. It can raise soil pH, causing nutrient lockout. Maintain a distance of 12 inches between the concrete edge and the root ball of sensitive species to ensure optimal cation exchange and nutrient uptake.