6 Basic Steps to Remove Chlorine in Water
Healthy turgor pressure in a leaf feels like a crisp snap when folded. It is the result of water moving through the xylem without the interference of chemical oxidants. For the serious horticulturalist, tap water treated with disinfectants can cause marginal leaf necrosis and disrupt the delicate microbial life within the rhizosphere. Mastering the steps to remove chlorine in water ensures that your irrigation supply supports rather than hinders plant physiology. Chlorine and chloramine act as non selective biocides. While they keep municipal pipes clean, they can inhibit the beneficial fungi and bacteria required for nutrient cycling in organic substrates.
The olfactory signature of a healthy garden is the scent of damp humus; not the medicinal tang of a swimming pool. High concentrations of chlorine can lead to the accumulation of chloride ions in plant tissues. This often manifests as scorched leaf tips and stunted root development. To mitigate these risks, a systematic approach to water conditioning is necessary. This guide details the mechanical and chemical methods for purifying your irrigation source to protect the biological integrity of your soil.
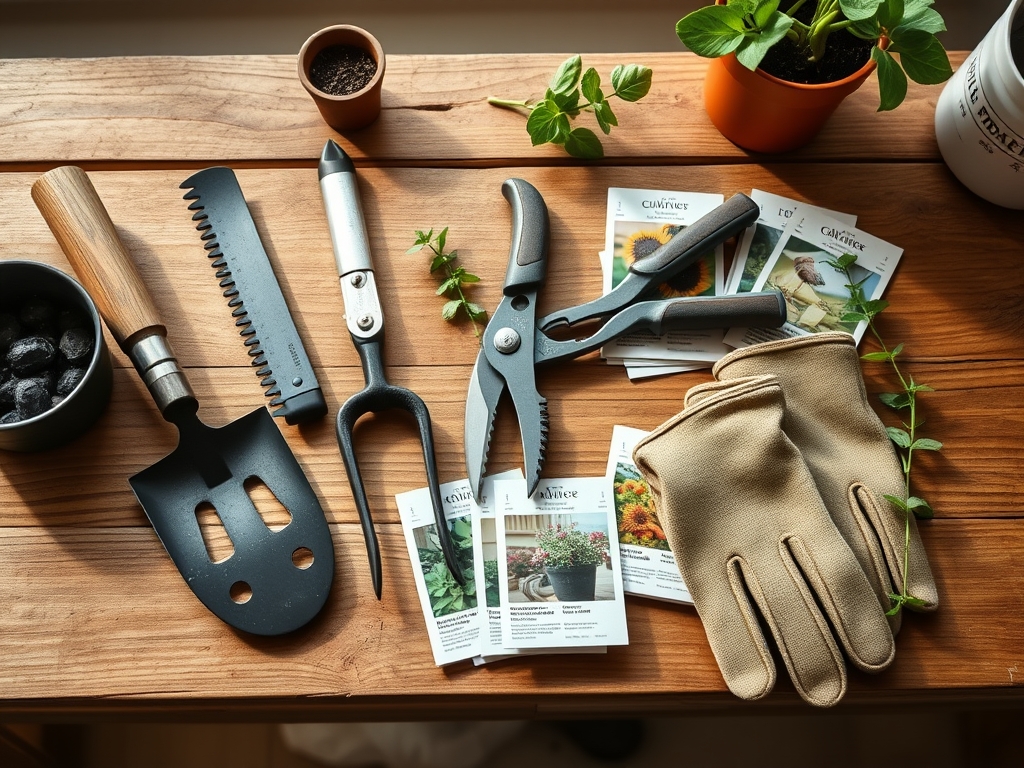
Materials:
The foundation of any successful growing operation is the substrate. A friable loam is the ideal medium; it consists of roughly 40 percent sand, 40 percent silt, and 20 percent clay. This specific texture ensures a high Cation Exchange Capacity (CEC), allowing the soil to hold onto essential nutrients like Potassium (K) and Calcium (Ca) even when flushed with purified water.
When preparing your growing medium, aim for a soil pH between 6.2 and 6.8 for most temperate crops. This range optimizes nutrient bioavailability. Use an NPK ratio of 5-10-5 for root establishment or a 10-10-10 balanced fertilizer for general vegetative growth. You will also require a high grade activated carbon filter, a clean 55 gallon food grade barrel, and a liquid de-chlorinator containing sodium thiosulfate for rapid neutralization.
Timing:
Successful gardening requires synchronization with regional climate data. In Hardiness Zones 5 through 7, the window for outdoor transplanting typically opens after the last frost date, which usually falls between late April and mid May. Monitoring soil temperature is critical; most temperate species require a consistent 60 degrees Fahrenheit at a depth of four inches before active root growth commences.
The Biological Clock of the plant dictates its water requirements. During the vegetative stage, high transpiration rates demand consistent hydration to maintain cell turgidity. As the plant transitions to the reproductive stage, signaled by changes in the photoperiod, its sensitivity to water quality increases. Chlorine exposure during flowering can lead to premature senescence, where the plant begins its aging process too early, resulting in reduced yields and poor seed viability.
Phases:
Sowing and Hydration
Begin by filling your storage tanks. The first of the steps to remove chlorine in water is aging. Allow tap water to sit in an open container for 24 to 48 hours. This allows chlorine gas to dissipate through the surface. However, this method is ineffective against chloramine, which is a more stable compound used by many modern water utilities.
Pro-Tip: Utilize an air stone or bubbler during the aging process. This increases the surface area for gas exchange and prevents anaerobic conditions. The Biological Why is rooted in oxygenation; high dissolved oxygen levels in water prevent root rot pathogens like Pythium from colonizing the root zone.
Transplanting and Soil Integration
When moving seedlings from a controlled environment to the field, use a hori-hori knife to ensure clean cuts if root pruning is necessary. Water the transplant hole with filtered water immediately. If using chemical neutralizers, ensure the dosage is precise; one drop of sodium thiosulfate per gallon is usually sufficient to neutralize standard municipal chlorine levels.
Pro-Tip: Apply a humic acid drench during transplanting. The Biological Why involves the stimulation of mycorrhizal symbiosis. These beneficial fungi extend the root system's reach, but they are highly sensitive to the oxidative stress caused by untreated tap water.
Establishing the Root System
Once the plant is in the ground, focus on deep watering rather than frequent shallow mists. Use a soil moisture meter to verify that the moisture has reached a depth of 6 to 8 inches. This encourages the roots to grow downward, making the plant more resilient to drought.
Pro-Tip: Mulch with organic straw or wood chips. The Biological Why is the preservation of the soil food web. Mulch protects the surface microbes from UV radiation and helps maintain a consistent temperature, which is vital for the enzymatic activity that drives nutrient uptake.
The Clinic:
Monitoring plant health requires a keen eye for physiological disorders.
- Symptom: Interveinal chlorosis (yellowing between leaf veins) on young leaves.
Solution: This indicates an Iron (Fe) deficiency, often caused by high pH water. Check the pH of your de-chlorinated water; it should be slightly acidic. - Symptom: Marginal leaf burn or "scorching."
Solution: This is a classic sign of Chlorine Toxicity. Switch to an activated carbon filtration system to remove both chlorine and chloramines. - Symptom: Stunted growth and purple undersides on leaves.
Solution: This suggests a Phosphorus (P) deficiency. Ensure your soil temperature is above 55 degrees Fahrenheit, as phosphorus becomes immobile in cold, wet soils. - Symptom: General yellowing of older leaves (Nitrogen chlorosis).
Solution: Apply a high nitrogen fertilizer with an NPK of 20-10-10. Nitrogen is mobile within the plant, so it moves from old growth to support new development.
Maintenance:
Precision is the hallmark of a master gardener. Provide 1.5 inches of water per week delivered directly at the drip line of the plant. This prevents foliar diseases by keeping the leaves dry. Use bypass pruners to remove any dead or diseased tissue, making cuts at a 45 degree angle to allow water to shed away from the wound.
Regularly calibrate your equipment. A soil moisture meter should be cleaned after every use to prevent the transfer of pathogens. If you use a carbon filter for your water, replace the cartridges every 500 to 1,000 gallons, or according to the manufacturer's specifications, to ensure the steps to remove chlorine in water remain effective.
The Yield:
Harvesting should occur during the coolest part of the day, typically in the early morning when turgor pressure is at its peak. Use a sharp knife to minimize cellular damage at the harvest point. For leafy greens, immediate hydro-cooling in chilled, de-chlorinated water will remove field heat and preserve "day-one" freshness by slowing down the metabolic rate of the harvested tissue. For fruiting crops, avoid bruising by placing them in shallow crates no more than two layers deep.
FAQ:
How long does it take for chlorine to evaporate?
Chlorine gas typically dissipates from standing water within 24 to 48 hours. However, chloramine, a combination of chlorine and ammonia, will not evaporate and requires chemical neutralization or high grade carbon filtration for removal.
Does boiling water remove chlorine?
Yes, boiling water for 15 to 20 minutes will accelerate the removal of chlorine gas. However, this is energy intensive and impractical for large scale irrigation. It also does not effectively remove all chloramine compounds or heavy metals.
Can I use Vitamin C to de-chlorinate water?
Ascorbic acid (Vitamin C) is an effective chemical neutralizer. Approximately 40 milligrams will neutralize the chlorine in one gallon of water. It reacts nearly instantaneously and is safe for both the soil microbiome and sensitive plant root systems.
Is rain water better than de-chlorinated tap water?
Rain water is generally superior because it is naturally soft and slightly acidic, with a pH around 5.6. It lacks the salts and minerals found in municipal supplies, making it the ideal choice for maintaining a healthy rhizosphere.