9 Vital Steps to Acclimate Indoor Plants
Crushing a handful of damp, friable loam reveals the earthy scent of geosmin; this microbial byproduct indicates a healthy rhizosphere ready for colonization. When you bring a greenhouse-grown specimen into a residential environment, the immediate drop in humidity and light intensity triggers a physiological shock that can lead to leaf abscission or permanent wilting. Successful cultivation depends on your ability to manage turgor pressure during the transition. You must execute precise steps to acclimate indoor plants to prevent the plant from entering a state of rapid senescence. This process requires a shift from optimal commercial conditions to the variable microclimates of a home. Failure to bridge this gap results in a breakdown of the vascular system as the plant struggles to balance transpiration rates with limited root uptake. By systematically adjusting the environmental variables, you ensure the specimen maintains its metabolic rate and structural integrity.
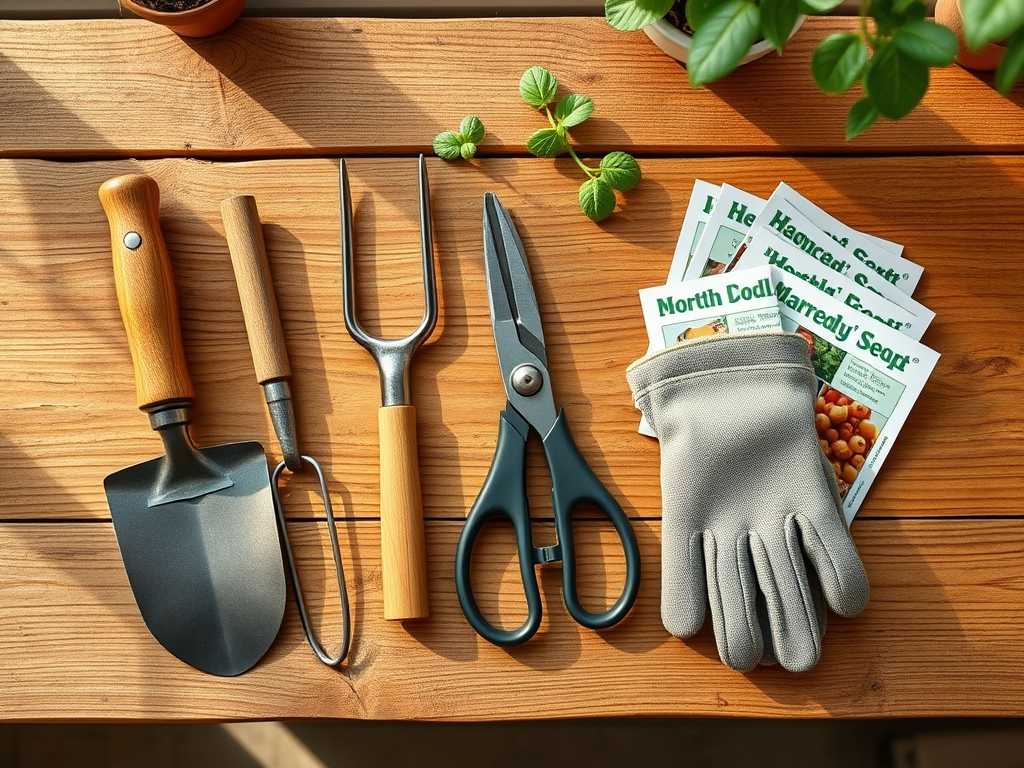
Materials:
The substrate is the foundation of the acclimation process. For most tropical indoor species, aim for a soil pH between 5.8 and 6.5. This range ensures maximum bioavailability of micronutrients like iron and manganese. The physical texture should be a friable loam composed of 40 percent peat or coco coir, 30 percent perlite for aeration, and 30 percent composted organic matter. This structure supports a high Cation Exchange Capacity (CEC), allowing the soil to retain essential nutrients against the leaching effects of irrigation.
During the initial 30 days of acclimation, avoid high-nitrogen fertilizers which can force weak, succulent growth susceptible to pathogens. Instead, utilize a balanced NPK ratio of 10-10-10 or a low-nitrogen "starter" formula like 5-10-10. The phosphorus content encourages robust root development without overextending the foliage. Ensure you have a soil moisture meter and a digital hygrometer to monitor the immediate environment.
Timing:
Acclimation should ideally occur during the spring or early autumn when outdoor temperatures align closely with indoor ambient conditions. In Hardiness Zones 7 through 10, the window for moving plants indoors usually begins two weeks before the first projected frost date. You must monitor the photoperiod; as natural day length decreases, the plant's biological clock signals a transition from the vegetative stage to a slower metabolic state.
Introducing a plant to a new environment during its active growth phase (spring) allows it to utilize higher auxin levels for root repair. Conversely, attempting to acclimate a plant during the winter solstice, when light levels are at their nadir, often results in dormancy-related stress. Aim for a consistent indoor temperature gradient between 65 and 75 degrees Fahrenheit during the day, with a drop of no more than 10 degrees at night.
Phases:
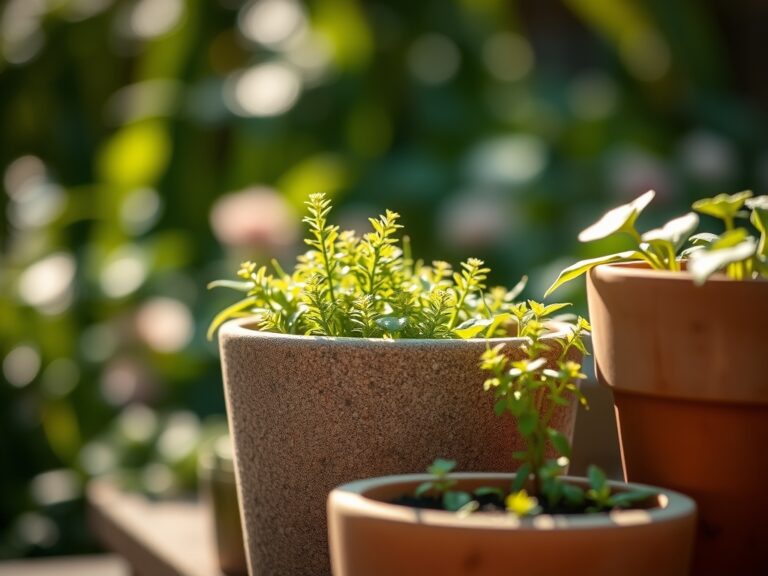
Sowing and Initial Placement
Begin by placing the plant in a location that mimics its previous environment. If it came from a high-light nursery, place it within three feet of a south-facing window. Use a sheer curtain to filter the UV rays initially. This prevents solarization, where high-intensity light destroys chlorophyll molecules faster than the plant can replace them.
Pro-Tip: Observe the plant for phototropism. If the stem leans aggressively toward the light source within 48 hours, the light intensity is too low, causing the plant to elongate its internodes through auxin redistribution to the shaded side of the stem.
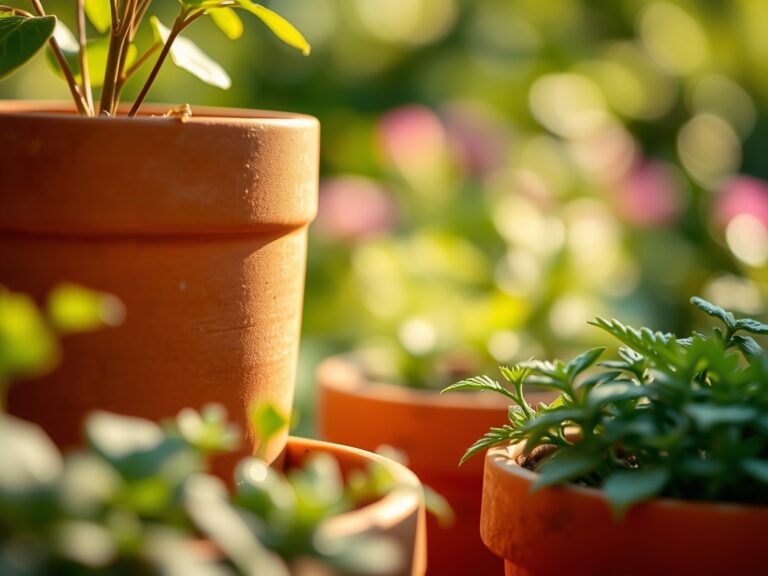
Transplanting and Root Integration
If the specimen is root-bound, use a hori-hori knife to gently score the root ball. This mechanical disruption breaks the circular growth pattern and encourages lateral root branching into the new substrate. Ensure the new container is only 2 inches wider in diameter than the previous one to prevent "perched water tables" where excess soil remains saturated and anaerobic.
Pro-Tip: Mycorrhizal symbiosis is critical during transplanting. Adding fungal inoculants to the rhizosphere increases the effective surface area of the root system, enhancing water absorption and phosphorus uptake through a mutualistic exchange of carbohydrates.
Establishing and Hardening
Over a period of 14 days, gradually move the plant toward its permanent location. Increase the duration of exposure to indoor air circulation. If the plant shows signs of flagging, increase the ambient humidity using a pebble tray or a humidifier to maintain a level of 50 to 60 percent.
Pro-Tip: This phase relies on the regulation of stomatal conductance. By slowly exposing the plant to lower humidity, you signal the guard cells to close more efficiently, reducing transpirational water loss and preventing cellular collapse.
The Clinic:
Physiological disorders often manifest during the first month of acclimation.
- Symptom: Interveinal chlorosis (yellowing between leaf veins).
Solution: Check soil pH. If pH is above 7.0, iron becomes insoluble. Apply a chelated iron drench to restore leaf color. - Symptom: Edema (small bumps or blisters on the underside of leaves).
Solution: This is caused by the plant taking up more water than it can transpire. Reduce irrigation frequency and improve air circulation. - Symptom: Leaf tip burn.
Solution: This usually indicates a buildup of soluble salts from tap water or over-fertilization. Flush the substrate with distilled water until the runoff EC (Electrical Conductivity) drops.
Fix-It for Nitrogen Chlorosis: If the oldest leaves turn uniformly pale yellow, the plant is scavenging nitrogen for new growth. Apply a liquid fertilizer with a 20-20-20 ratio at half strength to provide immediate nitrate availability.
Maintenance:
Precision is the hallmark of professional maintenance. Use a soil moisture meter to ensure you only irrigate when the top 2 inches of soil are dry. For a standard 10-inch pot, this typically equates to 1.5 liters of water applied evenly across the surface until drainage occurs.
Pruning should be performed with sterilized bypass pruners to ensure clean vascular cuts that heal quickly. Remove any necrotic tissue immediately to prevent the spread of saprophytic fungi. Monitor the "drip line"—the perimeter of the foliage—as this is where the most active feeder roots are located in the substrate. Maintain a consistent schedule; plants thrive on regularity in light, water, and nutrient delivery.
The Yield:
For those cultivating indoor herbs or flowering species like Jasmine, harvest timing is essential for essential oil retention. Harvest early in the morning when turgor pressure is at its peak. Use sharp snips to take cuttings just above a node to stimulate secondary branching. For "day-one" freshness, immediately submerge the cut stems in 40-degree Fahrenheit water to slow the rate of respiration and enzymatic degradation. This post-harvest handling preserves the volatile compounds and structural crispness of the foliage.
FAQ:
How long does it take to acclimate a new plant?
The process typically requires 14 to 21 days. This timeframe allows the plant to adjust its stomatal density and cuticle thickness to the lower humidity and light levels found in a residential interior.
Why are my plant's leaves falling off after moving it?
This is often "transplant shock" or a response to a drastic change in light. The plant sheds leaves to reduce its transpirational load while it re-establishes its root system in the new environment.
Should I fertilize my plant immediately after buying it?
No. Wait at least four weeks. Most nursery plants are pre-loaded with slow-release fertilizers. Adding more immediately can cause osmotic stress and root burn while the plant is already under environmental stress.
How do I know if my plant needs more light?
Look for "etiolation," which is characterized by long, weak stems and increased spacing between leaf nodes. If the new growth is significantly paler than the old growth, increase the light intensity gradually.