7 Best Hardening Off Indoors Tips
Turgor pressure defines the boundary between a successful transplant and a withered failure. When a seedling is raised in the controlled environment of a grow room, its cellular structure is soft; it has never faced the mechanical stress of wind or the erratic transpiration demands of direct solar radiation. The smell of damp, sterile peat and the sight of pale green stems indicate a plant that is physiologically unprepared for the field. Mastering the best hardening off indoors tips requires a transition from pampered growth to structural resilience. This process is not merely about temperature; it is about thickening the cuticle and strengthening the cell walls to prevent permanent wilting point. A plant that undergoes a disciplined hardening schedule develops a robust root system and a higher concentration of soluble sugars in its tissues. This chemical shift acts as a biological antifreeze, protecting the vascular system from late spring temperature fluctuations. Success depends on a gradual exposure to the elements, ensuring the transition from the indoor nursery to the garden bed does not trigger immediate senescence.
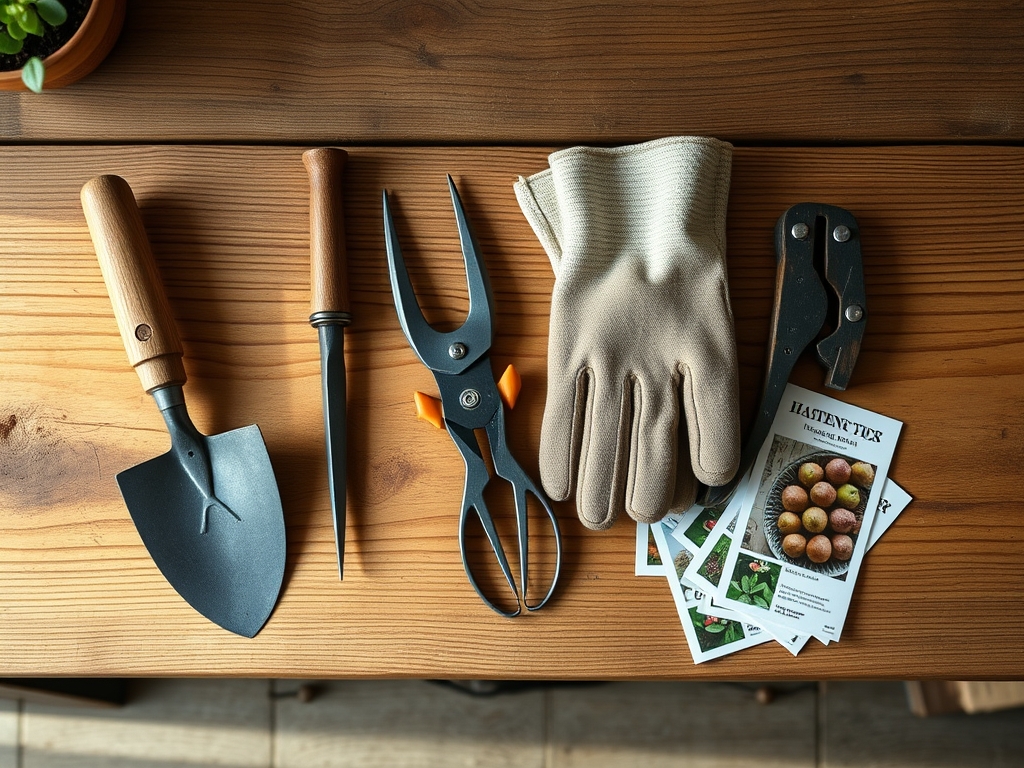
Materials:
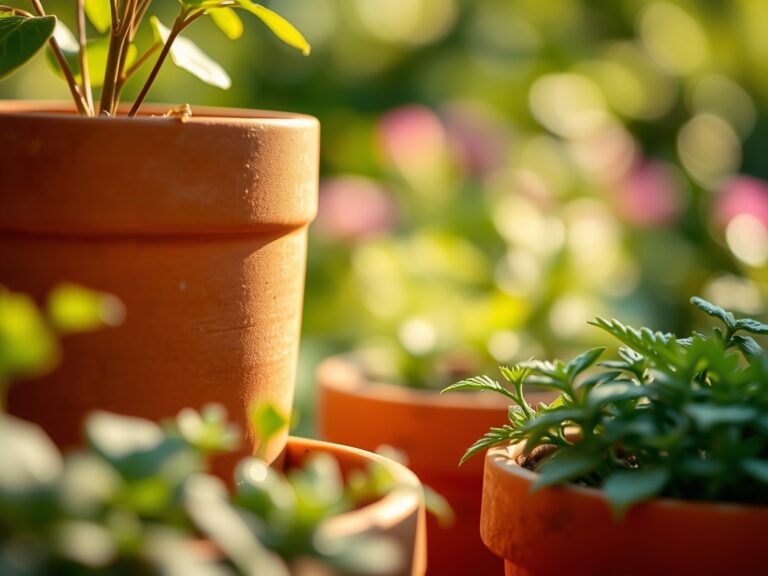
The transition begins with the substrate. Seedlings require a **friable loam** with a high **Cation Exchange Capacity (CEC)** to ensure nutrient availability during the stress of hardening. The ideal soil pH for most vegetable starts ranges from **6.2 to 6.8**. Before the hardening process begins, the NPK ratio should shift from a high-nitrogen starter (such as **10-5-5**) to a formula richer in phosphorus and potassium (such as **5-10-10**) to encourage lignification of the stems and root expansion rather than rapid, succulent leaf growth.
Ensure you have a reliable oscillating fan to simulate wind stress and a calibrated thermometer to monitor ambient air temperatures. A soil moisture meter is essential for tracking the hydration levels of the rhizosphere, as small nursery pots can desiccate in under four hours when exposed to outdoor airflow.
Timing:
Hardening off must be synchronized with the local frost-free date, typically found in USDA Hardiness Zones 4 through 9. The window usually opens 7 to 14 days before the projected final frost. Timing is dictated by the biological clock of the species; for instance, Solanaceous crops (tomatoes and peppers) require consistent night temperatures above 55 degrees Fahrenheit to prevent physiological stunting.
During the vegetative stage, the plant focuses on leaf area index. If you delay hardening too long, the plant may enter its reproductive stage in a pot, becoming root-bound and suffering from limited nutrient uptake. Observe the photoperiod requirements of your specific cultivars; transitioning plants during a period of increasing day length stimulates the production of auxins, which are critical for the development of new root hairs once the plant is moved to its permanent location.
Phases:
Sowing and Early Exposure
Begin the hardening process while the plants are still under lights. Use an oscillating fan set to a low speed for 15 minutes, three times per day. This mechanical stimulation triggers thigmomorphogenesis, a physiological response where the plant produces shorter, thicker stems to withstand physical pressure.
Pro-Tip: Mechanical stress increases the deposition of lignin in the xylem. This biological "hardening" of the vascular tissue prevents the stem from snapping when it encounters its first real gust of wind outdoors.
Transplanting Preparation
Four days before moving outdoors, reduce the frequency of irrigation. Allow the soil to dry until the plant shows the earliest signs of losing turgor, but do not reach the permanent wilting point. This mild drought stress signals the plant to accumulate solutes in its cells, lowering the freezing point of the cellular fluid.
Pro-Tip: Reducing water intake encourages the plant to enter a state of "quiescence." This temporary slowdown in metabolic activity makes the plant less susceptible to the shock of fluctuating outdoor temperatures.
Establishing and Outdoor Exposure
On Day 1, place the seedlings in a shaded, sheltered area for one hour. Increase this exposure by one hour each day, gradually moving them into filtered sunlight. By Day 7, the plants should be able to withstand a full day of direct sun and the overnight drop in temperature.
Pro-Tip: Gradual UV exposure allows the plant to develop a thicker cuticular wax layer. This prevents excessive transpiration and protects the chlorophyll from being bleached by high-intensity solar radiation.
The Clinic:
Physiological disorders often manifest during the hardening phase due to environmental stress or nutrient imbalances.
- Symptom: Nitrogen Chlorosis. Leaves turn a pale yellow, starting with the oldest foliage.
- Solution: Apply a water-soluble fertilizer with a 5-1-1 NPK ratio at half strength. This provides immediate bioavailable nitrogen to support chlorophyll synthesis without forcing excessive soft growth.
- Symptom: Edema. Small, corky bumps appear on the underside of leaves.
- Solution: This is caused by high humidity and overwatering; the plant takes up more water than it can transpire. Increase airflow and reduce irrigation frequency.
- Symptom: Sunscald. White, papery patches appear on leaf surfaces.
- Solution: This indicates the UV transition was too rapid. Move the plants back to a shaded area and increase sunlight exposure in 30-minute increments instead of full hours.
- Fix-It for Magnesium Deficiency: If interveinal chlorosis occurs (yellowing between green veins), apply a foliar spray of 1 tablespoon of Epsom salts per gallon of water. Magnesium is the central atom in the chlorophyll molecule and is vital for photosynthesis.
Maintenance:
Once the hardening process is complete and the plants are in the ground, maintenance must be precise. Use a soil moisture meter to ensure the root zone remains consistently hydrated. Most transplants require 1.5 inches of water per week, delivered directly to the drip line to avoid wetting the foliage and inviting fungal pathogens.
Utilize a hori-hori knife for precise transplanting, ensuring the hole is twice as wide as the root ball to encourage lateral root growth. If any stems become damaged during the move, use bypass pruners to make clean, surgical cuts that heal quickly. Monitor the soil temperature; if it drops below 60 degrees Fahrenheit for warm-season crops, use a frost blanket to maintain the thermal mass of the soil.
The Yield:
For leafy greens and herbs, harvesting can begin as soon as the plant has established a robust root system and produced at least five sets of true leaves. Use sharp shears to harvest the outer leaves first, leaving the apical meristem intact to ensure continued growth. To maintain "day-one" freshness, harvest in the early morning when turgor pressure is at its peak. Immediately submerge the cuttings in 40-degree Fahrenheit water to remove field heat and slow the rate of respiration. This post-harvest handling preserves the sugars and volatile oils within the plant tissue.
FAQ:
How long does it take to harden off indoors?
The process typically requires 7 to 10 days. It begins with one hour of outdoor exposure in a sheltered area, increasing the duration daily until the plant can survive 24 hours of outdoor conditions without wilting or leaf burn.
Can I skip hardening off if it is cloudy?
No. While clouds reduce UV intensity, the plant still needs to adjust to wind stress and temperature fluctuations. Skipping the process leads to transplant shock, which can stall growth for two to three weeks or kill the plant.
What temperature is too cold for hardening off?
For warm-season crops like tomatoes, avoid temperatures below 50 degrees Fahrenheit. For cool-season crops like broccoli or kale, hardening can continue as long as temperatures remain above 35 degrees Fahrenheit, provided there is no heavy frost.
What should I do if my plants wilt during the process?
Immediately move the plants back indoors or into a deep shade. Use a fine mist to increase local humidity and help the plant recover turgor. Resume the hardening process the following day with shorter exposure times.