7 Quick Steps to Install a Wind Chime
The smell of damp earth after a rain is more than a scent; it is the olfactory signature of geosmin being released from the soil as pore spaces fill with water. When the turgor pressure in a leaf is optimal, the plant stands rigid, maximizing its photosynthetic surface area. Integrating sound into this biological environment requires precision. Following the correct steps to install a wind chime ensures that the hardware does not interfere with the growth of woody perennials or the structural integrity of your garden structures. A chime must be placed where air currents are consistent but not destructive to delicate foliage.
Proper placement is a matter of physics and horticulture. You must account for the prevailing winds that sweep through your specific microclimate. If the chime is positioned too close to a tree canopy, the constant friction can cause mechanical damage to the bark, leading to opportunistic fungal infections. Conversely, a chime placed in a stagnant air pocket remains silent and serves no purpose. By following these seven steps to install a wind chime, you align the acoustic elements of your landscape with the physical requirements of your botanical collection.
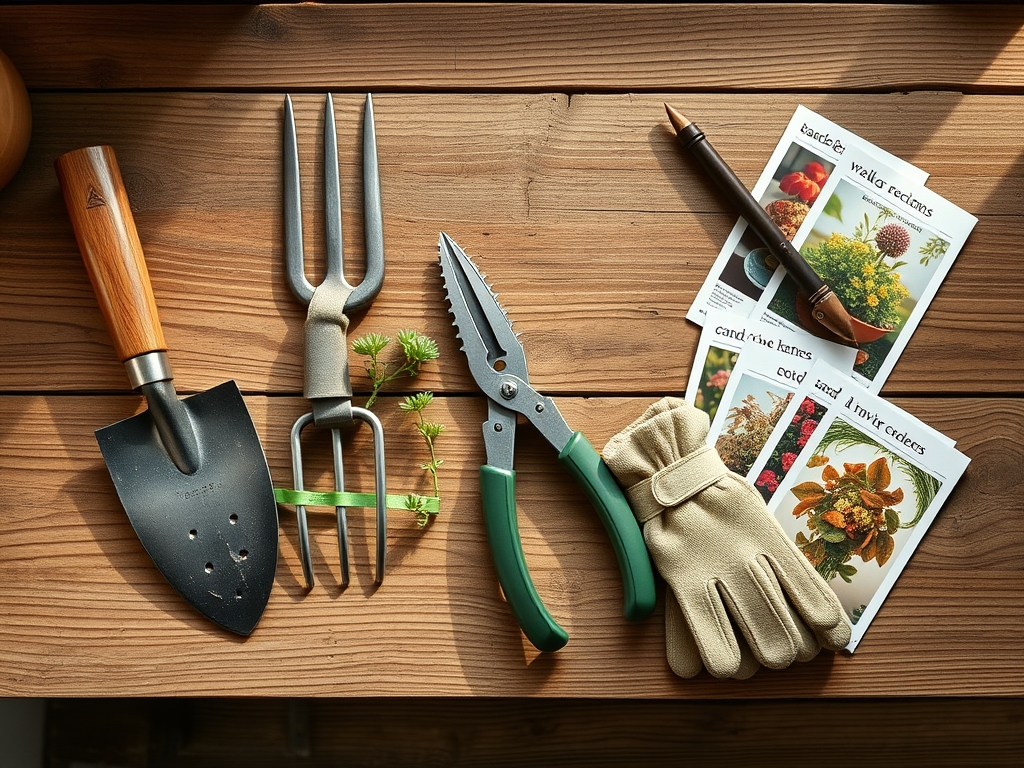
Materials:
Before installation, assess the substrate if you are using an in-ground pole. The ideal soil is a **friable loam** with a **pH between 6.0 and 7.0**. This range ensures optimal **Cation Exchange Capacity (CEC)**, allowing the soil to hold onto essential nutrients like ammonium and potassium. If the soil is too sandy, the pole will lean; if it is heavy clay, drainage will be poor, leading to anaerobic conditions and root rot for nearby plants.
For the installation of a support pole, you may need to amend the soil to achieve a balanced NPK ratio of 10-10-10 in the surrounding area to support the turf or groundcover disturbed during the process. High nitrogen levels (above 15%) should be avoided during late summer to prevent a flush of soft growth that is susceptible to frost damage. Ensure you have a stainless steel hook, a high-tensile nylon cord, and a level to ensure the chime hangs perfectly vertical.
Timing:
Installation should occur outside of the primary frost-date windows for your USDA Hardiness Zone. In Zones 5 through 7, the ideal window is late spring after the final frost or early autumn before the ground freezes. This timing aligns with the "Biological Clock" of your garden. During the transition from the vegetative stage to the reproductive stage, plants are often more sensitive to environmental changes.
Installing hardware during the peak of the vegetative stage ensures that any pruning required for clearance is done when the plant has maximum energy reserves for wound compartmentalization. Avoid installation during the senescence phase in late autumn, as the plant's ability to heal from accidental mechanical injury is significantly reduced.
Phases:

Sowing the Support
If using a shepherd's hook or pole, you must "sow" the base into the earth at a depth of at least 18 inches. This depth bypasses the primary rhizosphere of most turfgrasses, reaching more stable subsoil. Ensure the pole is perfectly plumb to allow the striker to hit the tubes evenly.
Pro-Tip: Always check for underground utilities before digging. Understanding the mycorrhizal symbiosis in your soil is vital; digging deep holes can disrupt the fungal networks that assist plants in phosphorus uptake. Minimize the footprint of your excavation to keep these networks intact.
Transplanting the Hardware
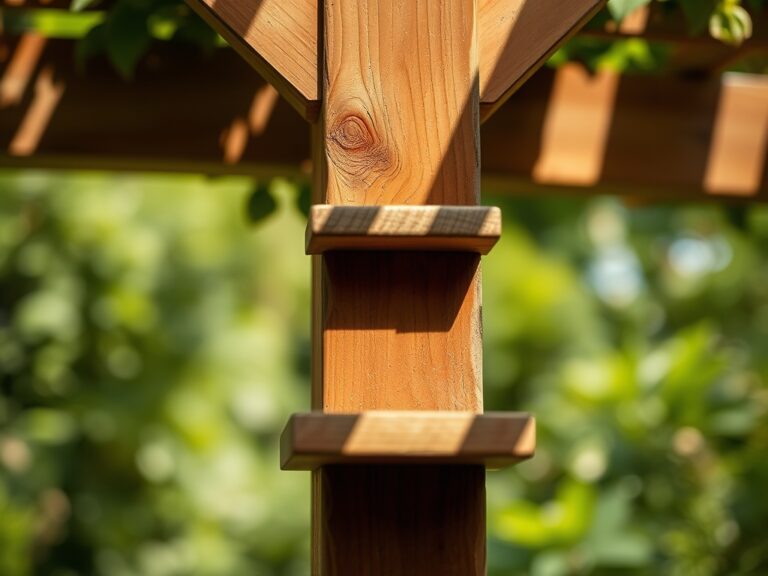
When moving a chime from a temporary location to its permanent site, treat the hardware like a sensitive transplant. Secure the tubes to prevent them from tangling or denting. If hanging from a tree limb, use a wide strap rather than a thin wire to prevent "girdling," which occurs when the tree's cambium layer is crushed, cutting off the flow of nutrients.
Pro-Tip: Avoid hanging chimes on young, developing branches. Auxin suppression occurs when a branch is physically weighed down or stressed, which can lead to irregular growth patterns and stunted terminal buds.
Establishing the Soundscape
Once the chime is hung, monitor its movement for 48 hours. It should hang at a height where it catches the wind but does not strike the trunk of a tree or the siding of a house. The clearance should be at least 24 inches in all directions.
Pro-Tip: Use the chime as a tool for monitoring phototropism. If you notice your plants leaning aggressively away from or toward the chime's location, you may be creating an artificial shade pocket that is altering the plants' light-seeking behavior.
The Clinic:
Even a non-biological installation can impact plant health. Monitor the surrounding flora for these physiological disorders:
- Symptom: Mechanical scarring on bark near the chime.
Solution: Increase the clearance distance by 12 inches or use a shorter hanging cord to reduce the swing radius. - Symptom: Localized soil compaction at the base of the chime pole.
Solution: Aerate the soil with a hori-hori knife and apply a 2-inch layer of organic mulch to redistribute foot traffic pressure. - Symptom: Iron Chlorosis (yellowing leaves with green veins) in nearby acid-loving plants.
Fix-It: This often occurs if concrete was used to set the pole, leaching lime into the soil and raising the pH. Apply chelated iron and elemental sulfur to lower the pH back to 5.5 or 6.0.
Maintenance:
A garden is a dynamic system requiring constant calibration. Check the chime's mounting hardware every six months for signs of oxidation or wear. Use a soil moisture meter to ensure that the area around the chime pole is receiving the standard 1.5 inches of water per week at the drip line.
If the chime is hanging from a tree, use bypass pruners to remove any small "water sprouts" or "suckers" that grow toward the chime. These opportunistic shoots can quickly entangle the cords. If you need to remove a larger branch for clearance, make the cut just outside the branch collar to facilitate rapid healing.
The Yield:
While a wind chime does not produce a caloric yield, its "harvest" is the data it provides regarding wind speed and direction. To maintain "day-one" freshness of the hardware, wipe the tubes down with a light coat of lemon oil or stainless steel cleaner annually. This prevents the buildup of pollen and dust, which can dampen the resonance of the metal. If the chime features wooden components, treat them with a UV-resistant sealant to prevent the wood from becoming brittle and losing its structural integrity.
FAQ:
Where is the best place to hang a wind chime?
Hang it in a location with consistent airflow, such as the north or west side of a structure. Ensure it is at least two feet away from any foliage to prevent mechanical damage to the plant's cuticle and epidermis.
Can I hang a wind chime from a tree branch?
Yes, but use a protective tree strap to prevent girdling the vascular cambium. Ensure the branch is at least three inches in diameter to support the weight without causing stress-induced auxin imbalances in the limb.
How do I stop my wind chime from tangling?
Ensure the chime is hung perfectly level. If the central platform is tilted by even two degrees, the tubes will hang unevenly, increasing the likelihood of tangling during high-velocity wind events exceeding 20 miles per hour.
How do I clean a wind chime?
Use a soft cloth and a pH-neutral cleaner. Avoid harsh chemicals that could drip into the rhizosphere below. If the chime is made of copper, allow the natural patina to develop, as this oxidation layer protects the underlying metal.