6 Basic Steps to Use Biodegradable Plant Pots
Damp peat moss and the sharp, metallic scent of wet clay define the propagation bench. When a seedling achieves full turgor pressure, its cellular walls remain rigid; this is the critical moment to master the steps to use biodegradable plant pots. Unlike plastic liners that cause root circling and transplant shock, cellulose or manure based containers integrate directly into the rhizosphere. Success requires precise moisture management and an understanding of soil biology to ensure the container decomposes at the same rate the root system expands.
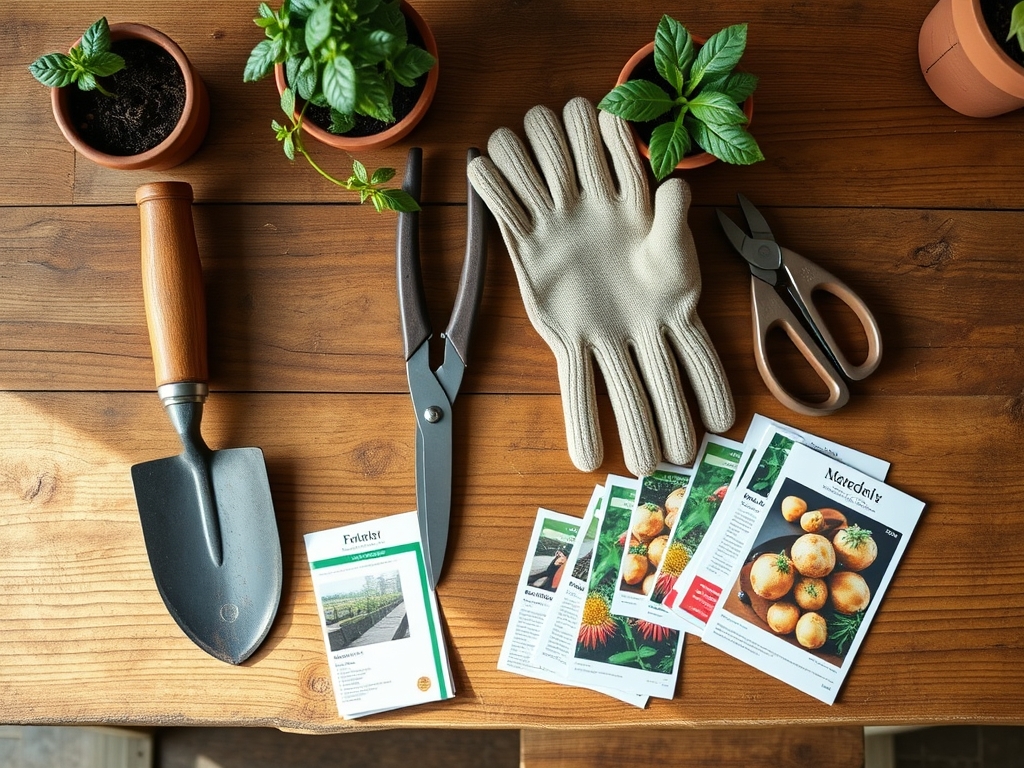
Materials:
The substrate must be a **friable loam** with a high Cation Exchange Capacity (CEC) to hold essential nutrients. For most vegetable starts, aim for a **pH between 6.0 and 7.0**. The initial potting mix should follow a **10-5-5 NPK ratio** to prioritize vegetative growth over fruit production. Incorporate perlite or vermiculite to maintain an **air porosity of 15 to 20 percent**. This ensures that the biodegradable walls of the pot do not become anaerobic and waterlogged, which leads to fungal pathogens like *Pythium*.
Timing:
Hardiness Zones dictate the window for utilizing biodegradable pots. In Zones 5 through 7, seeds should be started indoors 6 to 8 weeks before the last predicted frost. The biological clock of the plant is governed by the photoperiod; moving a plant outdoors too early can trigger premature senescence or bolting. Monitor the soil temperature using a probe; do not transplant until the ground consistently maintains 60 degrees Fahrenheit (15.5 Celsius) at a depth of four inches. This prevents the "stalling" of root expansion into the surrounding native soil.
Phases:
Sowing and Hydration
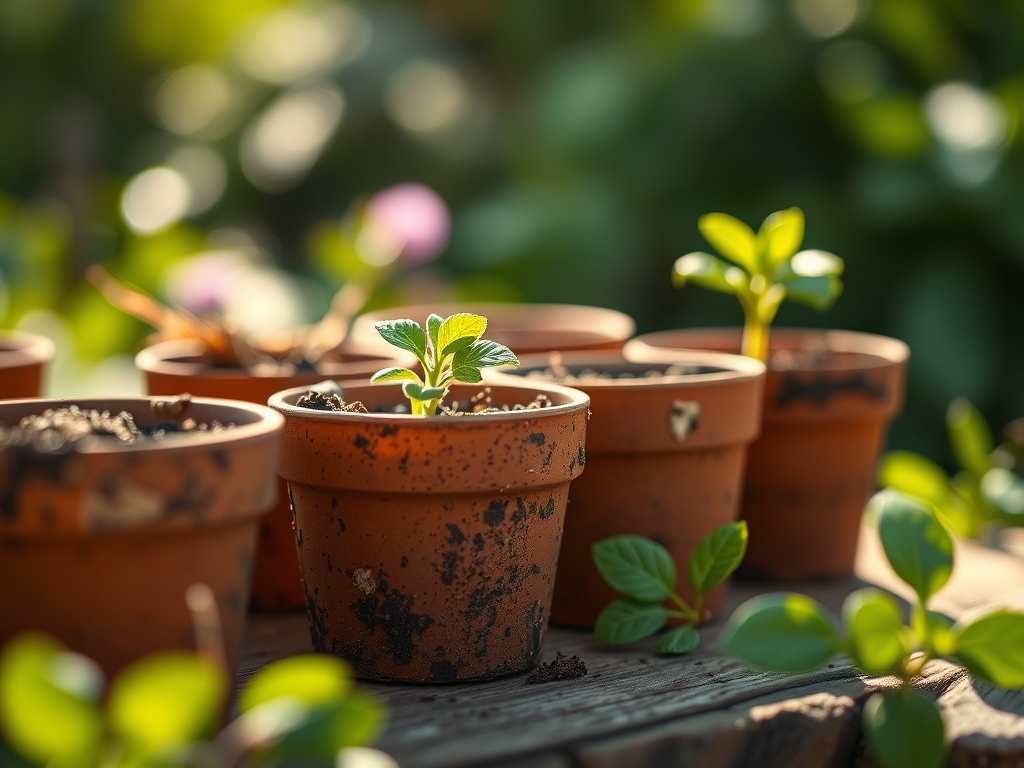
Fill the pots with a pre-moistened sterile starting mix. Place two seeds per cell at a depth of twice the seed diameter. Ensure the biodegradable pot is saturated before sowing; dry walls will wick moisture away from the germinating seed, causing desiccation.
Pro-Tip: Maintain consistent moisture to encourage mycorrhizal symbiosis. These beneficial fungi colonize the root zone and extend the reach of the root system, significantly increasing phosphorus uptake.
Transplanting and Preparation
When the seedling develops its second set of true leaves, it is ready for the field. Before planting, use a hori-hori knife to score the sides of the pot or remove the upper rim entirely. If the rim sits above the soil line, it acts as a wick, pulling moisture out of the root ball and dehydrating the plant.
Pro-Tip: Removing the rim prevents auxin suppression. By ensuring the roots can penetrate the pot walls immediately, you prevent the accumulation of auxins at the root tips that occurs when they hit a hard plastic barrier.
Establishing the Root System
Dig a hole twice as wide as the pot. Set the pot in the ground so the entire biodegradable structure is buried. Backfill with native soil and firm gently to eliminate air pockets. Water immediately with a dilute 5-10-5 starter solution to encourage root elongation.
Pro-Tip: This phase relies on phototropism. Ensure the plant is oriented toward the primary light source to maintain straight stem growth while the roots anchor into the new medium.
The Clinic:
Physiological disorders often arise from improper moisture levels within the pot walls.
- Symptom: Nitrogen Chlorosis. Lower leaves turn pale yellow while veins remain green.
- Solution: The decomposition of the pot consumes nitrogen. Apply a high nitrogen liquid fertilizer (20-10-10) to offset the microbial demand.
- Symptom: Edema. Small bumps or blisters on the underside of leaves.
- Solution: This indicates the pot is holding too much water. Increase airflow and reduce irrigation frequency to lower root pressure.
- Symptom: Root Binding. Roots visible through the pot walls but not penetrating the soil.
- Solution: The pot wall is too dry or too thick. Use a soil moisture meter to ensure the pot remains soft enough for root penetration.
Maintenance:
Precision irrigation is mandatory. Provide 1.5 inches of water per week delivered at the drip line. Avoid overhead watering to prevent leaf spot. Use bypass pruners to remove any necrotic tissue or suckers that divert energy from the main terminal bud. Check the soil daily; biodegradable pots dry out faster than plastic. A soil moisture meter reading of 4 to 6 on a 10 point scale is ideal for most species. If the pot wall feels "crisp" to the touch, the plant is at risk of permanent wilting point.
The Yield:
Harvesting timing depends on the specific crop, but the goal is always maximum turgidity. For leafy greens, harvest at dawn when water content is highest. For fruiting crops like tomatoes, wait for 90 percent color saturation. Use a sharp blade to make clean cuts, preventing jagged edges that invite pathogens. Immediately move harvested produce to a cool, shaded area to slow down respiration and preserve "day-one" freshness.
FAQ:
Do I need to remove the bottom of the pot?
No, but scoring the bottom with a hori-hori knife speeds up root penetration. This is vital in heavy clay soils where the pot might decompose slower than the plant grows.
Why is my biodegradable pot growing mold?
White surface mold indicates high humidity and poor airflow. It is usually harmless but signifies you should reduce watering. Ensure the pot is not sitting in standing water to prevent root rot.
How long does it take for the pot to disappear?
In active soil with high microbial activity, most pots break down in 3 to 6 months. High organic matter and consistent moisture levels accelerate the decomposition of cellulose fibers.
Can I use these for all plants?
They are best for plants with sensitive roots like cucumbers, squash, and poppies. Avoid using them for long term perennials that will remain in the pot for more than one growing season.