7 Romantic Ways How to Build a Garden Arbor
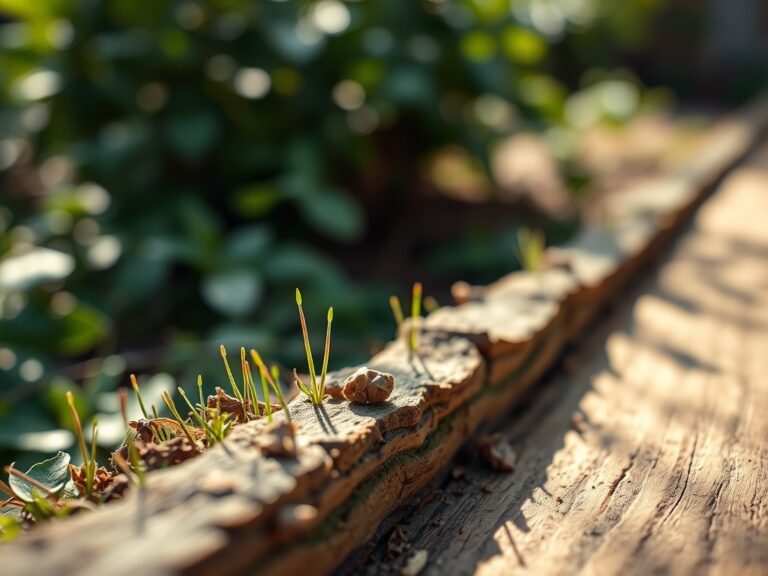
The scent of damp, decaying organic matter signals a high microbial activity in the rhizosphere; a necessary precursor for any structural garden addition. Successful integration of vertical elements requires more than aesthetic intent. It demands an understanding of how weight distribution affects soil compaction and subsequent root respiration. Learning how to build a garden arbor begins with site selection where the soil profile can support both the physical load of the timber and the biological load of climbing perennials. A structural failure often stems from ignoring the turgor pressure of the vines it supports. Heavy woody climbers like Wisteria sinensis can exert hundreds of pounds of force as they mature. You must engineer the foundation to resist both gravitational pull and the lateral force of wind acting upon the leaf canopy. Precision in the initial measurements ensures the structure survives the transition from a skeletal frame to a living, breathing component of the estate.
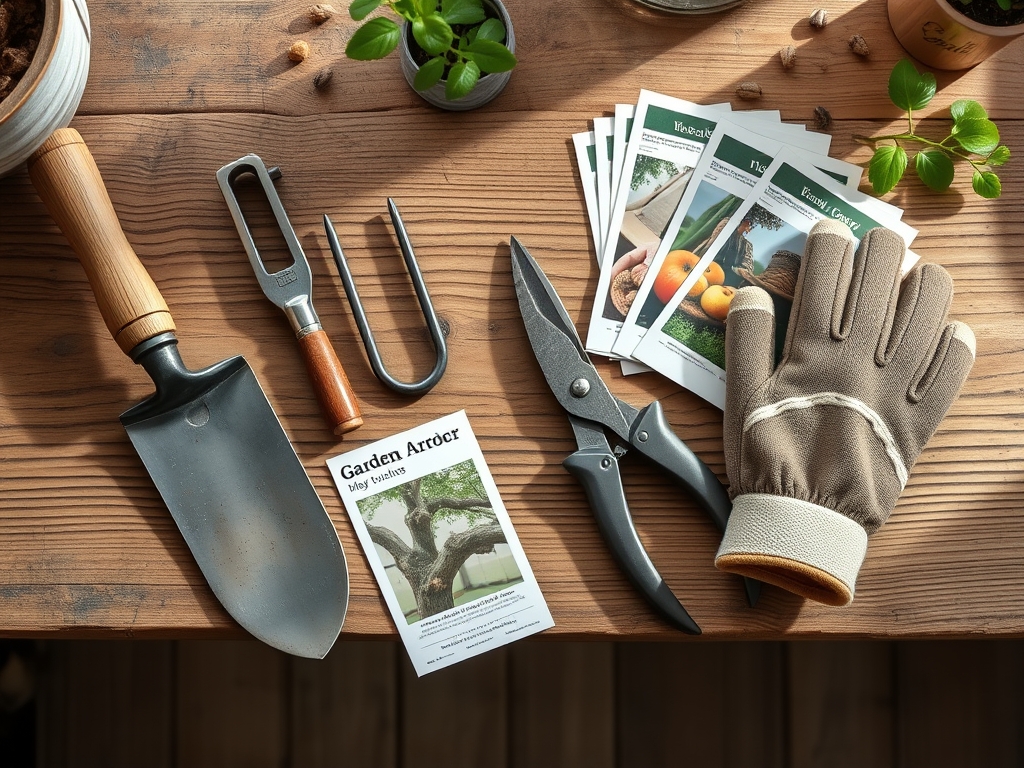
Materials:
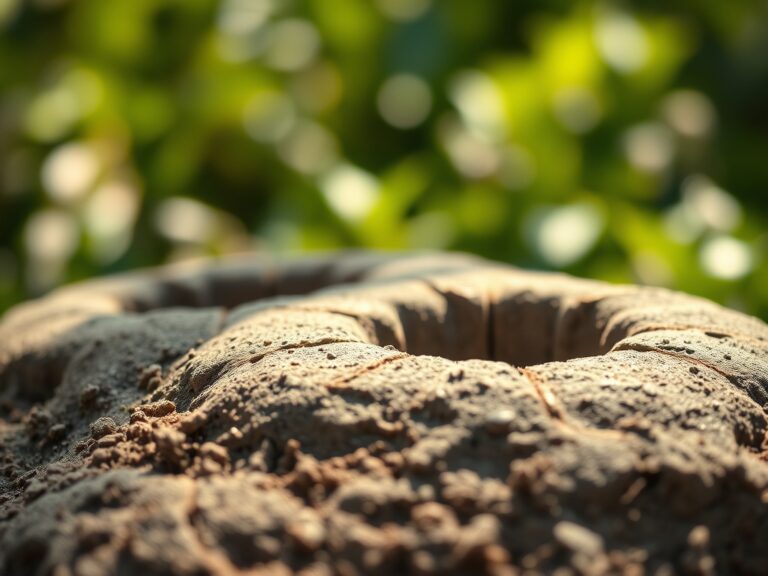
Construction materials must be selected based on their interaction with the local pedology. For the structural footings, use pressure-treated lumber rated for ground contact or naturally rot-resistant species like Western Red Cedar. The soil surrounding these footings should ideally be a **friable loam** with a **pH range of 6.0 to 7.0**. This acidity level ensures that essential micronutrients remain bioavailable for the climbers you will eventually plant.
To prep the planting pockets at the base of the arbor, incorporate organic matter to achieve a Cation Exchange Capacity (CEC) above 15 meq/100g. This allows the soil to hold onto positively charged nutrients like Potassium and Magnesium. Use a starter fertilizer with an NPK ratio of 5-10-5 to prioritize root development over rapid foliar expansion. High phosphorus levels are critical during the first 24 months to establish a robust root architecture capable of anchoring the plant against the arbor's frame.
Timing:
Installation should occur during the dormant season, typically between late autumn and early spring, depending on your USDA Hardiness Zone. In Zones 5 through 7, the ideal window is late March when the ground has thawed but the plants have not yet exited endodormancy. This timing prevents the disruption of the "Biological Clock," specifically the transition from the vegetative stage to the reproductive stage.
If you plant during the active growing season, the high transpiration rates can lead to desiccation. By installing the arbor and its accompanying flora when the photoperiod is shorter than 12 hours, you allow the root system to colonize the new soil volume without the metabolic stress of supporting a full leaf canopy. Aim for a soil temperature of at least 45 degrees Fahrenheit to ensure minimal root activity can commence immediately upon transplanting.
Phases:
Sowing and Foundation
Excavate post holes to a depth of 24 to 36 inches, ensuring you are below the local frost line to prevent heaving. Use a level to ensure vertical plumb. The distance between posts should be at least 48 inches to allow for adequate air circulation, which reduces the incidence of fungal pathogens in the future canopy.
Pro-Tip: When backfilling post holes with gravel or concrete, leave a 3-inch gap from the soil surface. Fill this gap with native soil to maintain a continuous rhizosphere. This prevents "the bathtub effect" where water collects around the base, leading to anaerobic conditions that trigger root rot.
Transplanting
When placing your climbers at the base of the arbor, dig a hole twice as wide as the root ball. Gently tease the roots to break any circular growth patterns. Position the plant 2 inches away from the wooden post to allow for secondary thickening of the stem as the plant matures.
Pro-Tip: Apply a mycorrhizal inoculant directly to the root zone during transplanting. This encourages mycorrhizal symbiosis, a fungal relationship that effectively increases the root surface area by 100 to 1,000 times; significantly improving the plant's uptake of immobile nutrients like Phosphorus.
Establishing
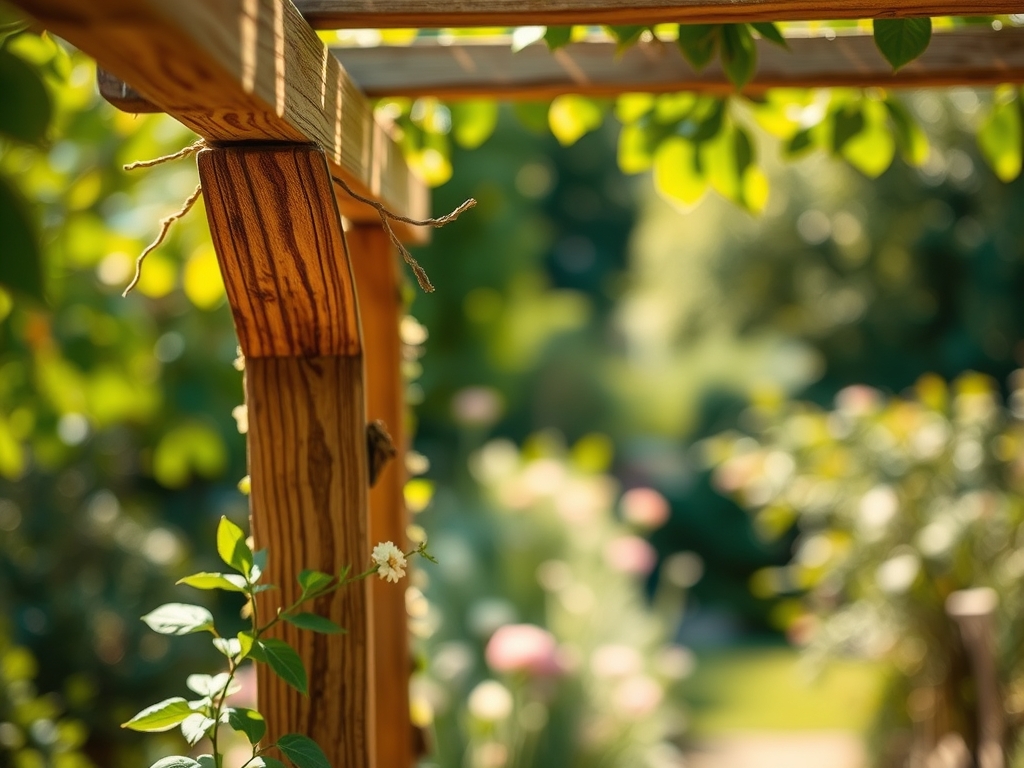
Secure the primary leaders to the arbor using soft garden twine. Do not use wire, as it can girdle the vascular cambium as the plant grows. Monitor the soil moisture daily for the first 21 days using a soil moisture meter.
Pro-Tip: Use "Heading Back" cuts on the main terminal leader to encourage lateral branching. This process, known as auxin suppression, removes the dominant growth hormone at the tip, allowing the lateral buds to break dormancy and cover the arbor more quickly.
The Clinic:
Physiological disorders often mimic pest damage but are usually rooted in environmental or nutritional stress.
- Symptom: Interveinal chlorosis on new growth (yellow leaves with green veins).
- Solution: This indicates an Iron deficiency, often caused by a soil pH above 7.5. Lower the pH using elemental sulfur.
- Symptom: Leaf scorch or marginal necrosis on older leaves.
- Solution: This suggests Potassium deficiency or salt accumulation. Flush the soil with 3 inches of water and apply a sulfate of potash.
- Symptom: Sudden wilting despite moist soil.
- Solution: This is likely Phytophthora root rot. Improve drainage immediately and reduce irrigation frequency to allow the soil to reach a 40% moisture tension.
Fix-It for Nitrogen Chlorosis: If the entire leaf turns pale green or yellow, apply a quick-release liquid fertilizer with an NPK of 10-0-0. Nitrogen is highly mobile; the plant will prioritize the "sink" (new growth) by pulling Nitrogen from older "source" leaves.
Maintenance:
Precision maintenance is the difference between a structural asset and a liability. Deliver exactly 1.5 inches of water per week at the drip line, rather than at the base of the post, to encourage outward root expansion. Use a hori-hori knife to remove invasive weeds that compete for nitrogen within the top 4 inches of soil.
Pruning must be performed with sharp bypass pruners to ensure clean cuts that callouse quickly. Remove no more than 20% of the total biomass in a single season to avoid triggering a stress response that leads to water sprouts. Every three years, inspect the structural integrity of the wood where it meets the soil, as this is the primary site for cellulose degradation.
The Yield:
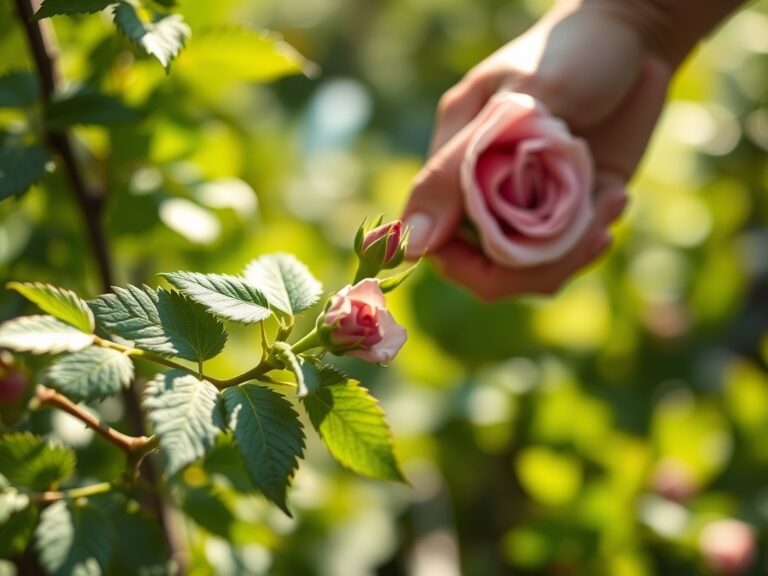
For those growing ornamental climbers like Clematis or climbing roses, harvest flowers when the outermost petals are just beginning to unfurl. This ensures maximum turgor pressure within the stem. Cut at a 45-degree angle to increase the surface area for water uptake.
Post-harvest, immediately submerge the stems in 110-degree Fahrenheit water mixed with a floral preservative containing a biocide and a carbohydrate source (sugar). This treatment prevents air embolisms in the xylem and provides the energy necessary to maintain cellular respiration, ensuring "day-one" freshness for up to seven days.
FAQ:
What is the best wood for a garden arbor?
Western Red Cedar and Redwood are superior due to their high tannin content. These natural phenols resist decay and insect infestation. Pressure-treated lumber is a cost-effective alternative but must be rated for Ground Contact (UC4A).
How deep should arbor posts be buried?
Posts must reach a depth of 24 to 36 inches. This depth ensures the structure remains stable against wind shear and prevents shifting during the freeze-thaw cycles that occur in Hardiness Zones 3 through 7.
Can I grow heavy vines like Wisteria on a wooden arbor?
Yes, but the arbor must be constructed from 4×4 or 6×6 timbers. Wisteria produces significant weight and "girdling" pressure. Ensure all joints are reinforced with galvanized steel bolts rather than simple wood screws to prevent structural shear.
How do I prevent root rot at the base of my arbor?
Ensure the soil has a high percolation rate. If the soil is heavy clay, amend it with expanded shale or coarse sand. Maintain a slightly mounded soil profile around the base to direct excess precipitation away from the primary root crown.