6 Stealthy Steps to Install Hidden Edging
Damp earth releases a sharp, geosmin-rich scent when the spade shears through the topsoil. This tactile resistance indicates high turgor pressure within the grass blades; a sign that the turf is hydrated and ready for structural modification. To maintain a seamless transition between manicured turf and mulch beds, you must master the steps to install hidden edging. This process creates a physical barrier below the soil surface to halt rhizomatous spread without disrupting the visual continuity of the landscape. Success requires a deep understanding of soil mechanics and the biological drive of root systems to seek out moisture and nutrients beyond their designated boundaries.
Materials:
The foundation of a successful installation begins with a **friable loam** substrate. This soil texture provides an ideal balance of sand, silt, and clay; allowing for easy excavation while maintaining structural integrity. For the surrounding flora, ensure the soil pH is calibrated between **6.0 and 7.0** to maximize nutrient bioavailability. Before backfilling, incorporate a slow-release fertilizer with an **NPK ratio of 10-10-10** to support root recovery.
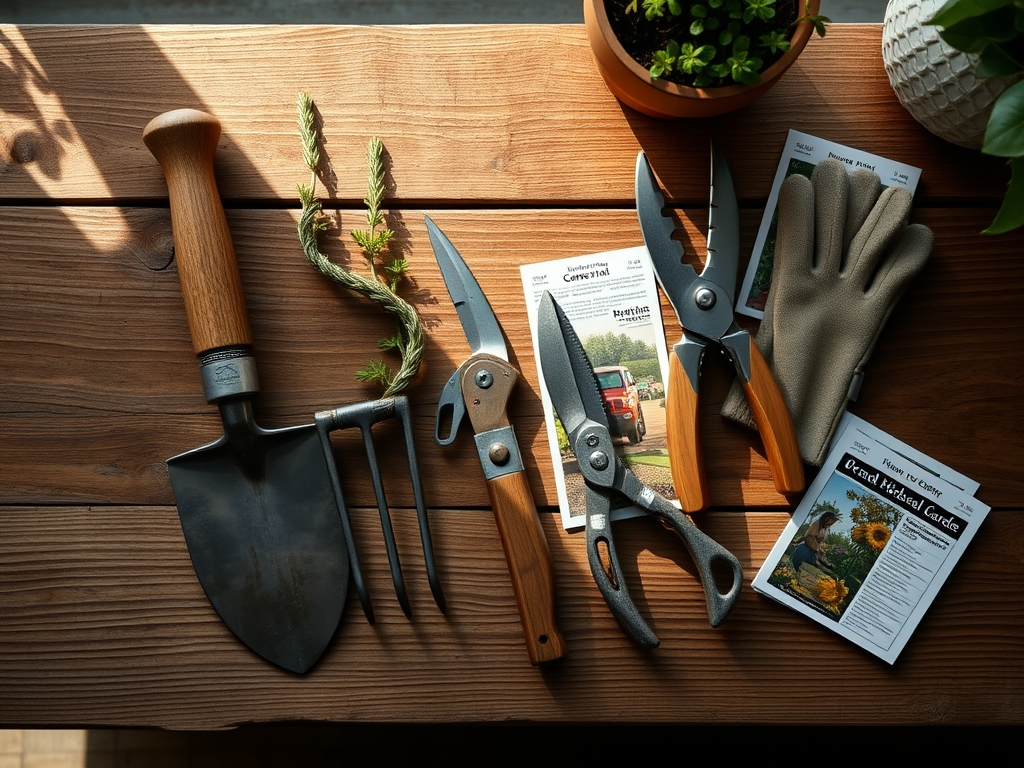
If the site contains heavy clay, the Cation Exchange Capacity (CEC) will be high, meaning the soil holds onto nutrients but may suffer from poor drainage. In these zones, use a 14-gauge steel or heavy-duty poly edging that can withstand the expansion and contraction cycles of clay-heavy soils. You will also require a half-moon edger, a rubber mallet, and 9-inch galvanized steel stakes to secure the barrier against frost heave.
Timing:
Timing is dictated by the hardiness zone and the biological clock of the local turfgrass. In Zones 4 through 7, the ideal window is early spring or early autumn when the ground is thawed but the plants are not in peak reproductive stages. During these periods, the plant focuses energy on vegetative growth and root establishment rather than seed production.
Avoid installation during the summer solstice when high evapotranspiration rates put maximum stress on the rhizosphere. The goal is to perform the installation when the soil temperature is between 50 and 65 degrees Fahrenheit. This temperature range promotes rapid root healing through increased cellular respiration without the risk of heat-induced dormancy.
Phases:

Sowing the Perimeter
Mark the boundary using a high-visibility string line or a garden hose to establish the desired curvature. Use the half-moon edger to cut a vertical trench exactly 6 inches deep. This depth is critical as most turfgrass rhizomes, such as those found in Kentucky Bluegrass, occupy the top 4 inches of the soil profile.
Pro-Tip: Maintain a sharp edge on your tools to ensure clean vascular cuts. Ragged tears in the turf increase the surface area for pathogen entry and slow the plant's ability to seal off the wound through callus tissue formation.
Transplanting the Barrier
Insert the edging material into the trench. The top of the edging should sit 0.5 inches below the soil surface. This makes the barrier "hidden" while still providing a physical block to stolons and rhizomes. Secure the edging with stakes every 4 feet, driving them in at a 45-degree angle toward the turf side to resist lateral soil pressure.
Pro-Tip: When overlapping sections of edging, ensure a 3-inch minimum overlap. This prevents "gapping" caused by thermal expansion and contraction, which otherwise allows roots to penetrate the barrier via hydrotropism (growth toward moisture).
Establishing the Seal
Backfill the trench with the excavated friable loam. Tamp the soil down firmly using the heel of your boot or a hand tamper to eliminate air pockets. Air pockets around the edging can lead to root desiccation or provide a pocket for anaerobic bacteria to flourish. Finish by applying a 2-inch layer of organic mulch on the bed side of the edging.
Pro-Tip: Applying a light dusting of mycorrhizal inoculant during backfilling encourages mycorrhizal symbiosis. This fungal relationship extends the reach of the root system; allowing the disturbed turf to recover faster by increasing phosphorus uptake.
The Clinic:
Physiological disorders can occur if the installation disrupts the local ecosystem or if soil conditions are suboptimal.
- Symptom: Yellowing of turf edges (Chlorosis).
- Solution: Check for nitrogen deficiency. Apply a quick-release 20-0-0 liquid fertilizer to the affected area.
- Symptom: Edging "popping" out of the ground.
- Solution: This is caused by frost heave in cold climates. Re-install using longer 12-inch serrated stakes and ensure the trench bottom is compacted.
- Symptom: Localized wilting despite irrigation.
- Solution: Check for root pruning stress. Use a soil moisture meter to ensure the water is penetrating at least 4 inches deep to reach the lowered root zone.
Fix-It: For Nitrogen chlorosis, ensure the soil pH is not above 7.5, as high alkalinity can lock out iron and nitrogen. Amend with elemental sulfur if necessary to lower the pH.
Maintenance:
Post-installation care is vital for the first 21 days while the turf re-establishes its vascular network. Provide 1.5 inches of water per week at the drip line; measured using a rain gauge or tuna can. Use a hori-hori knife to occasionally check the depth of the edging and ensure no "bridge" of mulch has formed over the top.
Inspect the edge twice annually. Use bypass pruners to clip any stray stolons that attempt to leap over the hidden barrier. If you notice soil compaction near the edge, use a core aerator to improve gas exchange within the rhizosphere.
The Yield:
While hidden edging is a structural element, the "yield" is the crisp, maintenance-free boundary it produces. For those installing edging around edible borders, such as strawberries or herbs, the barrier prevents invasive grasses from competing for nutrients. When harvesting nearby crops, use a sharp hori-hori knife to cut stems cleanly. To maintain "day-one" freshness, harvest during the early morning when turgor pressure is at its peak and the plant is fully hydrated from the overnight dew.
FAQ:
How deep should I install hidden edging?
Install the barrier at least 6 inches deep. This depth effectively intercepts the majority of rhizomatous root systems. The top of the edging must remain 0.5 inches below the soil line to stay invisible and allow for lawn mower clearance.
What is the best material for hidden edging?
14-gauge steel or high-density polyethylene (HDPE) are superior. These materials resist the high Cation Exchange Capacity and moisture levels of the soil without degrading. Steel provides a thinner profile; making it easier to hide in the turf line.
Can I install edging in the winter?
It is not recommended. Frozen soil prevents the clean vertical cuts needed for the trench. Furthermore, the plants are in a state of senescence or dormancy; meaning they cannot actively repair root damage, leading to potential dieback in the spring.
Will hidden edging damage my mower blades?
Not if installed correctly. By keeping the top of the edging 0.5 inches below the soil surface, the blades will pass over the barrier without contact. This allows you to mow directly over the edge for a clean finish.
How do I prevent weeds from growing over the edge?
Maintain a 2-inch layer of mulch on the bed side. This suppresses weed seeds and prevents "bridge" growth. Periodically use a soil moisture meter to ensure the mulch isn't holding excessive moisture against the metal; which could cause premature oxidation.