9 Quick Steps to Install a Shade Sail
The scent of crushed chlorophyll and damp, friable loam signals a garden in peak metabolic activity. When high solar radiation threatens to exceed the light saturation point of your delicate understory crops, the turgor pressure in their leaves drops; this leads to temporary wilting and potential cellular damage. Learning the steps to install a shade sail is a critical intervention to regulate the microclimate and protect the rhizosphere from excessive evaporation. By reducing ambient temperatures by up to 15 degrees Fahrenheit, you preserve the plant's ability to manage gas exchange without excessive moisture loss. This installation requires structural precision to ensure the tensioned fabric withstands wind loads while providing the specific light filtration required for your botanical collection. Proper placement ensures that shade-loving species maintain their deep green pigmentation without the scorching effects of direct ultraviolet exposure during the solar noon.
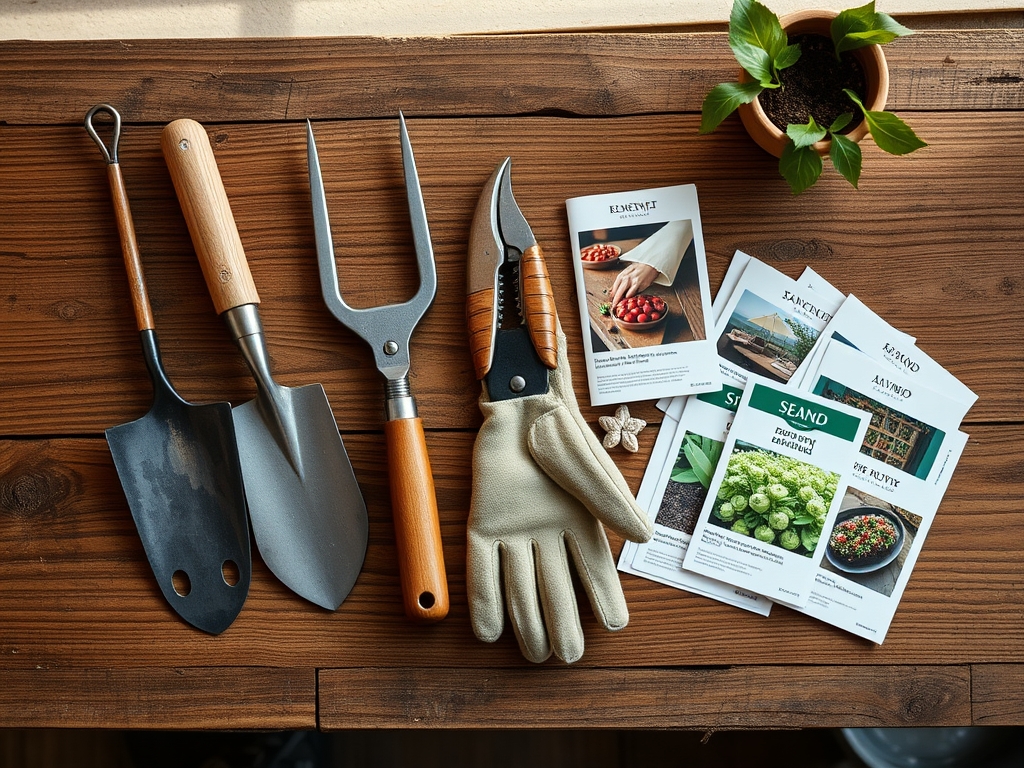
Materials:
Before setting your mounting posts, analyze the substrate. For maximum stability, posts must be anchored in a soil profile that offers high structural integrity. A friable loam with a balanced Cation Exchange Capacity (CEC) of 15 to 25 milliequivalents per 100 grams is ideal for surrounding garden health, but the post-hole itself requires a different focus. You will need 4×4 or 6×6 pressure-treated timber or schedule 40 galvanized steel pipes.
If you are planting around the base of the sail, ensure the soil pH is between 6.0 and 7.0 to facilitate nutrient uptake. Incorporate a slow-release fertilizer with an NPK ratio of 5-10-5 to encourage root development without triggering excessive vegetative growth that might interfere with the sail's clearance. Use a soil moisture meter to ensure the area beneath the sail maintains a consistent 20 to 30 percent moisture level, as the fabric will intercept a portion of natural precipitation.
Timing:
Installation should occur during the dormant season or early spring, specifically between USDA Hardiness Zones 4 and 9, before the spring flush of growth begins. Aim for the window between the last hard frost and the first significant rise in photoperiod duration. This timing prevents the disruption of the plant's biological clock as it transitions from the vegetative stage to the reproductive stage.
Installing the sail before the summer solstice ensures that the sudden increase in light intensity does not shock plants that have adapted to lower light levels during the winter months. In warmer zones like 10 or 11, installation is best completed before the heat index consistently exceeds 90 degrees Fahrenheit, which is when many C3 plants begin to experience photorespiration.
Phases:

Sowing the Structural Foundation
The first of the steps to install a shade sail involves marking the perimeter. Excavate holes to a depth of at least one-third the length of the post. For an 8-foot clearance, dig 4 feet deep. This depth ensures the post remains stationary despite the lateral tension applied by the sail.
Pro-Tip: Proper depth prevents "frost heave" in colder climates. This is a biological necessity for surrounding perennials because stable posts prevent soil compaction and root shearing that occurs when unstable structures shift during freeze-thaw cycles.
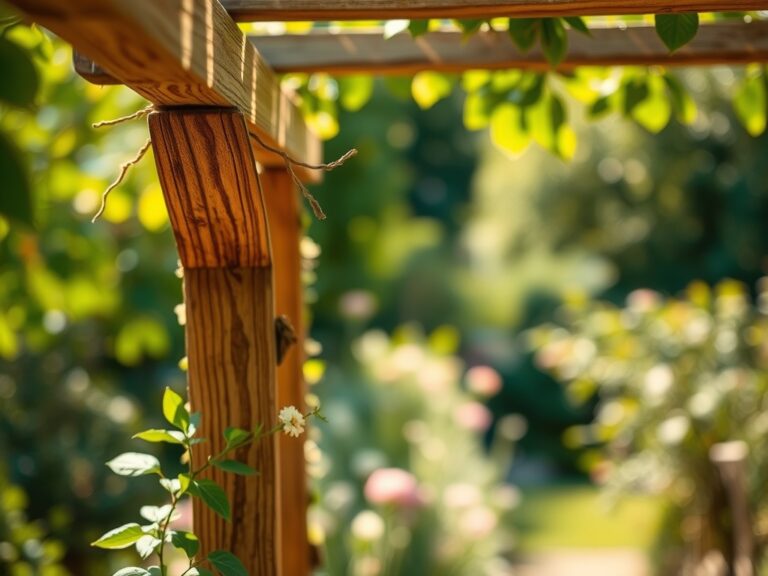
Transplanting Tension Hardware
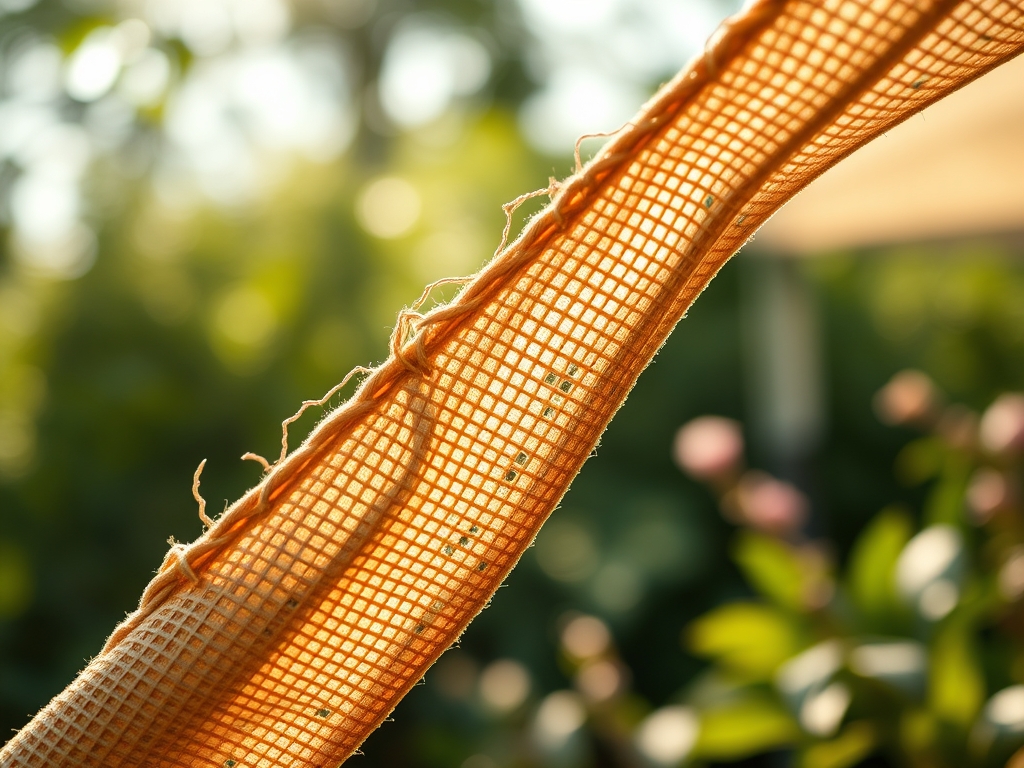
Attach heavy-duty stainless steel eye bolts to your mounting points. Use turnbuckles to allow for micro-adjustments in tension. The sail should be pulled taut to prevent sagging, which can collect water and harbor fungal pathogens that might drip onto the foliage below.
Pro-Tip: Angle the sail at a minimum of 20 degrees to facilitate water runoff. This prevents the "ponding effect," which can lead to anaerobic conditions in the soil below if a large volume of water dumps in a single location, suffocating the beneficial aerobic microbes in the rhizosphere.
Establishing the Canopy
Hook the sail corners to the turnbuckles. Tighten them sequentially to ensure even distribution of force. The fabric should have no visible wrinkles. Check the tension after 48 hours, as the material will experience an initial period of mechanical "creep" or stretching.
Pro-Tip: Leave a gap of at least 12 inches between the sail edge and the mounting post. This gap promotes air circulation, utilizing the Venturi effect to pull heat away from the plant canopy. This prevents heat-induced senescence, where leaves prematurely age and drop due to thermal stress.
The Clinic:
Monitor your plants closely after installation for physiological disorders related to the change in light quality.
-
Symptom: Etiolation. Stems become weak, pale, and excessively long as the plant stretches toward light.
-
Solution: The shade sail is too dense or positioned too low. Increase the height of the sail or switch to a fabric with a lower shade percentage (e.g., 30% instead of 70%).
-
Symptom: Interveinal Chlorosis. Yellowing between leaf veins, often indicating a Nitrogen or Iron deficiency exacerbated by cool, damp soil under the shade.
-
Solution: Apply a chelated iron supplement or a high-nitrogen foliar spray. Ensure the soil is not waterlogged by checking the drainage rate.
-
Symptom: Powdery Mildew. A white, flour-like fungal growth on leaves caused by reduced UV light and poor airflow.
-
Solution: Increase the angle of the sail to improve wind transition and prune the lower canopy of the plants using bypass pruners to improve interior air circulation.
Fix-It for Nitrogen Chlorosis: If leaves show uniform paling, apply a 10-0-0 liquid fertilizer. The reduction in sunlight decreases the rate of photosynthesis, meaning the plant may require fewer nutrients overall, but Nitrogen remains essential for maintaining the chlorophyll density needed to capture limited light.
Maintenance:
A shade sail garden requires disciplined monitoring. Deliver exactly 1.5 inches of water per week at the drip line of the sail, as this is where the majority of runoff will concentrate. Use a hori-hori knife to check for soil compaction around the mounting posts; compacted soil can lead to root rot in nearby plants.
Every six months, inspect the stainless steel hardware for signs of oxidation. Use a soil moisture meter twice weekly at a depth of 6 inches to ensure the shaded area is not retaining too much moisture compared to the rest of the garden. If the fabric becomes soiled with bird droppings or tree sap, clean it with a low-pressure hose to maintain its original light-filtering properties.
The Yield:
For those growing shade-tolerant edibles like spinach or kale under a sail, the yield is often characterized by larger, more succulent leaves with lower bitterness. Harvest these crops in the early morning when turgor pressure is at its peak. Use sharp bypass pruners to make clean cuts, preventing jagged wounds that serve as entry points for pathogens.
Post-harvest, submerge the greens in 40-degree Fahrenheit water immediately to remove field heat. This process, known as hydro-cooling, slows down the metabolic rate of the harvested tissue and preserves "day-one" freshness by preventing rapid senescence.
FAQ:
What is the best shade cloth percentage for vegetables?
Most vegetables thrive under 30% to 50% shade. This range filters intense UV rays while allowing enough Photosynthetically Active Radiation (PAR) for glucose production. Higher percentages, like 70% or 90%, are reserved for sensitive ferns or storage areas.
How deep should I set the support posts?
Set posts at a depth equal to at least one-third of their total height. For a 12-foot post, 4 feet should be underground and encased in concrete. This ensures the structure resists the high lateral tension required for a taut sail.
Can I leave the shade sail up during winter?
In regions with snow, remove the sail before the first frost. Snow accumulation adds significant weight that can exceed the tensile strength of the fabric or pull mounting bolts from their anchors. Store it in a dry, rodent-proof container.
How do I prevent the sail from flapping?
Use turnbuckles at every attachment point to achieve maximum tension. A properly installed sail should be "drum tight." This prevents mechanical wear on the fabric fibers and eliminates the noise generated by wind-induced movement.