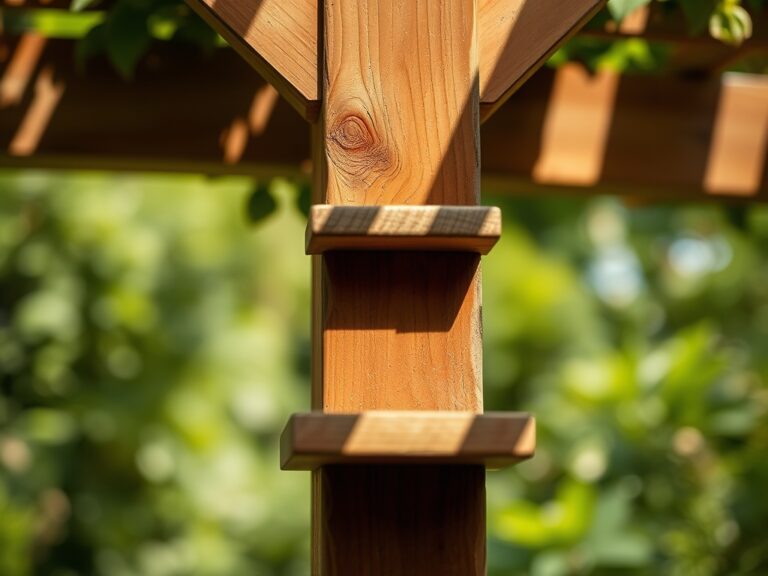
8 Cool Ways How to Design a Shade Sanctuary
Damp earth releases geosmin when the relative humidity climbs above 70 percent. This olfactory marker signals a high-functioning rhizosphere where microbial activity is at its peak. In the shadows of the canopy, the turgor pressure of a hosta leaf remains firm because transpiration rates are significantly lower than in full sun. Learning how to design a shade sanctuary requires a technical understanding of light filtration and soil physics. You are not merely planting; you are engineering a microclimate where the ambient temperature remains five to ten degrees cooler than the surrounding landscape.
Success in these low-light environments depends on managing the photosynthetic active radiation (PAR) that reaches the forest floor. A true shade sanctuary utilizes layers of vegetation to capture different wavelengths of light. This stratification prevents soil compaction and preserves the integrity of the soil structure. By focusing on the physiological needs of sciophytic plants, you create a space that thrives on the margins of the solar cycle. Every choice must be backed by data regarding moisture retention and nutrient availability.
Materials:
The foundation of a shade sanctuary is the substrate. Most shade-tolerant species, such as Hydrangea macrophylla or Astilbe, require a soil pH between 5.5 and 6.5. This acidity ensures that micronutrients like iron and manganese remain bioavailable. The physical texture must be a friable loam; a mixture of 40 percent sand, 40 percent silt, and 20 percent clay. This balance provides a high Cation Exchange Capacity (CEC), allowing the soil to hold onto essential nutrients.
For the initial establishment phase, utilize an NPK ratio of 10-20-10. The high phosphorus content encourages rapid root development without forcing excessive vegetative growth that the low-light environment cannot support. Incorporate organic matter to increase the water-holding capacity. Aim for a soil organic matter (SOM) content of 5 to 8 percent. This creates a reservoir for moisture, reducing the frequency of supplemental irrigation.
Timing:
Timing is governed by the Hardiness Zones (typically Zones 4 through 9) and the local frost-free window. In most temperate regions, the ideal planting window opens when the soil temperature reaches a consistent 55 degrees Fahrenheit. This temperature triggers the biological clock, signaling the transition from dormancy to the vegetative stage.
Photoperiodism also plays a role. Many shade perennials are long-day plants that require specific day lengths to initiate flowering. Planting in early spring allows the root system to establish before the summer solstice. This timing ensures the plant has sufficient carbohydrate reserves to survive the winter senescence phase. Monitor the local weather data for the "Last Expected Frost" date; planting 14 days after this date minimizes the risk of cellular rupture in tender new growth.
Phases:

Sowing and Site Preparation
Begin by clearing the area of invasive species that compete for moisture. Till the soil to a depth of 12 inches to alleviate compaction. If sowing seeds for shade-tolerant groundcovers, ensure a seeding rate of 2 to 4 pounds per 1,000 square feet.
Pro-Tip: Utilize mycorrhizal inoculants during site prep. These fungi form a symbiotic relationship with plant roots, effectively increasing the surface area for water and nutrient absorption by up to 100 times.
Transplanting
When moving nursery stock into the ground, the planting hole must be twice as wide as the root ball but no deeper. Ensure the crown of the plant sits exactly at the soil line. Deep planting leads to crown rot, while shallow planting causes root desiccation.
Pro-Tip: Avoid disturbing the root ball excessively to prevent transplant shock. Maintaining root-to-soil contact is critical for maintaining the hydraulic lift necessary for the plant to transport water to its upper canopy.
Establishing the Canopy
During the first 90 days, the plant focuses on root expansion. Maintain consistent moisture levels. Use a soil moisture meter to ensure the root zone stays between 60 and 80 percent of field capacity.
Pro-Tip: Apply a 2-inch layer of arborist wood chips. This mulch layer suppresses weed germination by blocking light and regulates soil temperature fluctuations, which prevents the "heaving" of roots during late-season temperature swings.
The Clinic:
Physiological disorders in shade gardens often stem from poor airflow or drainage.
-
Symptom: Interveinal chlorosis (yellowing between leaf veins).
-
Diagnosis: Iron or Magnesium deficiency, often caused by a pH above 7.0.
-
Solution: Apply chelated iron or elemental sulfur to lower the pH to the 6.0 range.
-
Symptom: Powdery white residue on leaf surfaces.
-
Diagnosis: Erysiphales fungal infection due to high humidity and stagnant air.
-
Solution: Increase spacing between plants to 18-24 inches to improve airflow and reduce leaf wetness duration.
-
Symptom: Marginal leaf burn (browning of leaf edges).
-
Diagnosis: Potassium deficiency or salt accumulation from synthetic fertilizers.
-
Solution: Flush the soil with 3 inches of water and switch to a low-salt, organic fertilizer with a 0-0-10 K-mag supplement.
Maintenance:
Precision is the hallmark of a master gardener. Deliver 1.5 inches of water per week at the drip line. Avoid overhead irrigation; water on the foliage increases the risk of fungal pathogens. Use a hori-hori knife to remove deep-rooted weeds like dandelion or thistle without disturbing the delicate lateral roots of your shade plants.
Pruning should be performed with sharp bypass pruners to ensure clean cuts that heal quickly. Remove dead, damaged, or diseased wood (the "Three Ds") during the dormant season. For herbaceous perennials, cut back the spent foliage to 3 inches above the soil line after the first hard frost. This prevents pathogens from overwintering in the debris.
The Yield:
For those incorporating shade-tolerant edibles like wasabi or wild ramps, harvest timing is vital. Harvest ramps when the leaves are fully expanded but before the flower stalk emerges. Use a small hand trowel to lift the bulb, ensuring you leave 30 percent of the colony to ensure future sustainability.
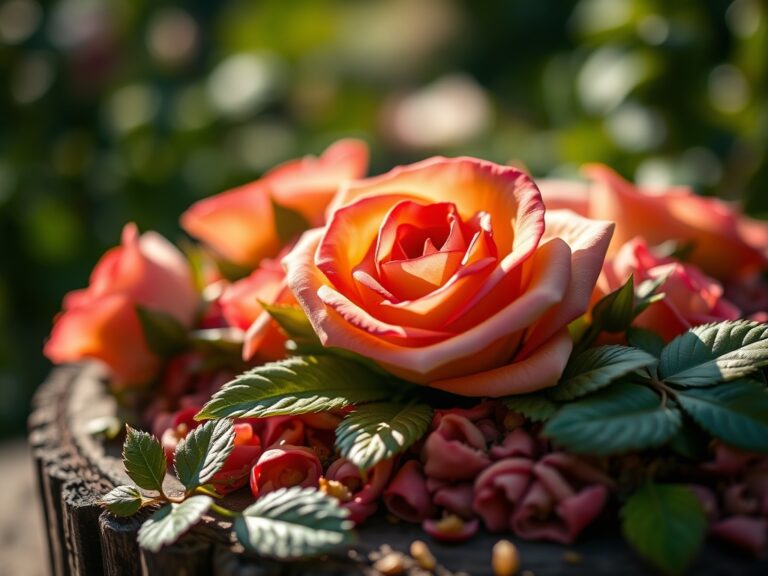
For floral yields like Hellebores, harvest when the stamens have fallen but the sepals are still firm. Immediately plunge the stems into 110-degree Fahrenheit water to remove air bubbles from the xylem. This technique, known as "searing," extends the vase life by maintaining high turgor pressure within the floral tissues.
FAQ:
How much light is considered "deep shade"?
Deep shade is defined as receiving less than two hours of direct sunlight per day. Often, this light is reflected or filtered through a dense overhead canopy. Light levels in these areas typically measure below 500 foot-candles.
Can I grow vegetables in a shade sanctuary?
Yes, but focus on leafy greens and brassicas. Species like spinach, kale, and arugula can produce a harvest with only three to four hours of sunlight. Fruiting crops like tomatoes require significantly higher PAR levels to develop sugars.
Why are my shade plants turning yellow?
This is often nitrogen chlorosis. In cool, wet shade soils, nitrogen mineralization slows down. Apply a balanced liquid fertilizer with an NPK of 5-5-5 to provide an immediate boost of bioavailable nitrogen to the rhizosphere.
How do I stop soil erosion in a shaded sloped area?
Install creeping groundcovers with aggressive rhizomatous root systems. Species like Pachysandra or Vinca minor create a living mat that binds the soil particles together, preventing runoff during heavy rain events exceeding 1 inch per hour.